
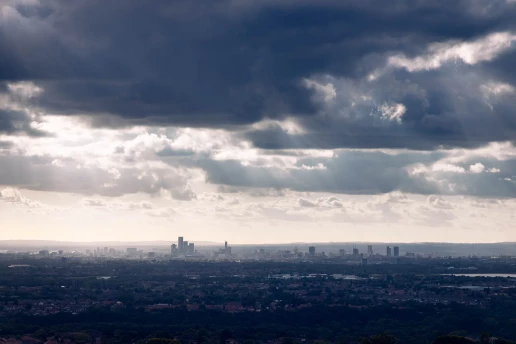
Top 7 Manchester skyline hilltop views
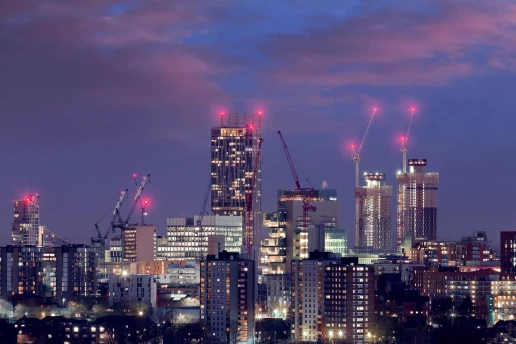
Short list of Manchester skyline view points from easily accessible nearby hilltops. By creating this little guide I hope to bring some help for those who want to start in cityscape photography but don’t know where to go. You don’t need to be a pilot of a drone to create amazing images!
All seven spots are not just great cityscape photography locations – they offer so much more than that! From woodland areas with hidden waterfalls or bare hilltops spiked with wind turbines. These are beautiful natural landmarks reach of history and to easy access. This make them perfect to enjoy walk in nature with family or friends. On technical side; you don’t need expensive camera or super long zoom lens to create stunning images. Most of photos you going to see are taken at fairly small focal length ~80-100mm on full frame body.
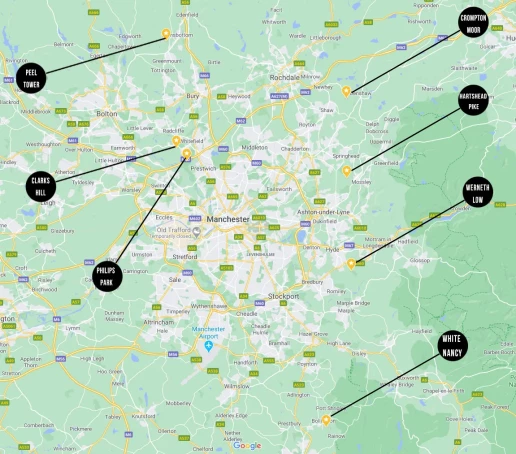
Without further ado here is my top 7 Manchester hilltop views:
1.Werneth Low -Hyde – Don’t be mistaken by the name of this place. Word “low” does not refer to any lack of altitude (279 meters above the sea) but rather from northern English word “hill”. This location offers panoramic views of Manchester and it’s great at sunsets. Best time to visit it’s probably September or April as sun set directly behind city center. It’s easy to park near visitors center than climb for 10 min at steady pace.


2. Peel Tower – Bury – Name of the place come from monument build 1852 from hillside stones. Composition offers quite a bit of foreground interest especially at the dusk where you can capture car trails creating leading lines into the city. Be aware that google maps will lead you thorough narrow private roads therefore I’d recommend leaving your car at the bottom on the hill than climbing for 15 min to reach the hilltop.


3.Hartshead Pike – Ashton-under-Lyne – This hill over-viewing Ashton-under-Lyne and it can offer nice view on Manchester skyline. On very clear day you can see all the way to Liverpool. Google maps will lead you rightly to spot where you can park your car.


4. White Nancy – Bollington – It’s farthest south location I had found so far and it’s also hardest to shoot because of longest distance to the city. You going to need clear day to capture Manchester from this angle. In terms of foreground there is plenty of interest with Bollington village natural shape creating leading lines, drawing eye into the city.


5. Crompton Moor – Oldham – This location over-view city of Oldham with good foreground interest. It’s worth to visit waterfall hidden close to the carpark to the left. It also worth to remember they close entry to area at the dusk so make sure you leave before that.

6. Clarks Hill – Whitefield. As we were all grounded in our localities and could not travel during lockdown days I’ve discovered this area in one of my daily runs. There is not much to think about composition as there is only one place along the road where you can stand without trespassing onto private lands.


7.Philips Park – Prestwich – Probably the weakest location among all since there are power lines obstructing the view quite a bit. I recomend removing it in post production which is quite easy to do even with the basic software.

I highly recommend researching each of these locations before visiting. They offer much more than just pretty picture of our city.
If you want to folow my work you can always find me at instagram.

5 of My Favourite Photography Locations in the Peak District
Living in Manchester means the Peak District is close enough for an early start, a spontaneous evening shoot or a full day away from the city. It is one of the places where I first learned that landscape photography is less about owning more equipment and more about understanding light, weather and timing.
The same viewpoint can look completely different from one visit to the next. Mist can collect in the valleys at sunrise, rain can deepen the colours in woodland, and a gap in the clouds can light one hillside while everything around it remains dark. That unpredictability is part of what keeps me returning.
These are five Peak District locations I enjoy photographing. They range from open ridges and reservoirs to woodland and caves, so each one offers a different type of landscape and a different compositional challenge.
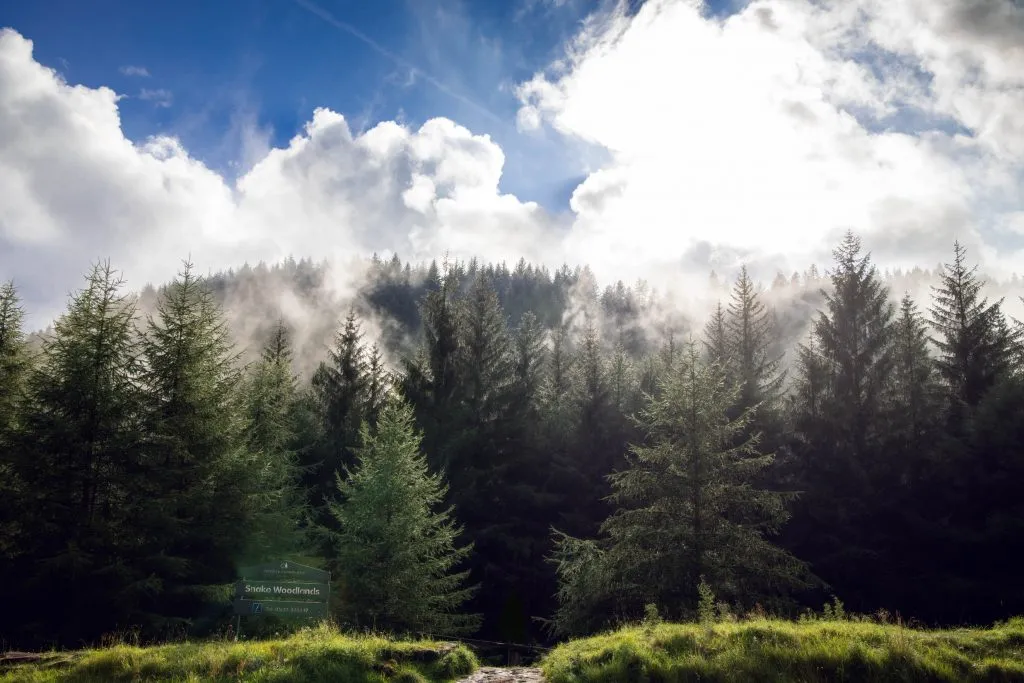
1. Snake Woodlands
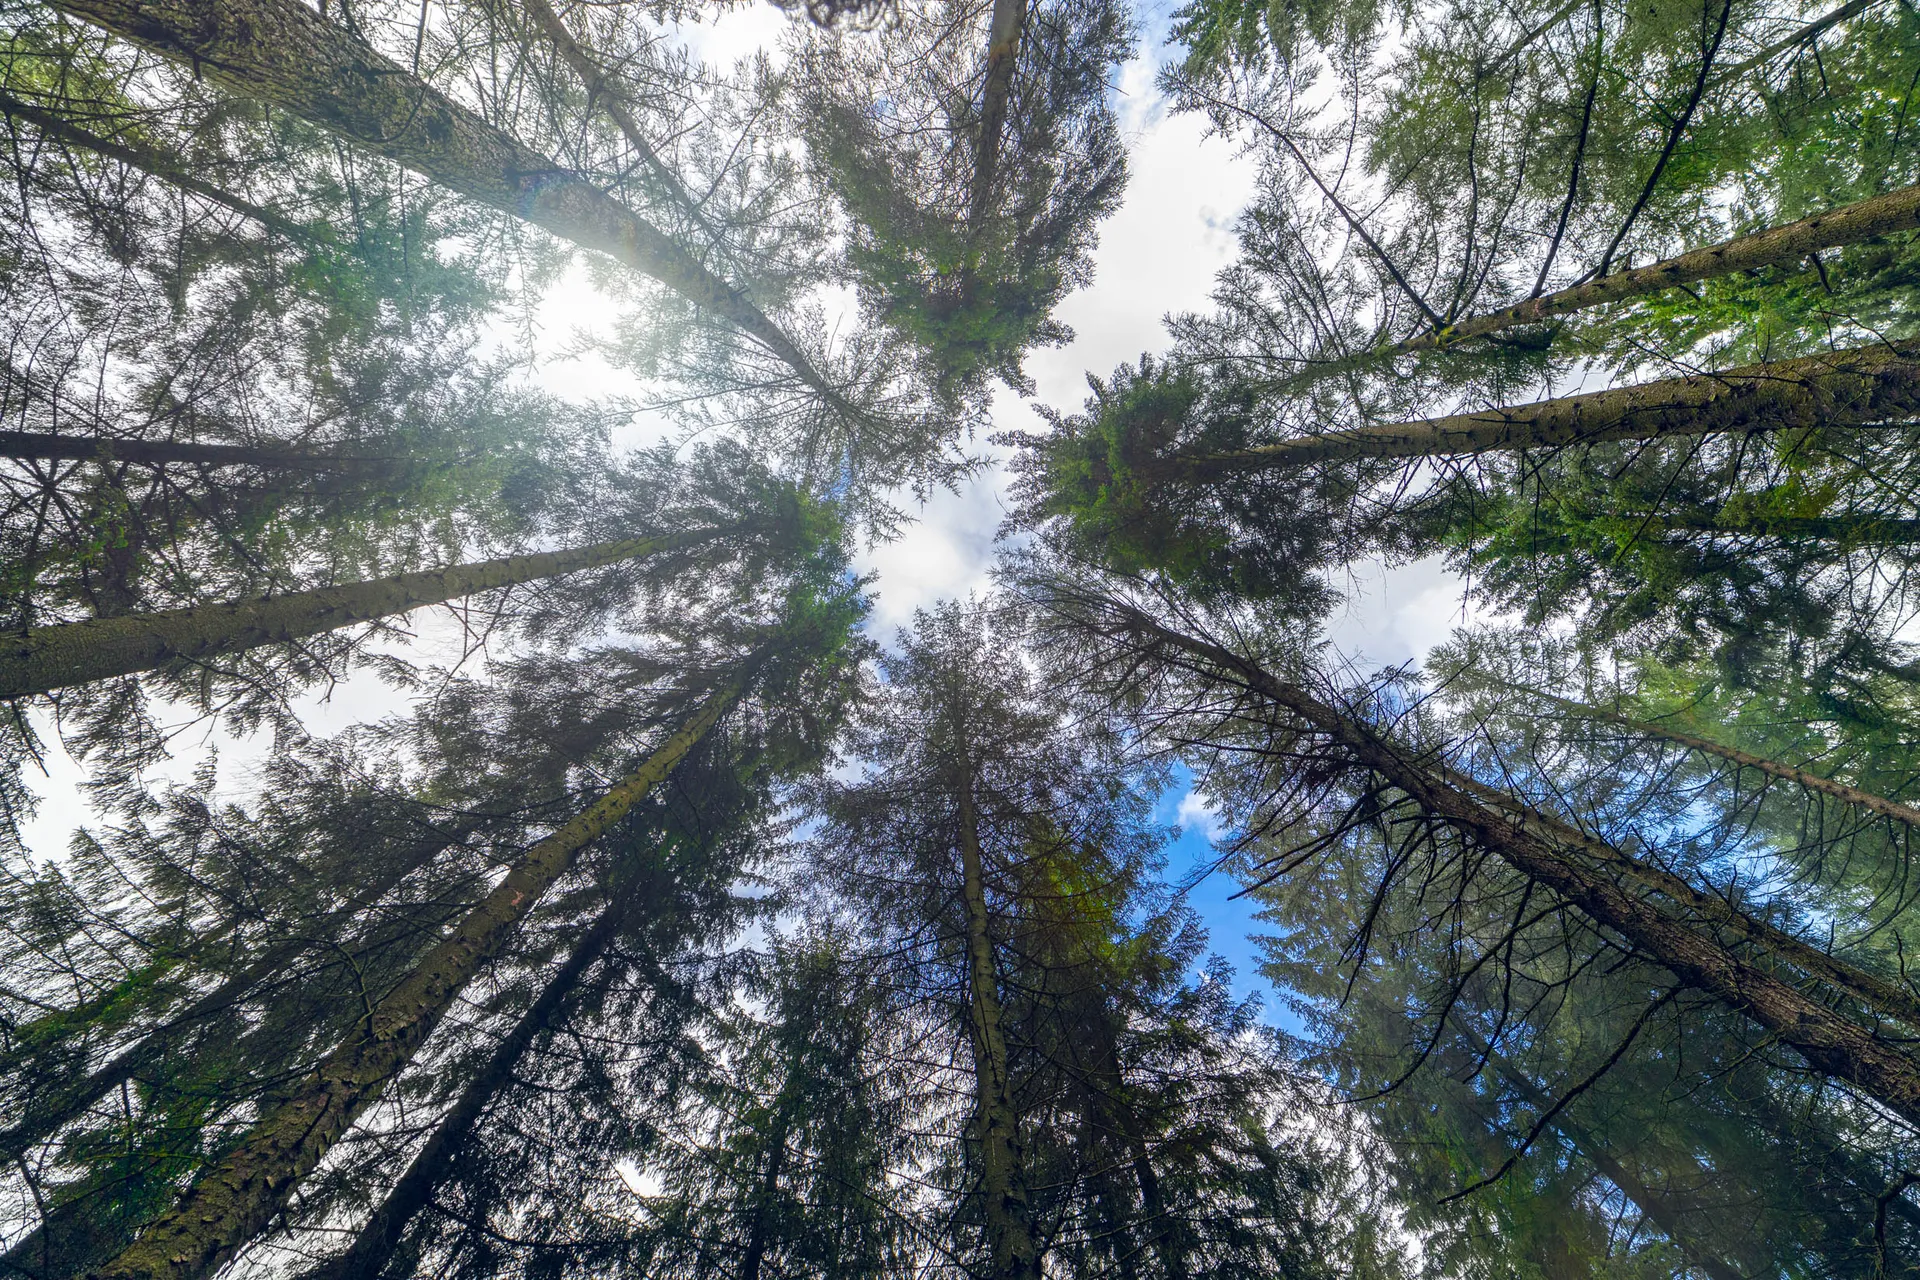
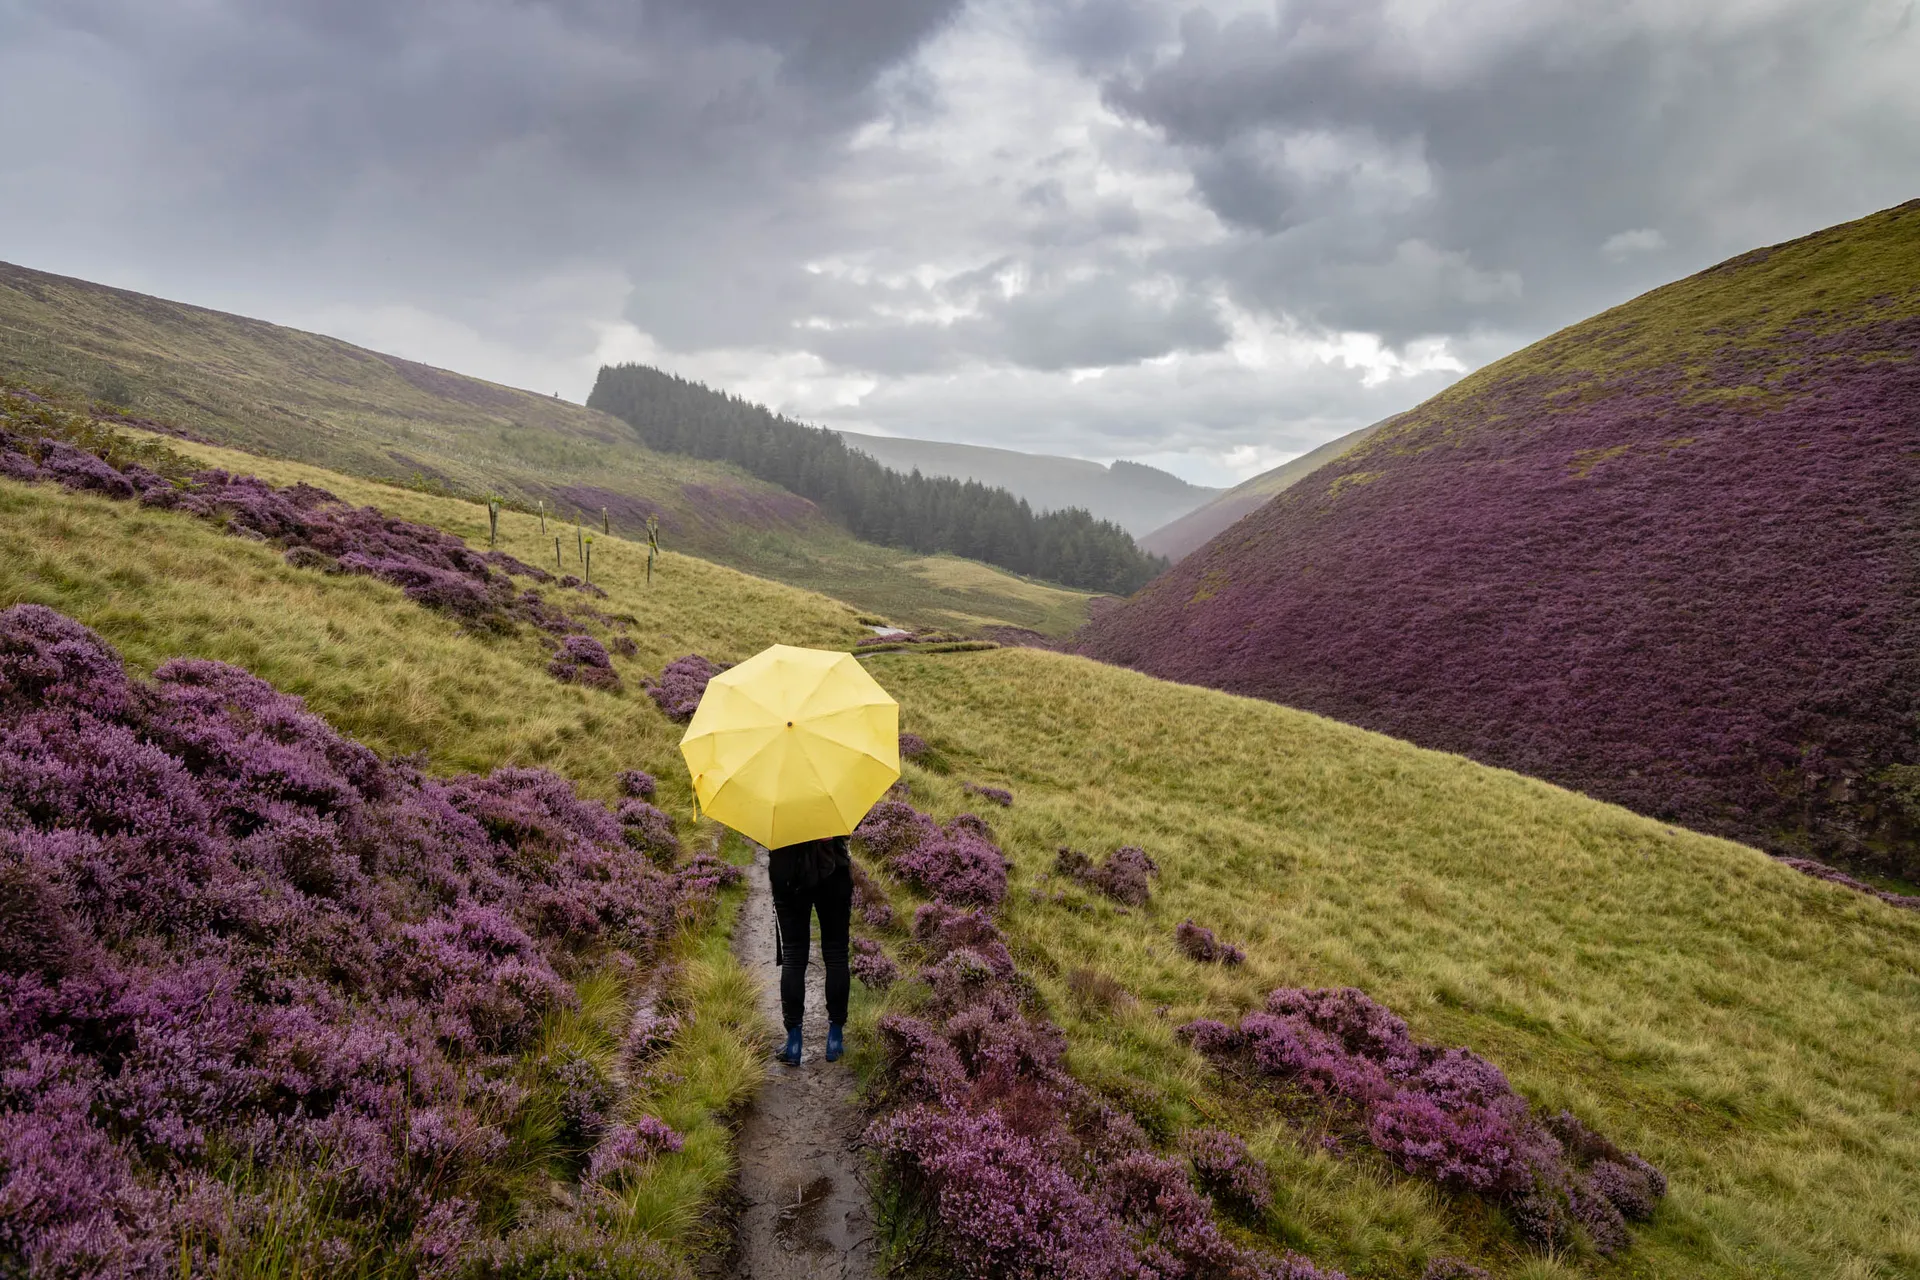
Snake Woodlands feels very different from the wide, open views usually associated with the Peak District. The paths run through birch woodland, patches of heather and rough ground near the Snake Pass, creating a quieter and more intimate landscape.
I particularly like visiting when the heather is in bloom. The purple colour gives the foreground more structure and creates a strong contrast with the greens and muted browns of the woodland. Soft, overcast light works well here because it reduces harsh highlights and allows the colours and textures to remain visible. Rain or recent wet weather can also add depth to the scene by darkening tree trunks, stones and foliage.
Woodland compositions can easily become cluttered, so I look for one clear subject rather than trying to include everything. A path, an isolated silver birch or a patch of light can give the frame a visual anchor. I also pay attention to the edges of the photograph, where stray branches and bright gaps can pull attention away from the main subject.
A wide-angle lens is useful for showing the relationship between the path, trees and heather, but a longer focal length can be even better for simplifying the scene and separating layers of woodland. A polarising filter may help control reflections on wet leaves, although I use it carefully so the foliage does not become unnaturally dark.
One practical warning from experience: midges can be vicious during warm, still evenings in August. Insect repellent is nearly as important as the camera.


2. Mam Tor and the Road to Edale
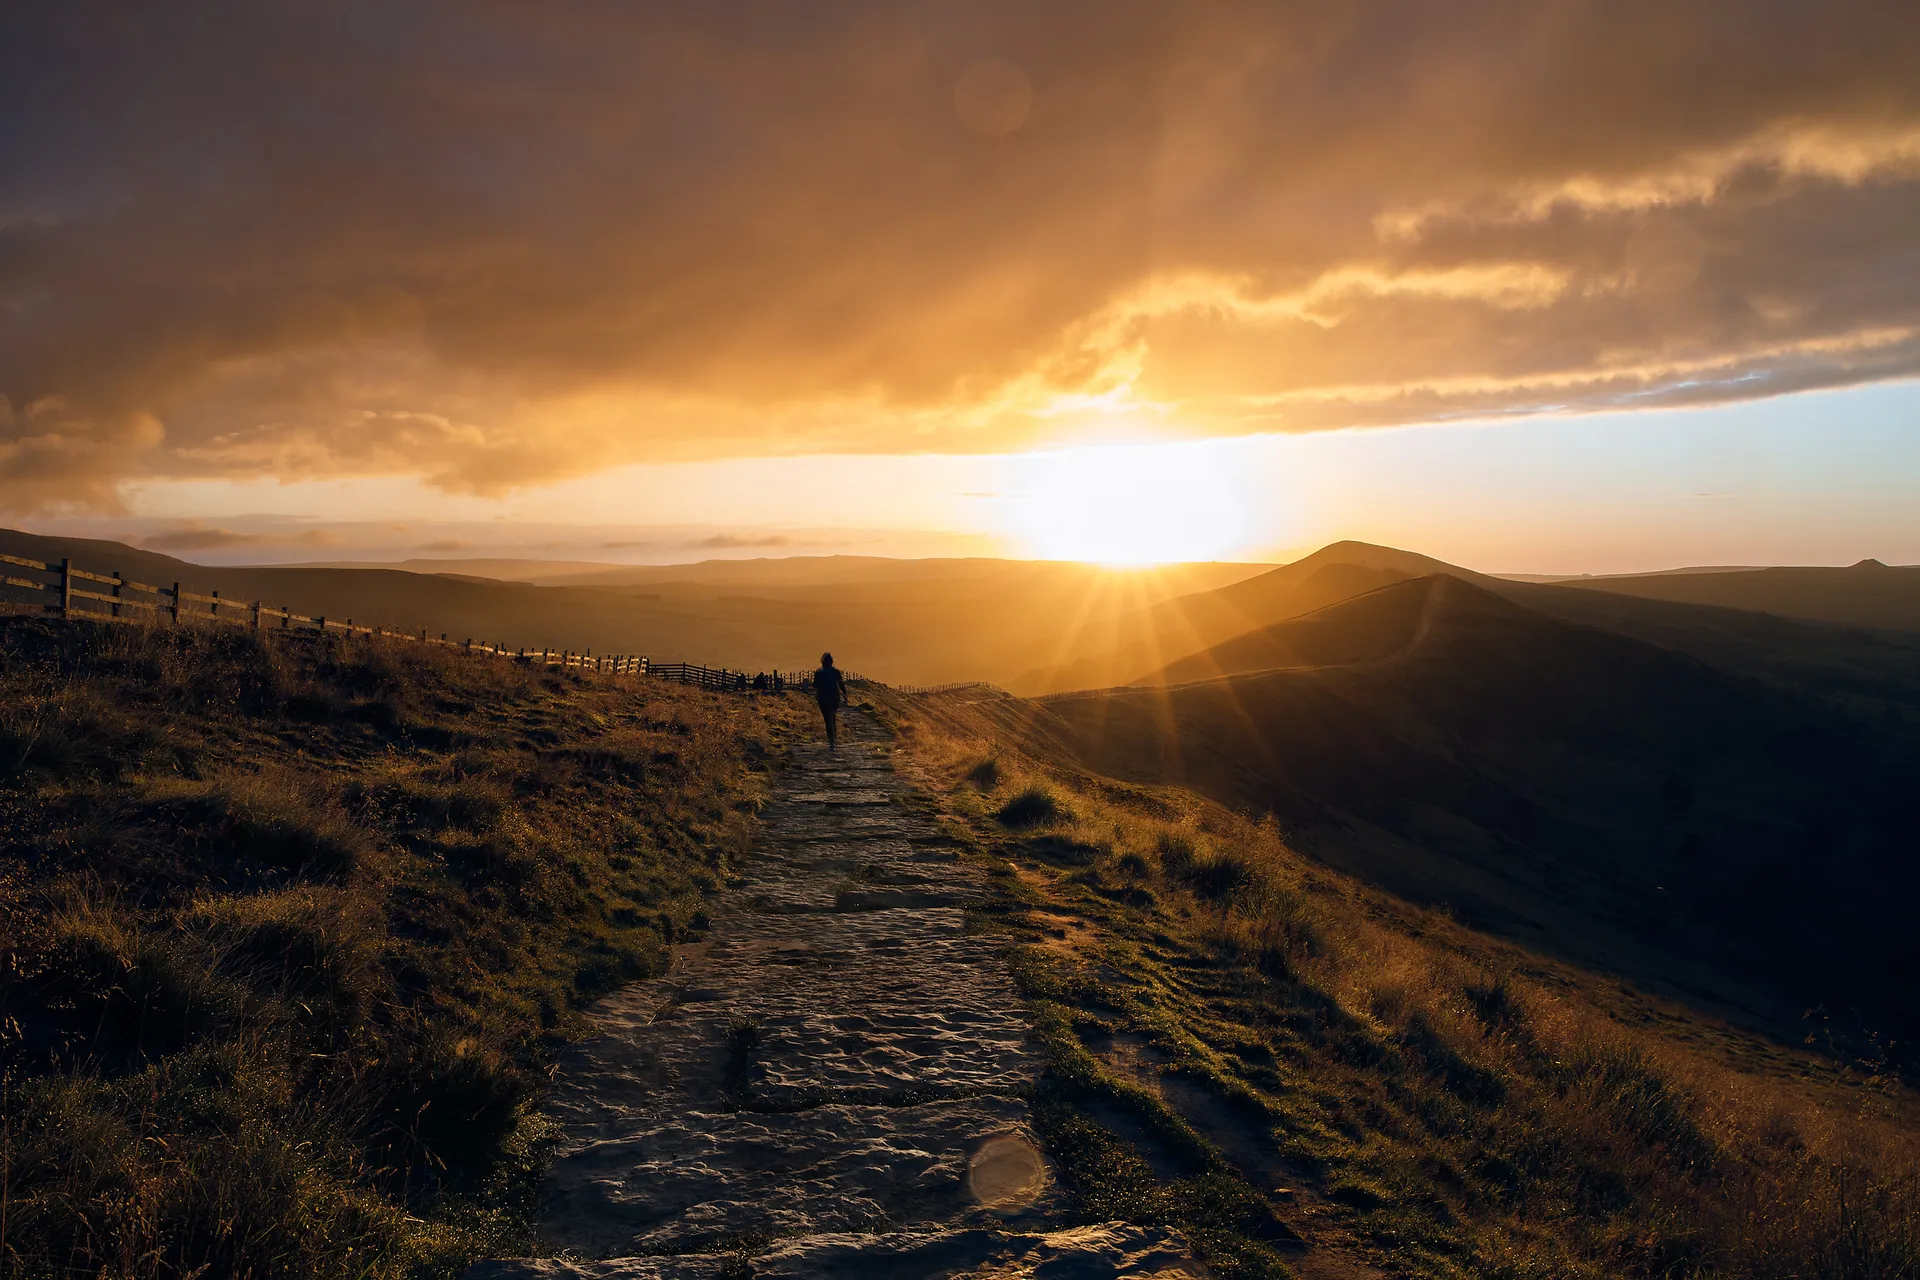
Mam Tor is probably the best-known viewpoint on this list, but it remains one of the places I return to most often. The ridge opens towards Edale and the Hope Valley, with paths and stone walls creating natural leading lines through the landscape. Because the view works in several directions, it can be photographed at both sunrise and sunset.
At sunrise, mist sometimes settles in the valleys while the ridge catches the first warm light. In rougher weather, low cloud and fast-moving shadows produce a darker and more dramatic scene. I prefer conditions with some cloud because completely clear skies can leave the landscape looking flat once the brief colour around sunrise has disappeared.
The classic wide-angle composition uses the ridge path to lead the eye towards the distant hills. It is effective, but it is not the only option. A longer lens can compress the layers of hills, isolate patches of light and remove busy foreground elements. Looking away from the obvious viewpoint often reveals smaller compositions that feel more personal.
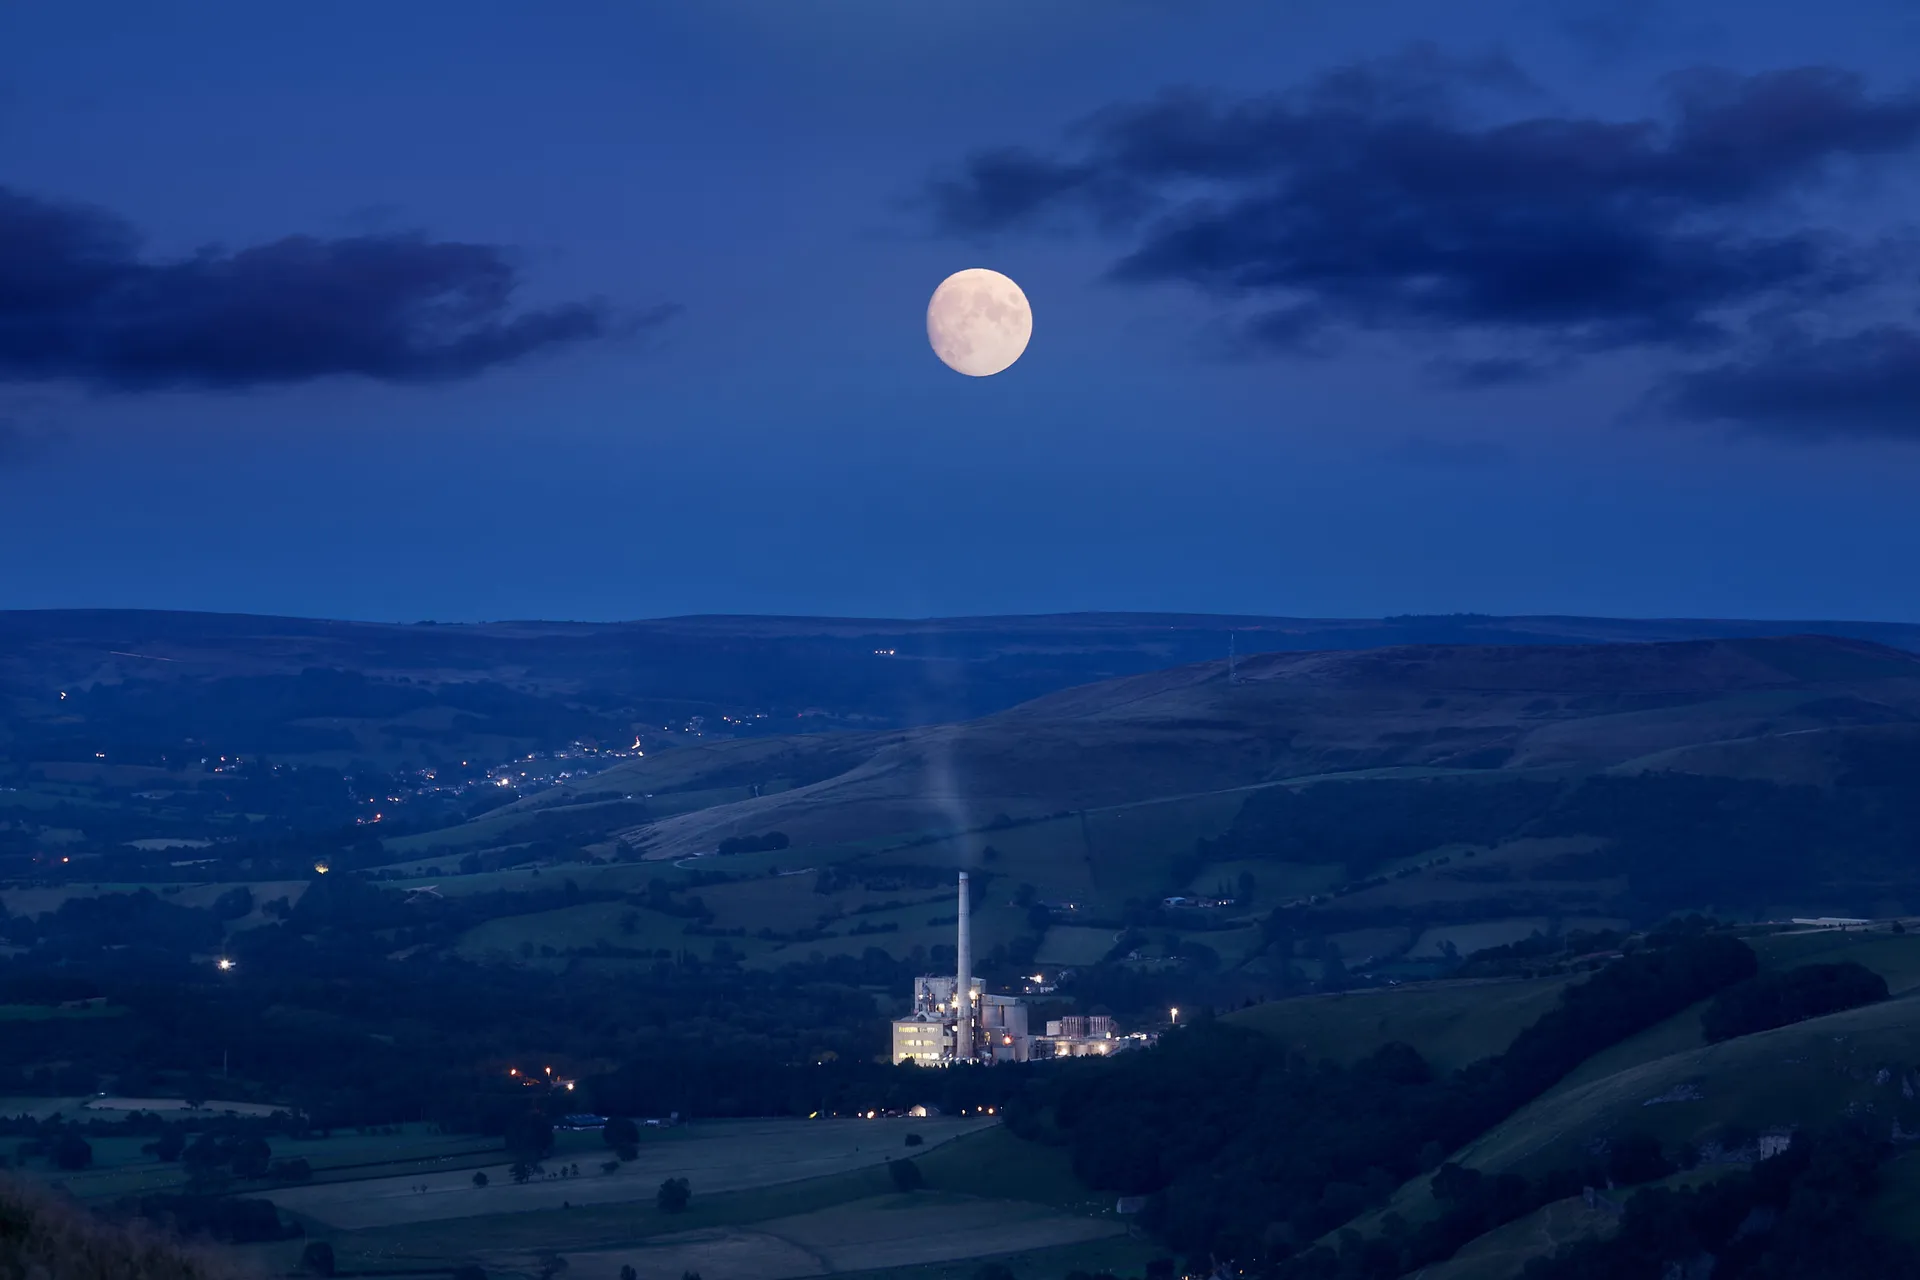
Below Mam Tor, the winding road towards Edale offers another strong subject. During blue hour, the shape of the road creates a natural S-curve through the frame. With the camera secured on a tripod and a longer exposure, passing cars produce light trails that emphasise the curve and add movement to an otherwise still landscape. The best frame is usually a balance between the remaining ambient light and the brightness of the vehicle trails, rather than waiting until the surroundings are completely dark.
Mam Tor is exposed, and the conditions at the top can be colder and windier than they are near the car. I keep the tripod as low and stable as possible and carry layers even when Manchester feels relatively mild.



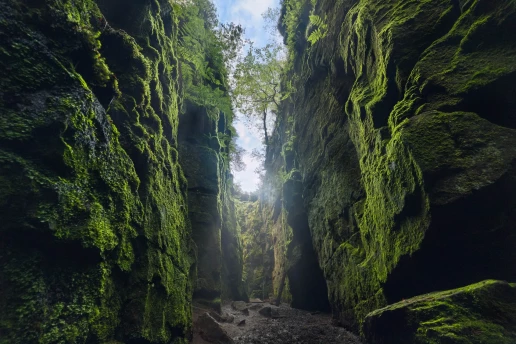
3. Lud's Church
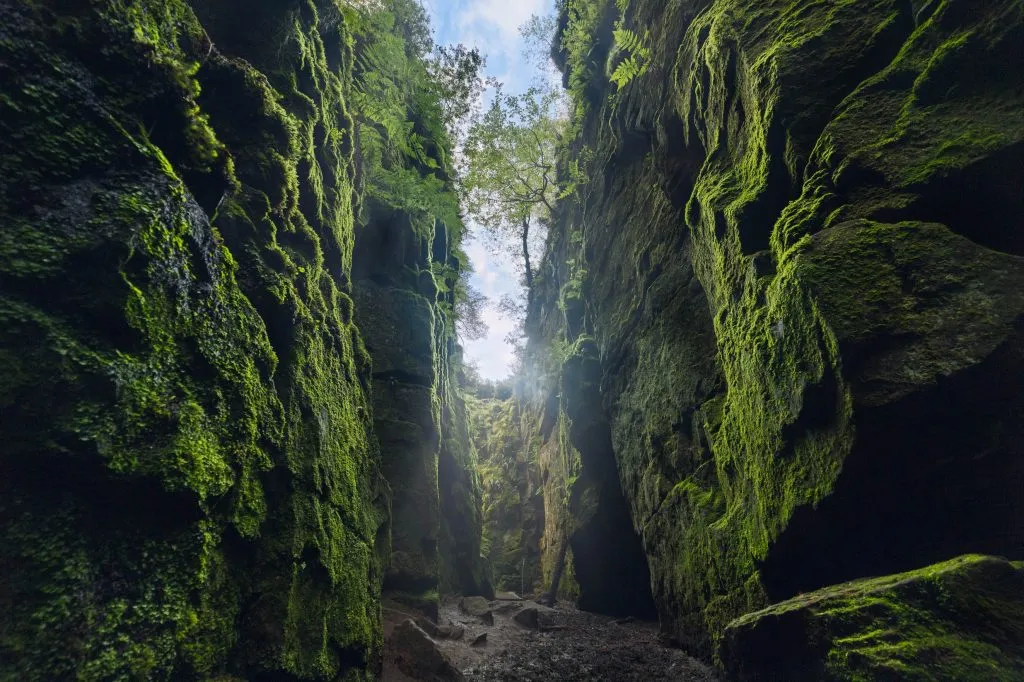
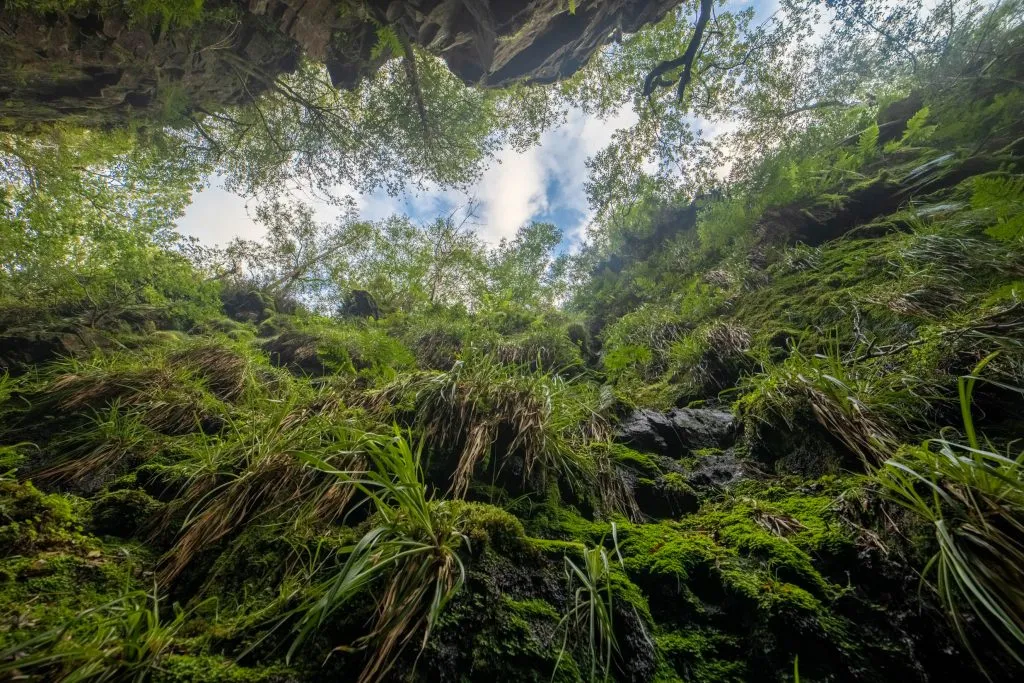
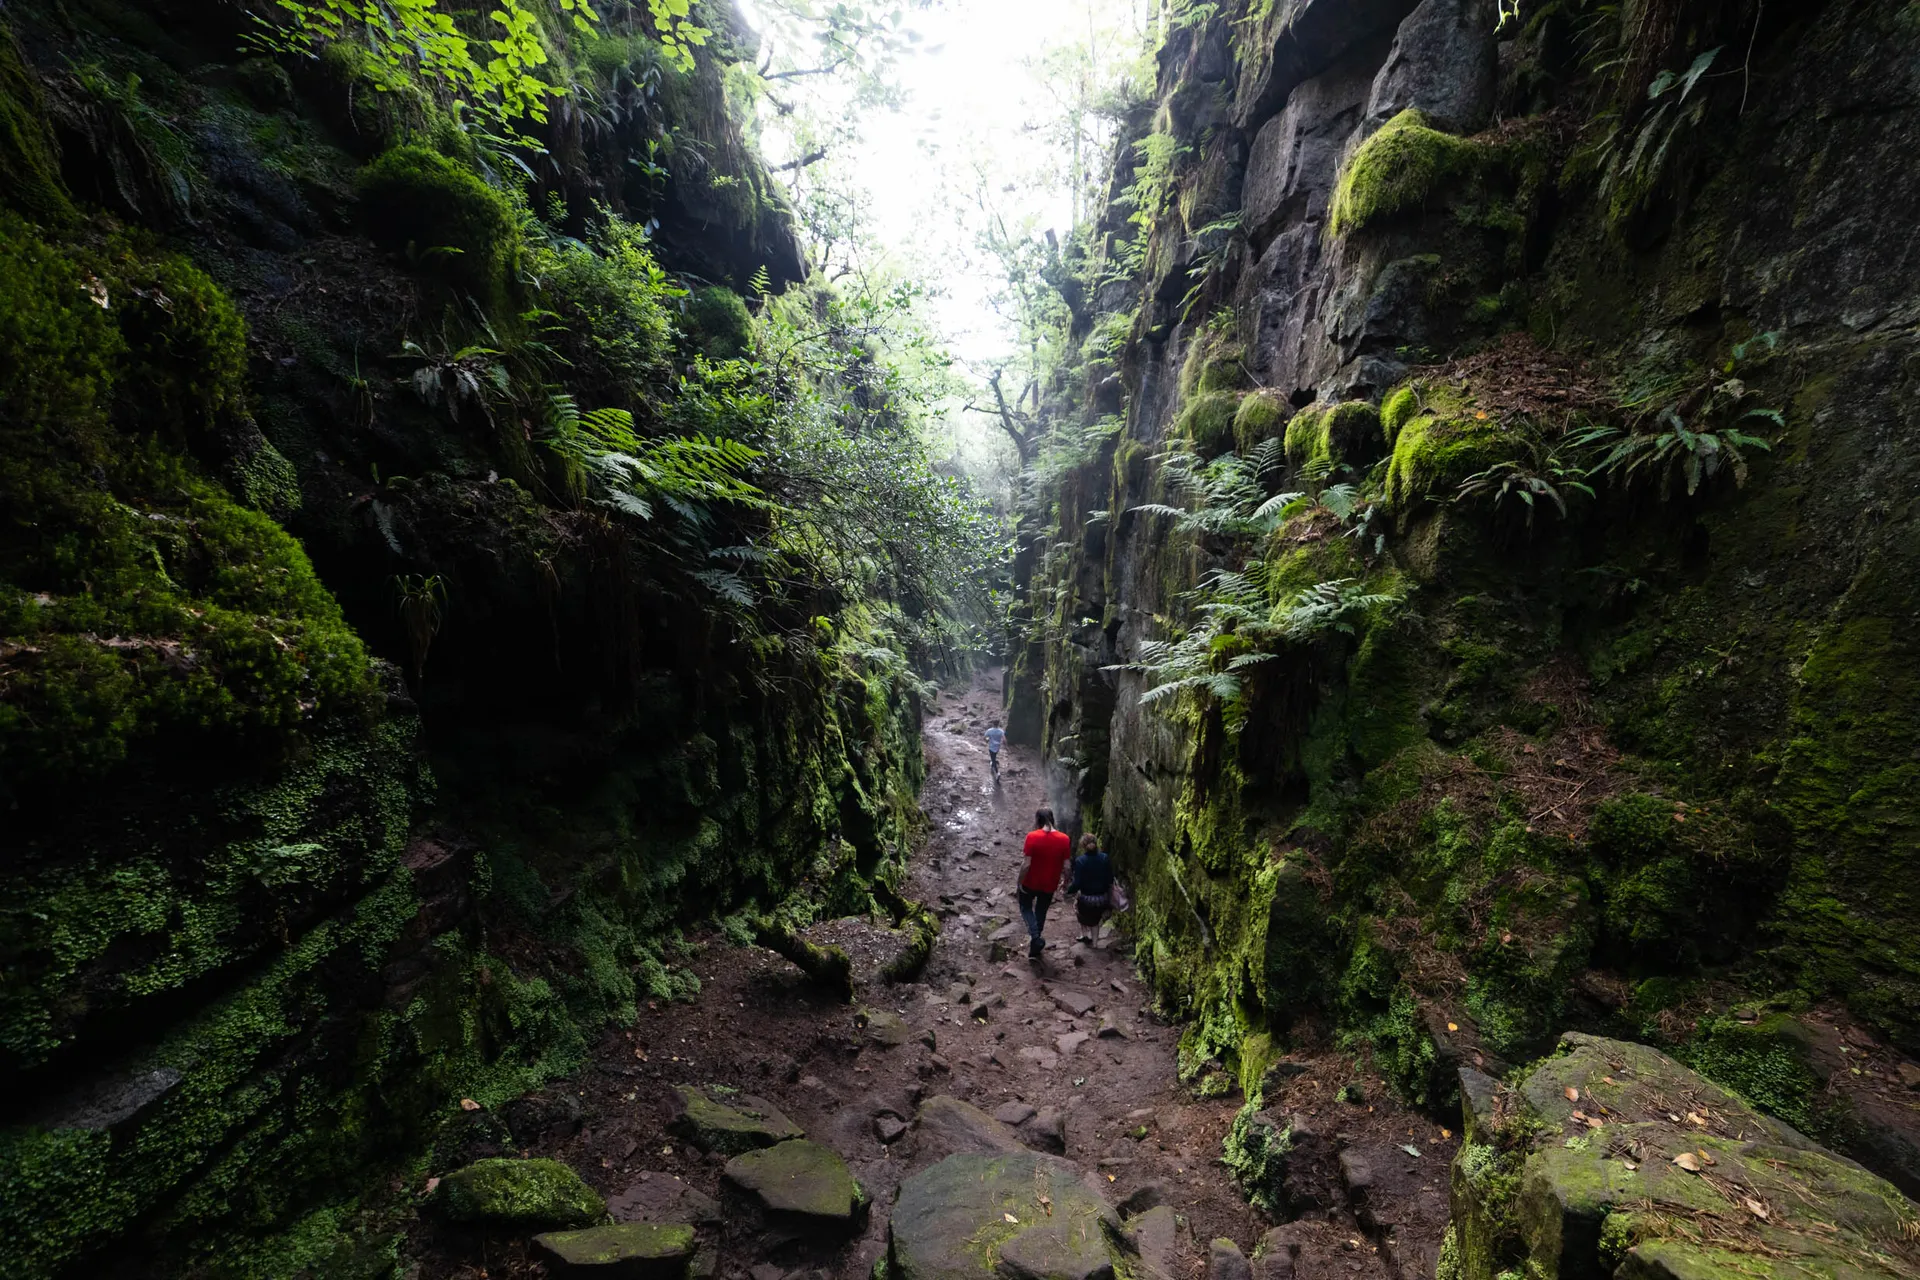
Lud's Church is a deep, narrow chasm hidden in woodland near the Roaches. Moss covers much of the rock, and the high walls create a cool, enclosed atmosphere that feels completely removed from the open moorland nearby.
The photographic challenge here is the contrast between the darker floor of the chasm and the brighter opening above. Overcast weather is ideal because it softens that difference and produces rich, even colour in the moss. After rain, the greens can look particularly strong, although the rocks and paths may also become slippery.
A wide-angle lens helps communicate the height and narrowness of the space. I often position a person deeper in the frame, when appropriate, to provide scale and make the size of the rock walls easier to understand. Strong vertical lines are important, so I take care to keep the camera level or correct the perspective gently during editing.
It is tempting to make every photograph extremely wide, but some of the most interesting details are smaller: roots gripping the rock, layers of moss, water on stone and light filtering through the trees above. Alternating between wide establishing photographs and tighter details gives a much better visual story of the location.
Light levels inside the chasm can be low even during the day. A tripod is useful, but when space is busy I prefer a stabilised camera and a slightly higher ISO rather than blocking the narrow path for other visitors.

4. Thor's Cave and the Manifold Valley
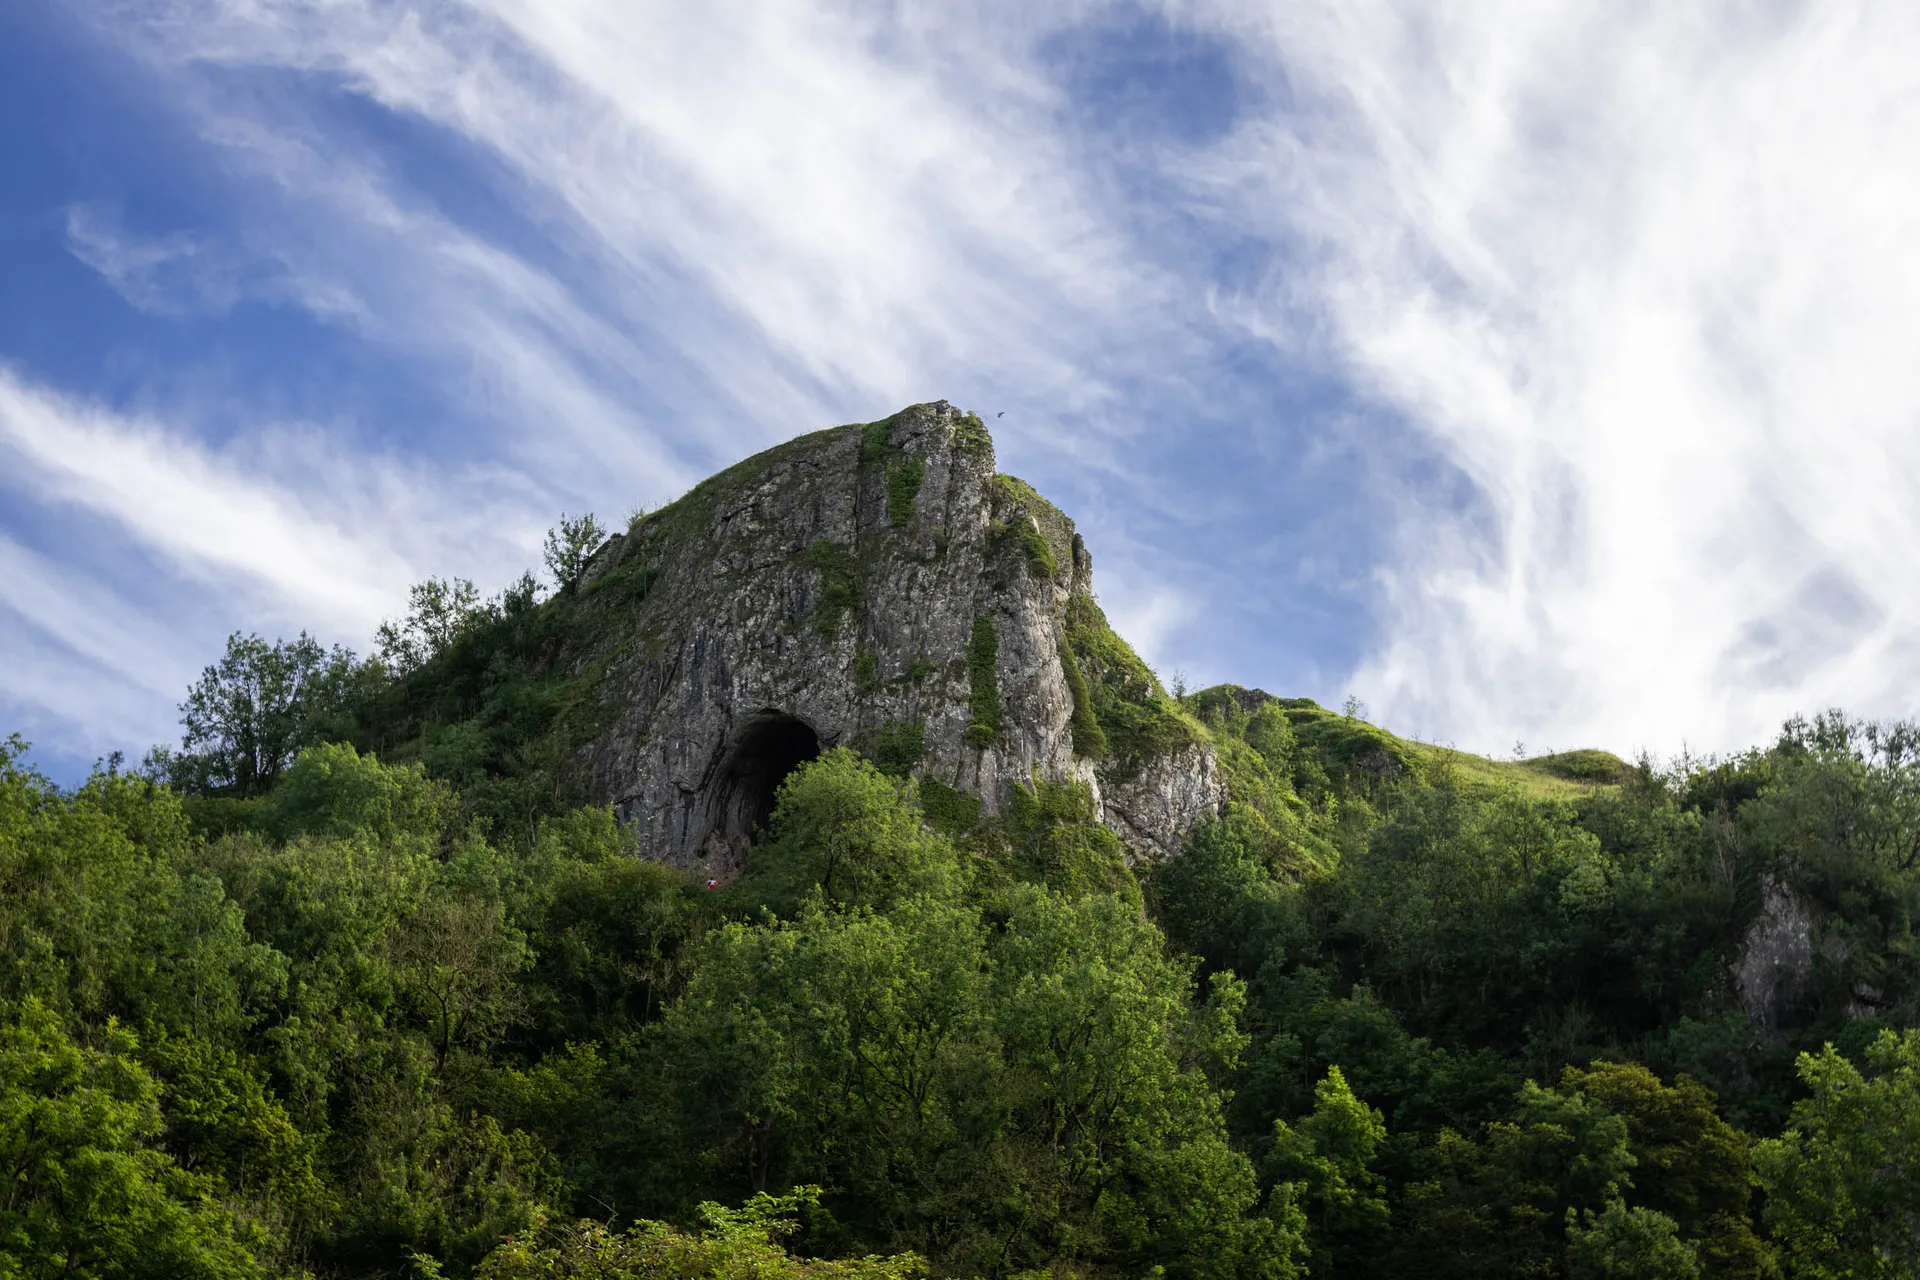
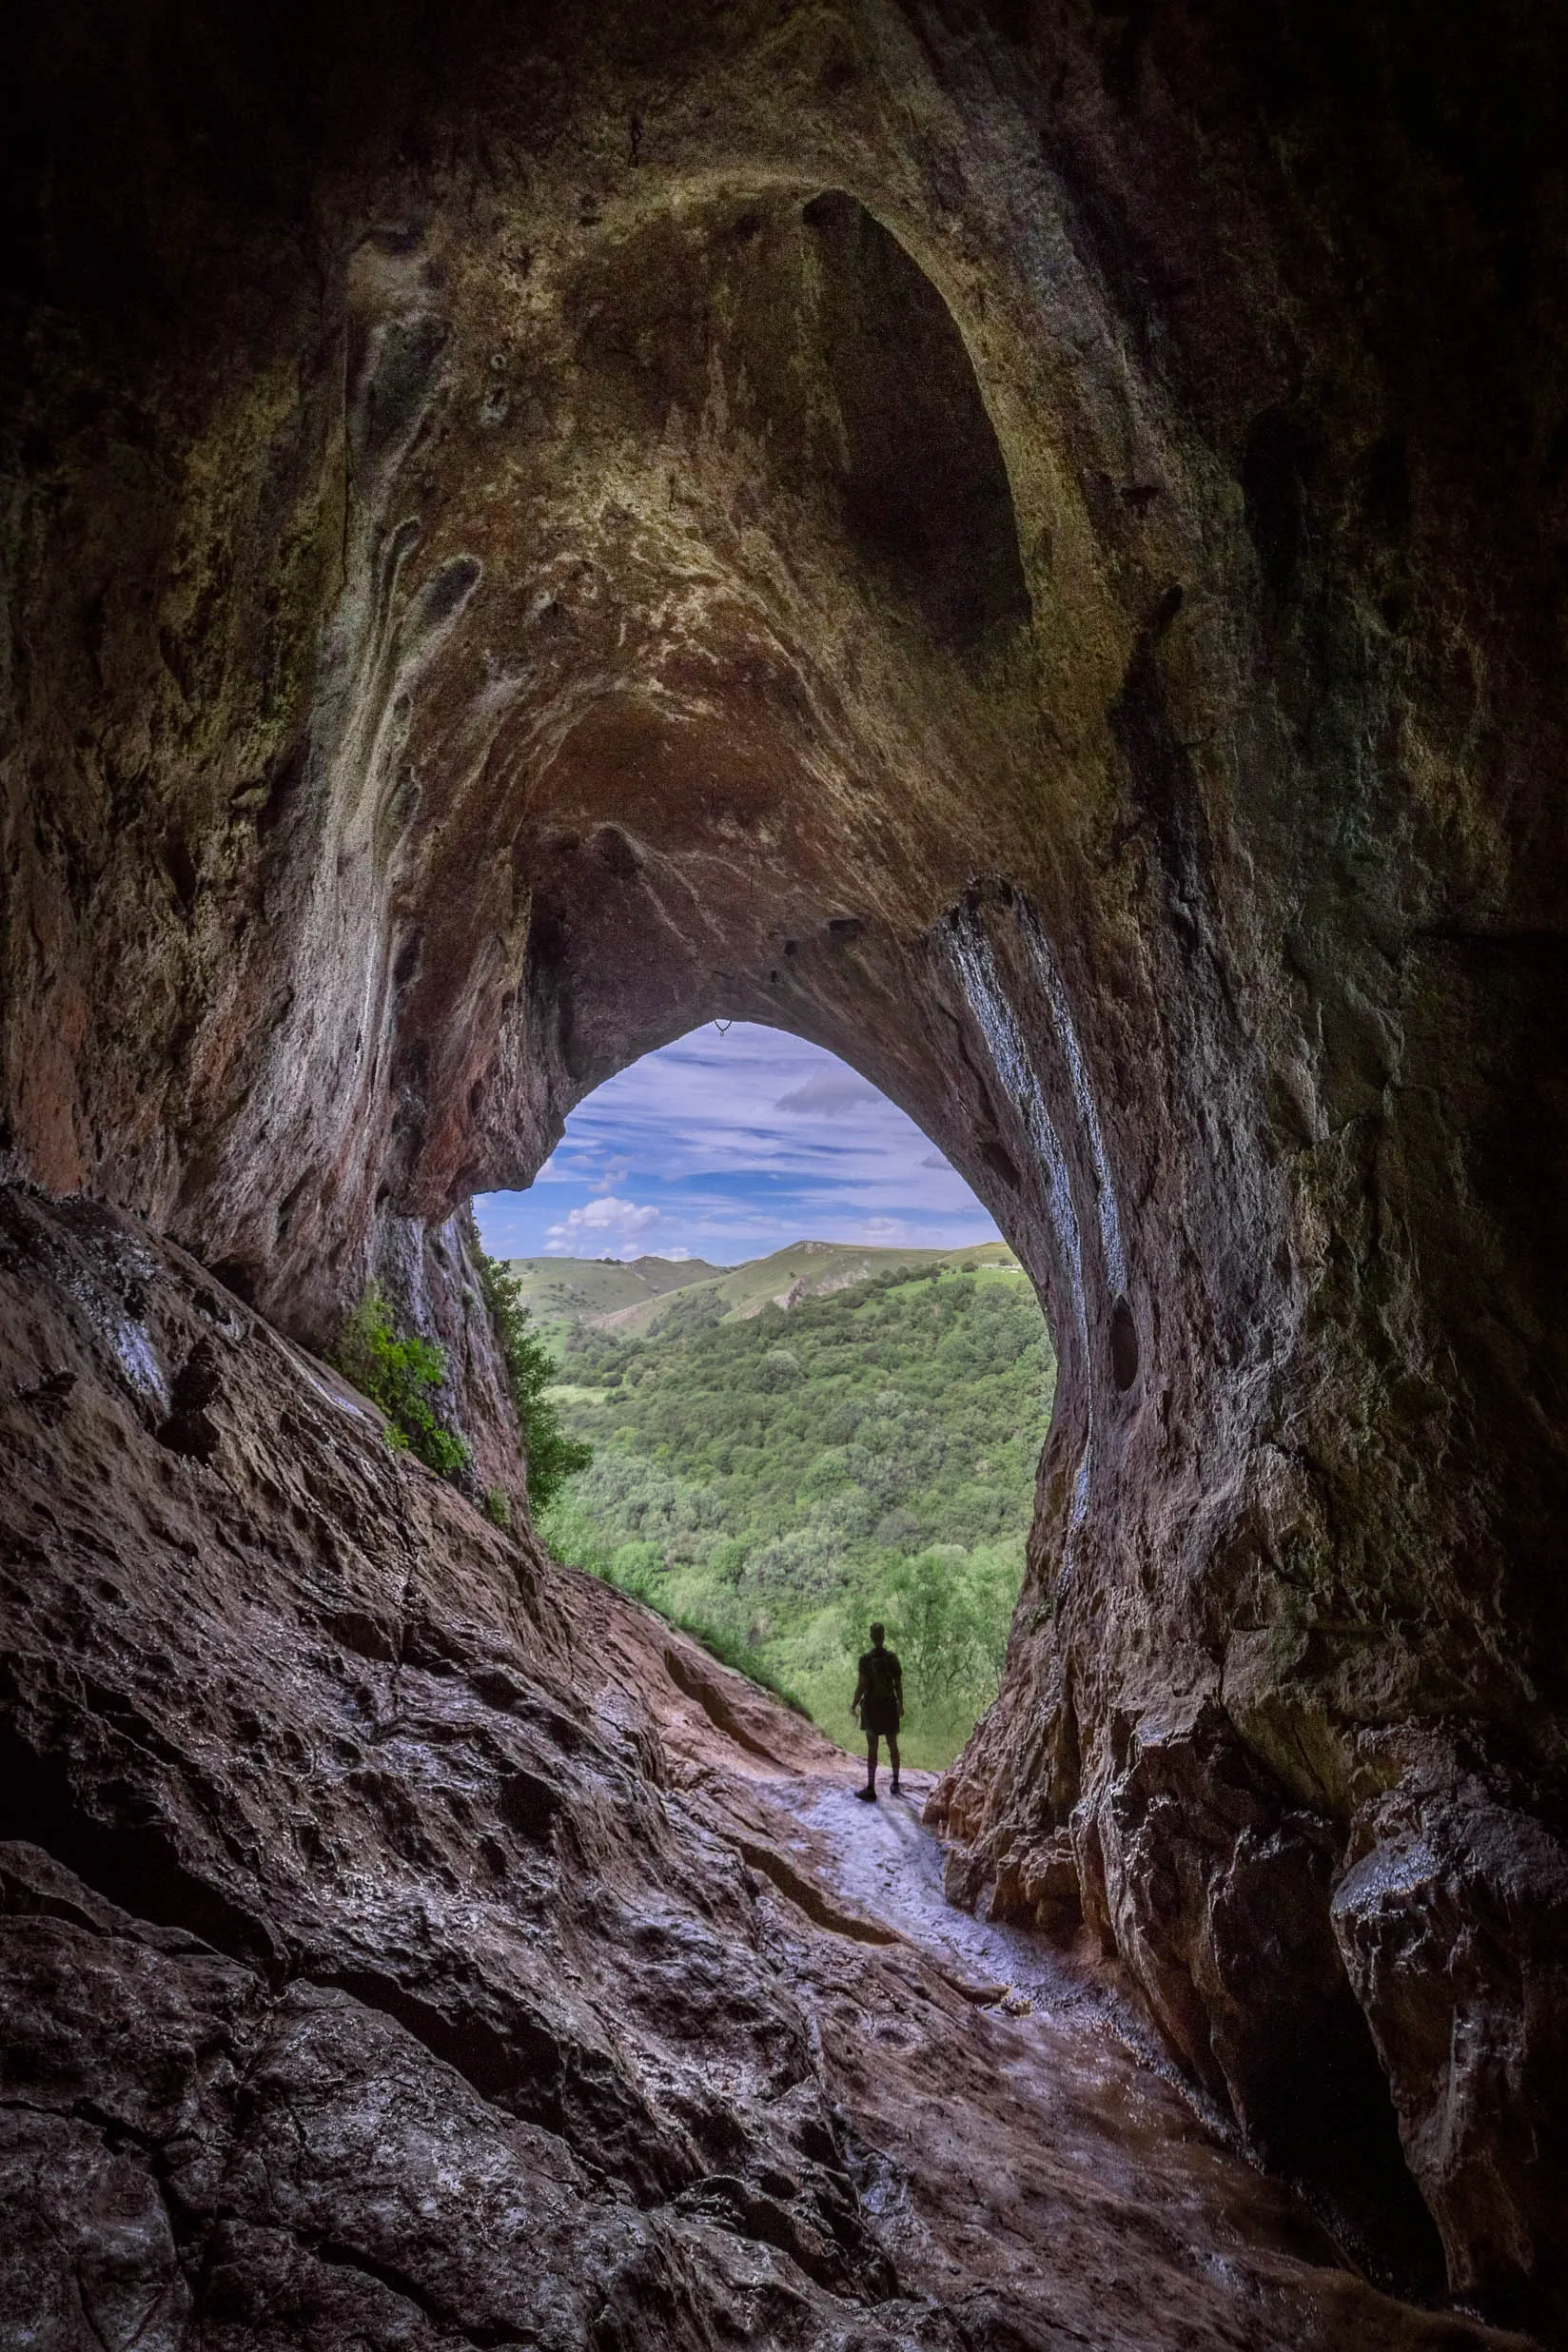
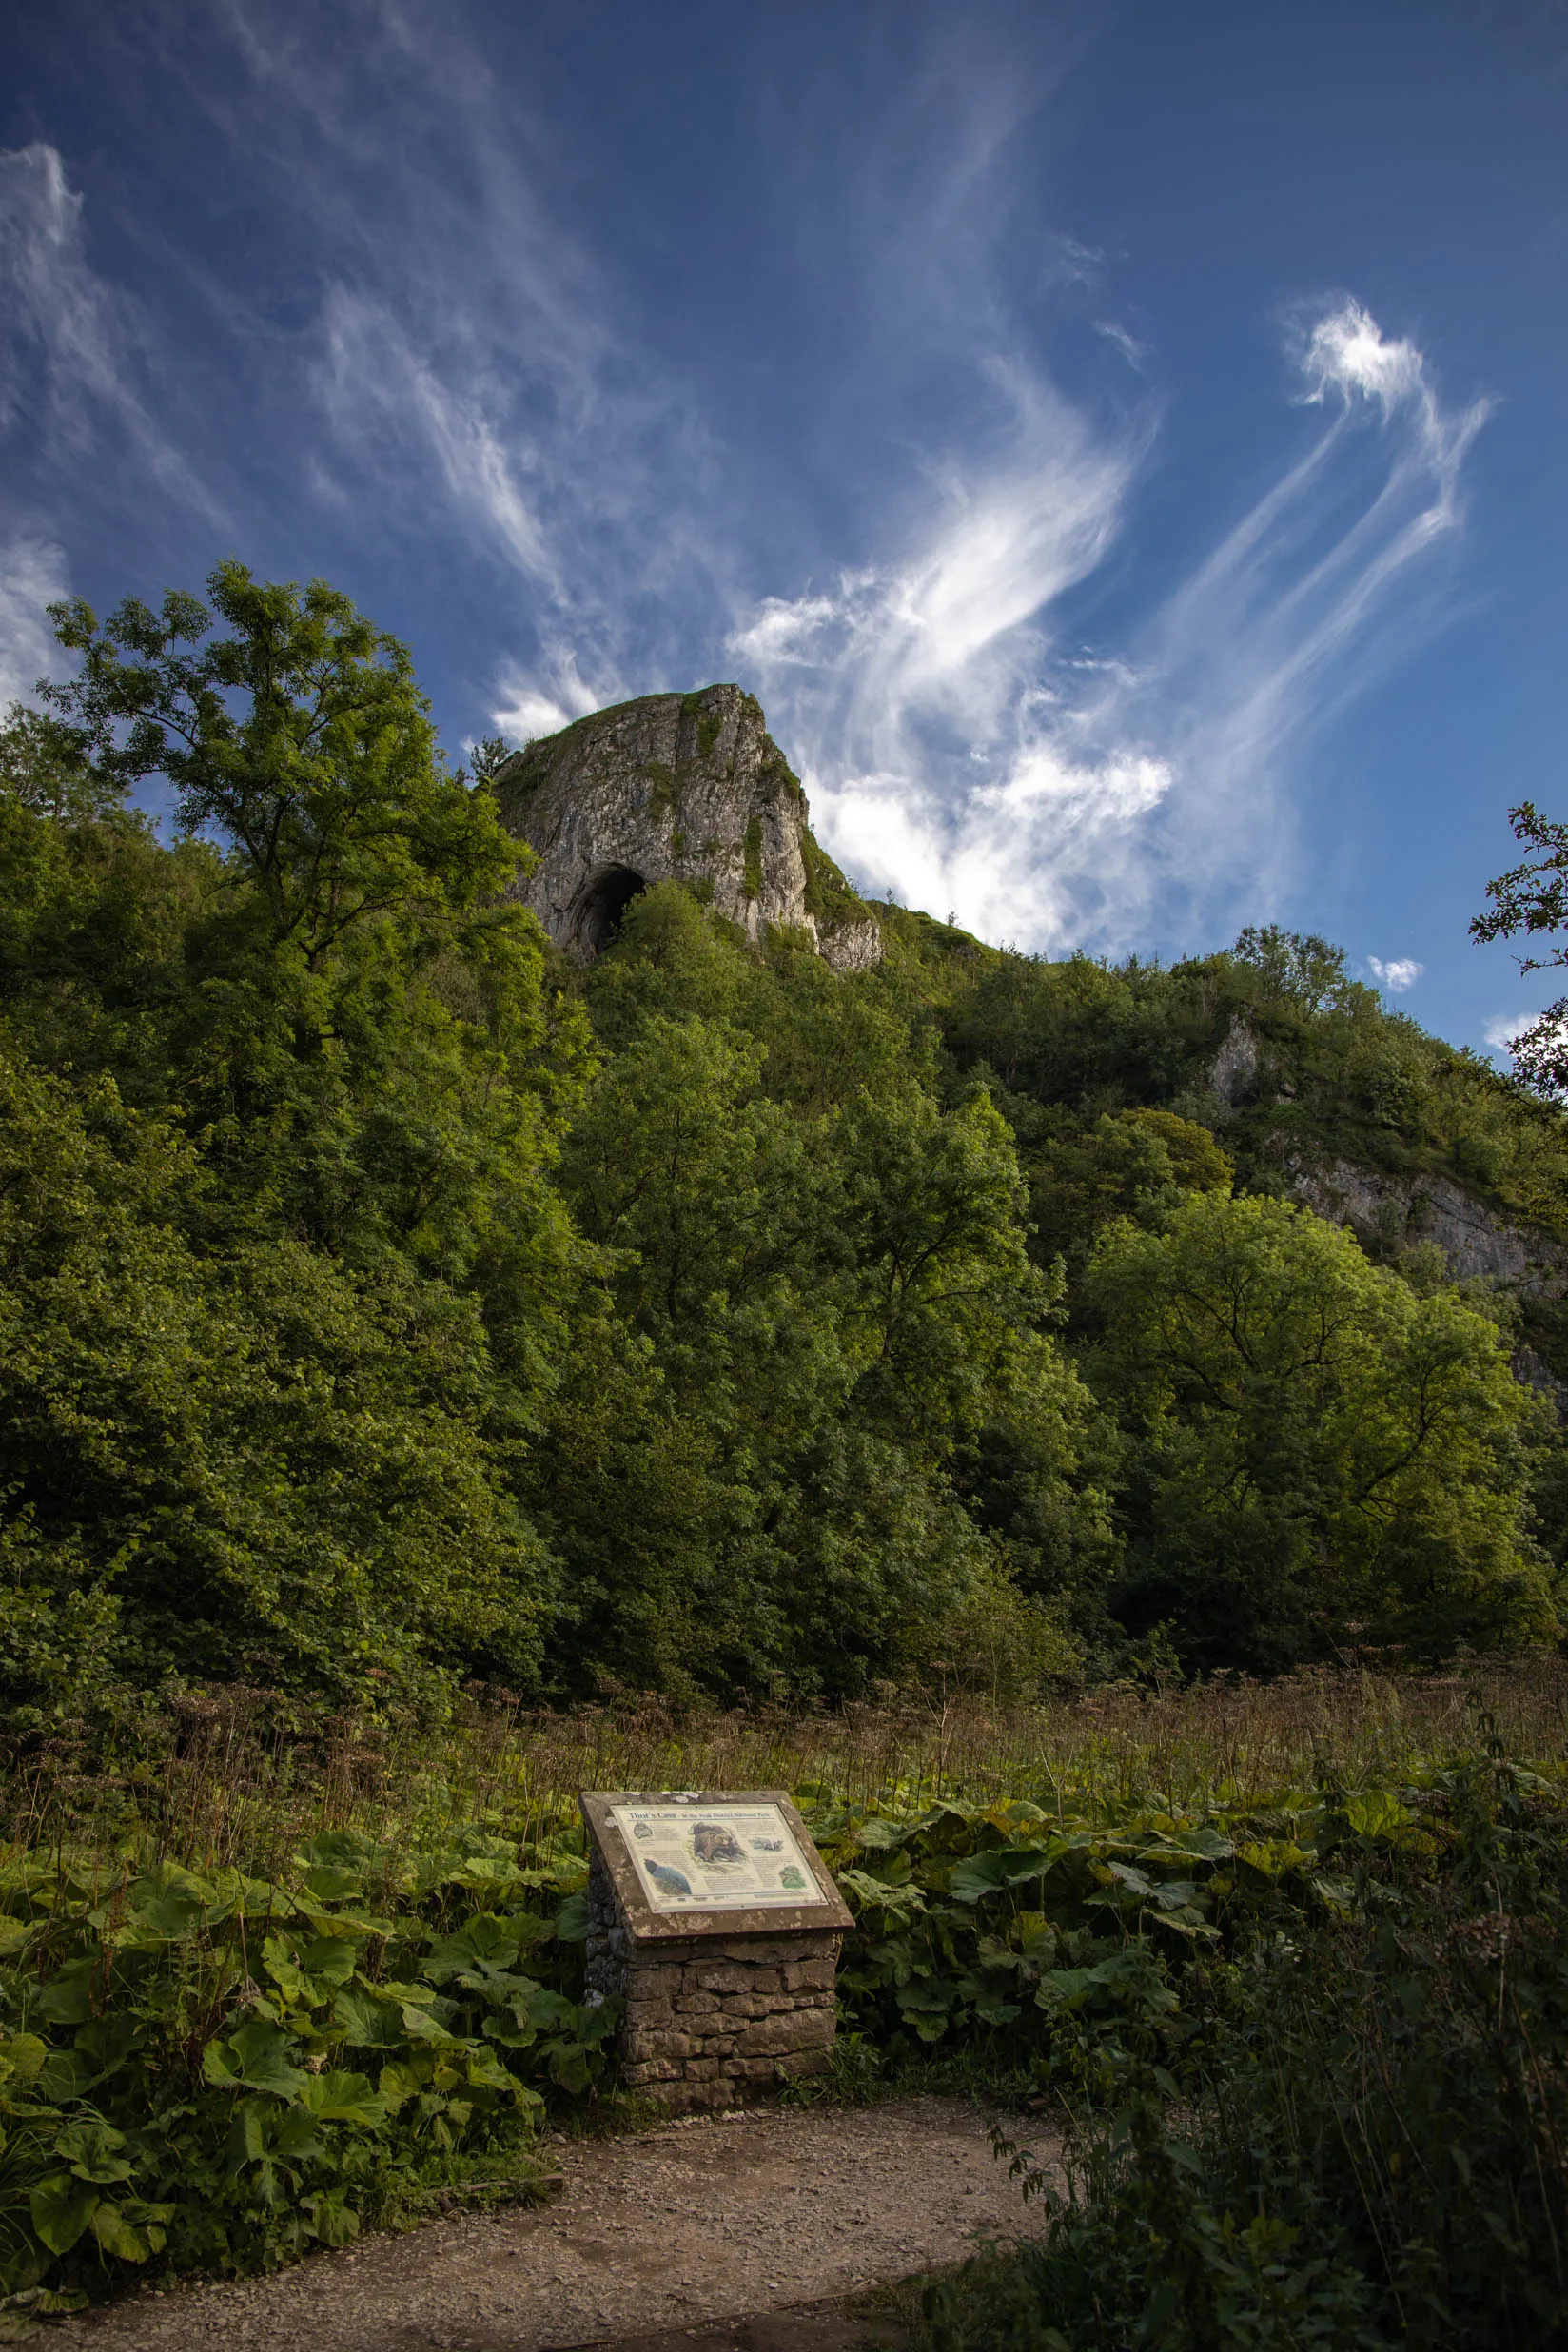
Thor's Cave has one of the most recognisable natural entrances in the Peak District. The opening looks across the Manifold Valley and provides a frame within the frame, with the dark rock surrounding a much brighter landscape outside.
That contrast makes the cave both dramatic and technically difficult to photograph. Exposing only for the valley can turn the cave interior almost completely black, while exposing for the rock can lose detail in the sky. I normally protect the highlights outside and allow the interior to remain dark enough to preserve the atmosphere. When the contrast is extreme, a carefully blended bracketed exposure can produce a natural result without making the cave look artificially bright.
A wide lens is the obvious choice inside the entrance, but composition matters more than simply fitting everything into the frame. The shape of the opening should lead attention towards a clear feature in the valley, and the dark areas need enough structure to frame the view rather than becoming large empty shapes.
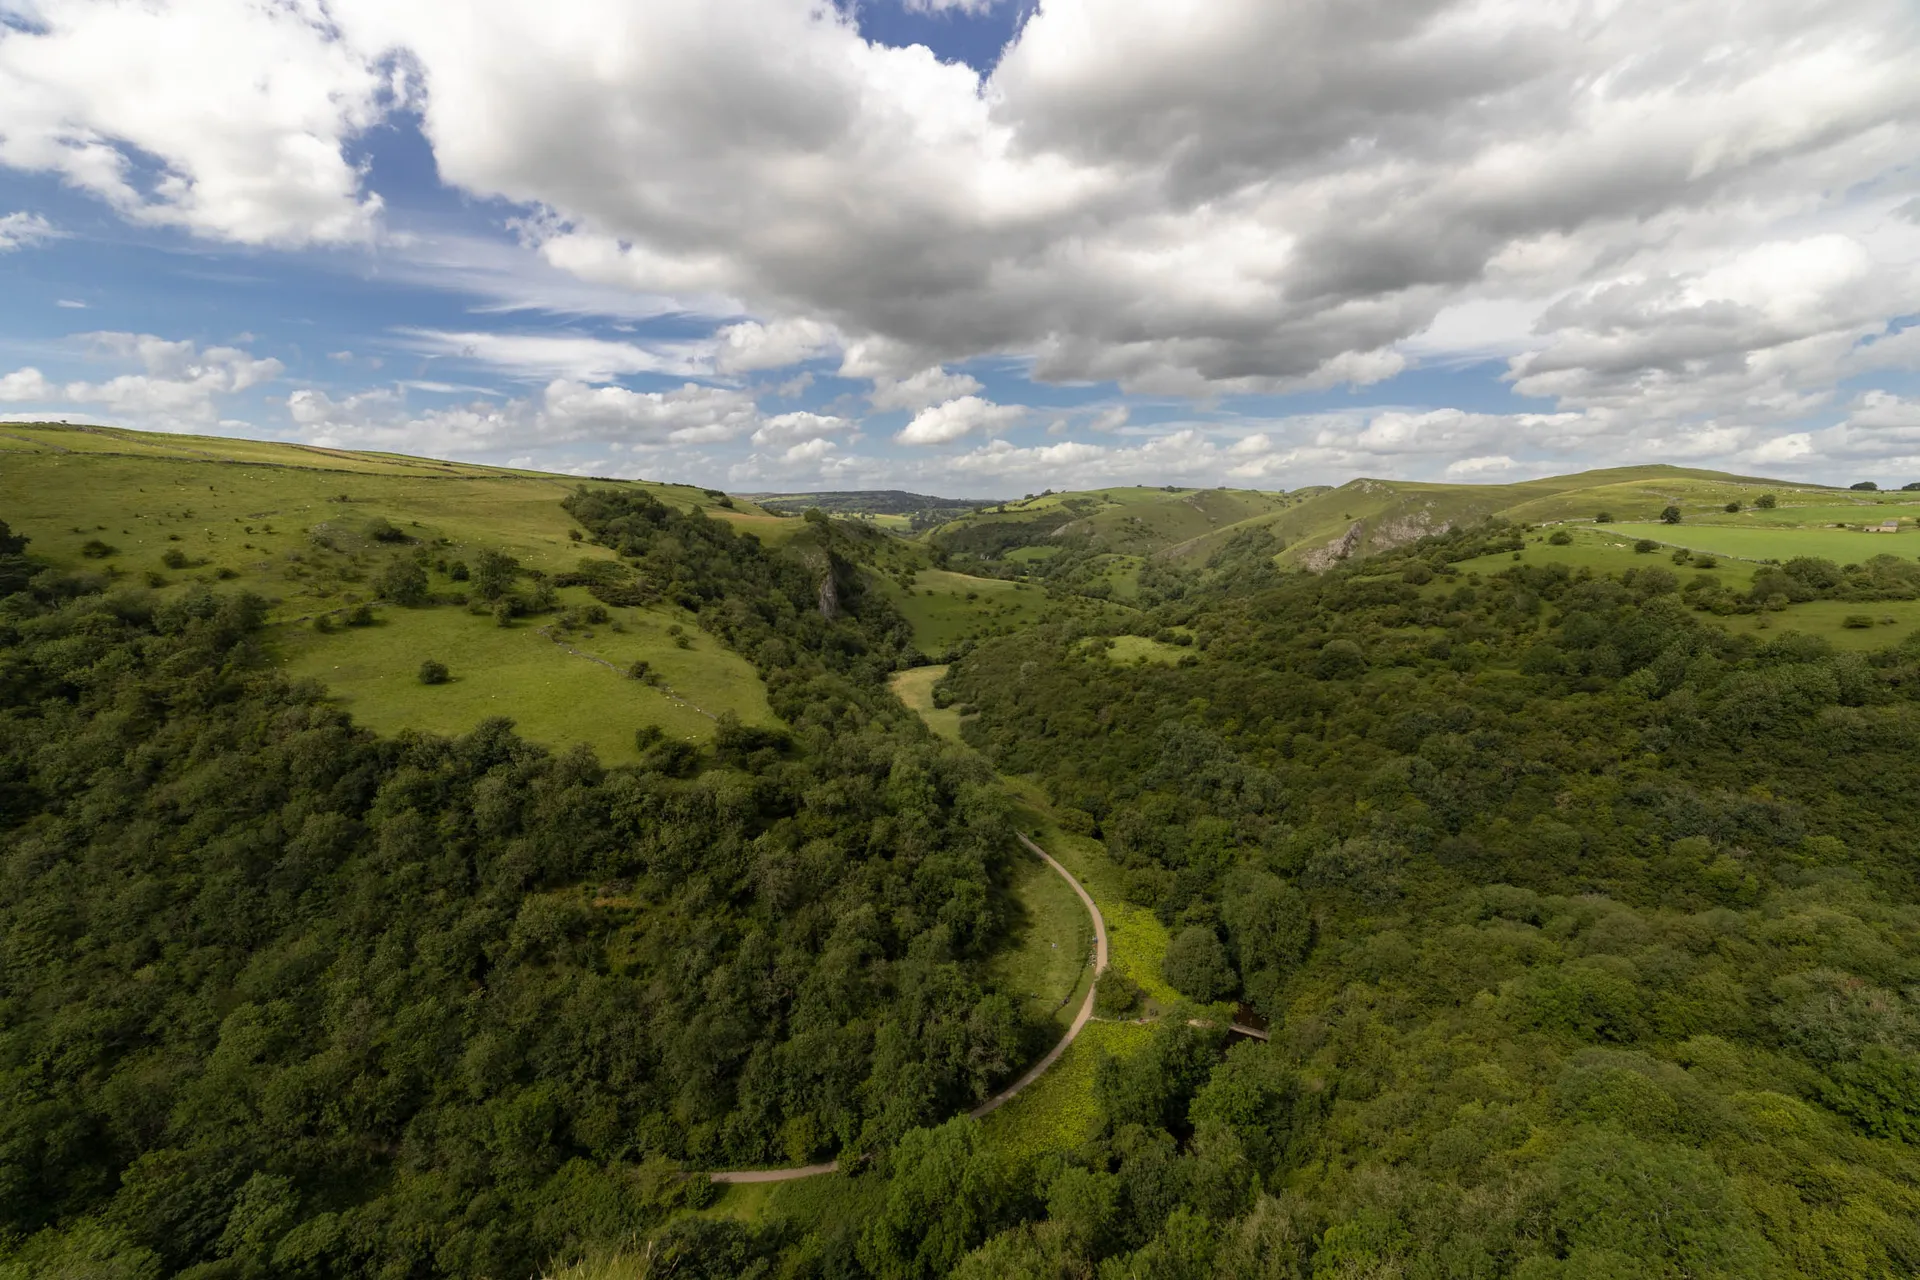
The cave is only part of the location. The surrounding paths provide elevated views across the valley, while the approach can be used to show the relationship between the limestone landscape and the cave itself. Including a walker near the entrance can provide scale, but the uneven, polished rock requires care, particularly after rain.
Early or later light can bring more shape to the valley, but I avoid treating this as a place that only works at golden hour. Broken cloud, rain moving across the hills and softer seasonal colour can be just as effective.
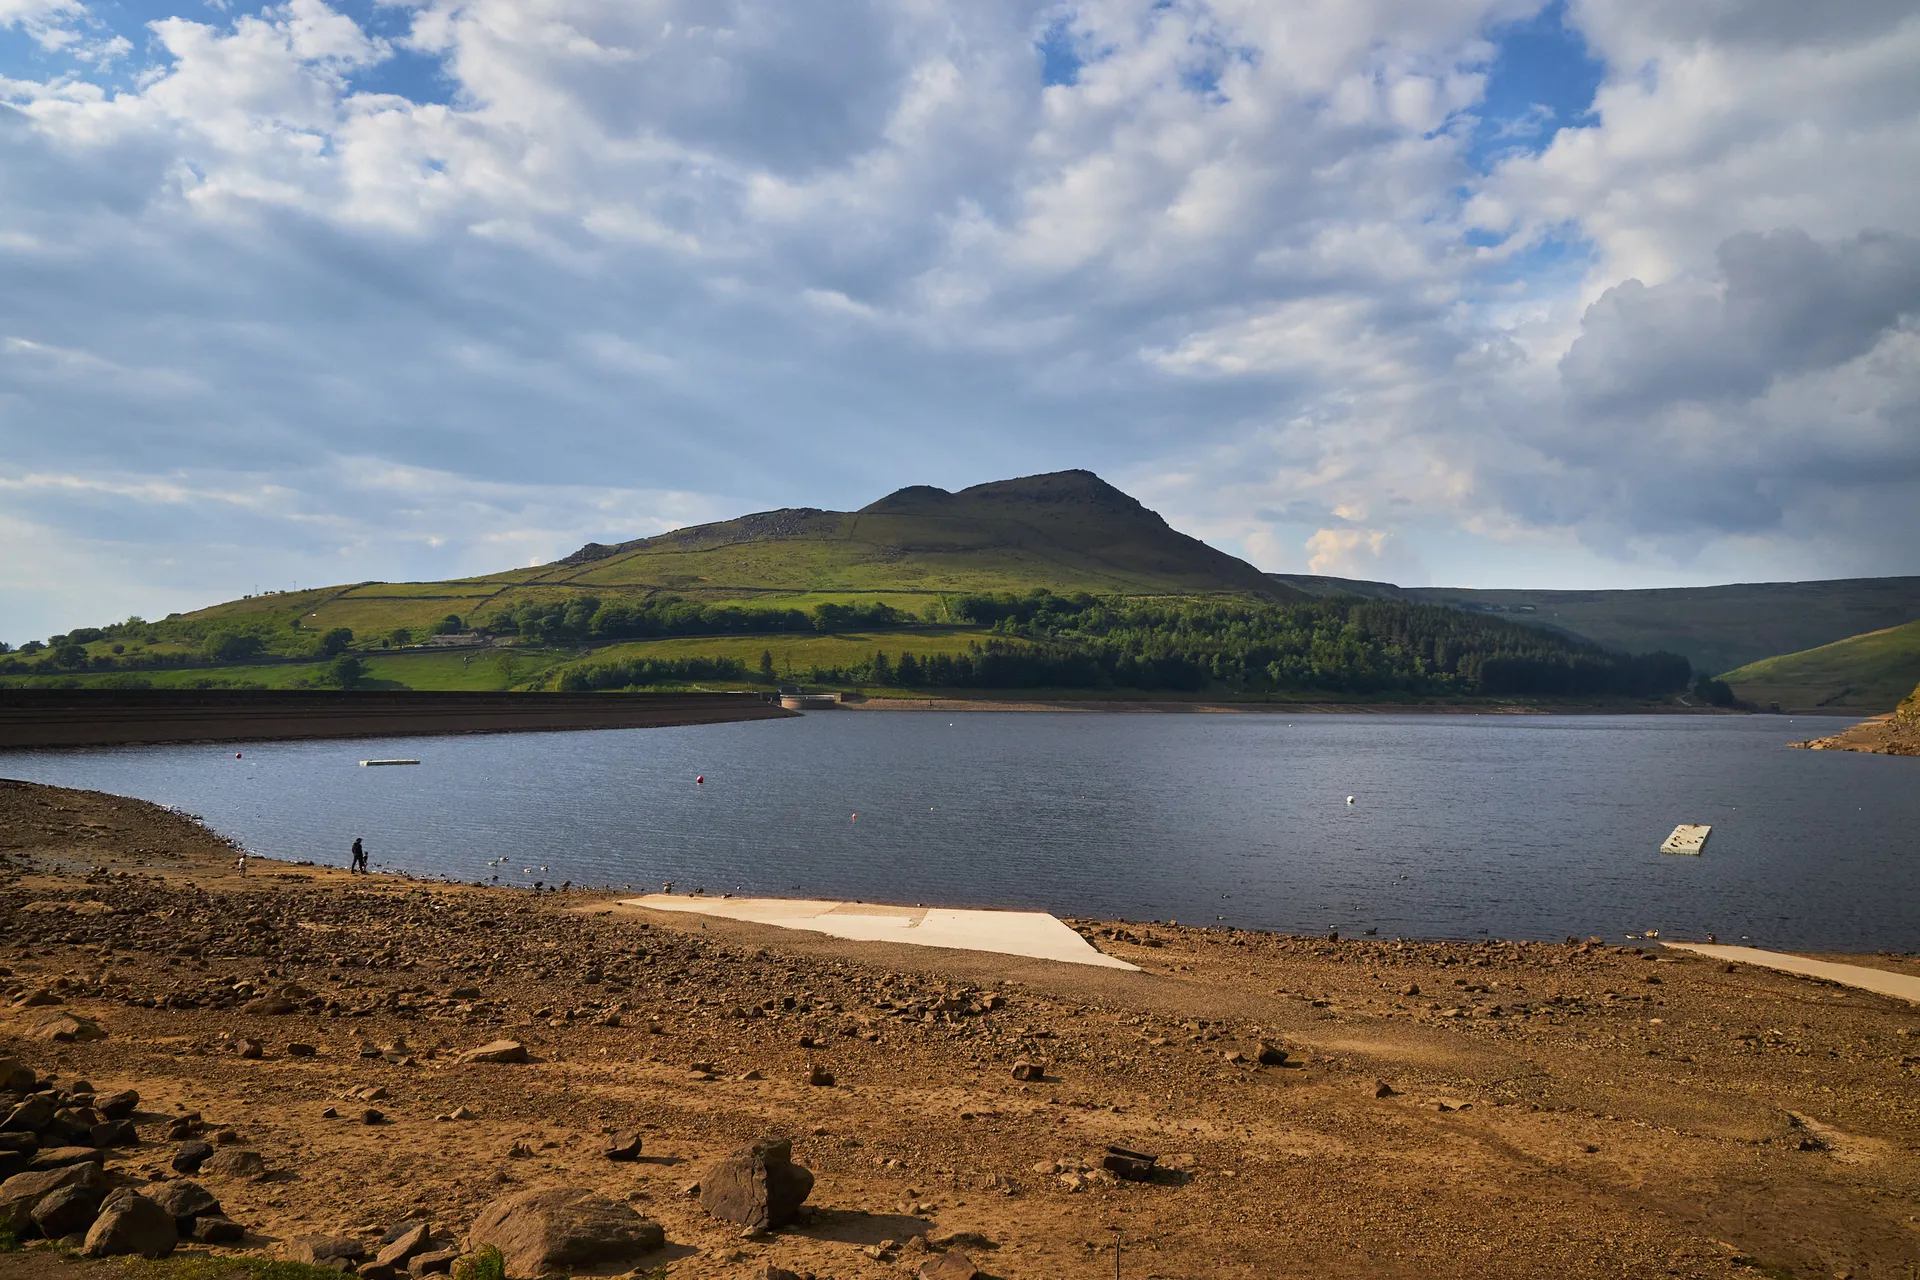
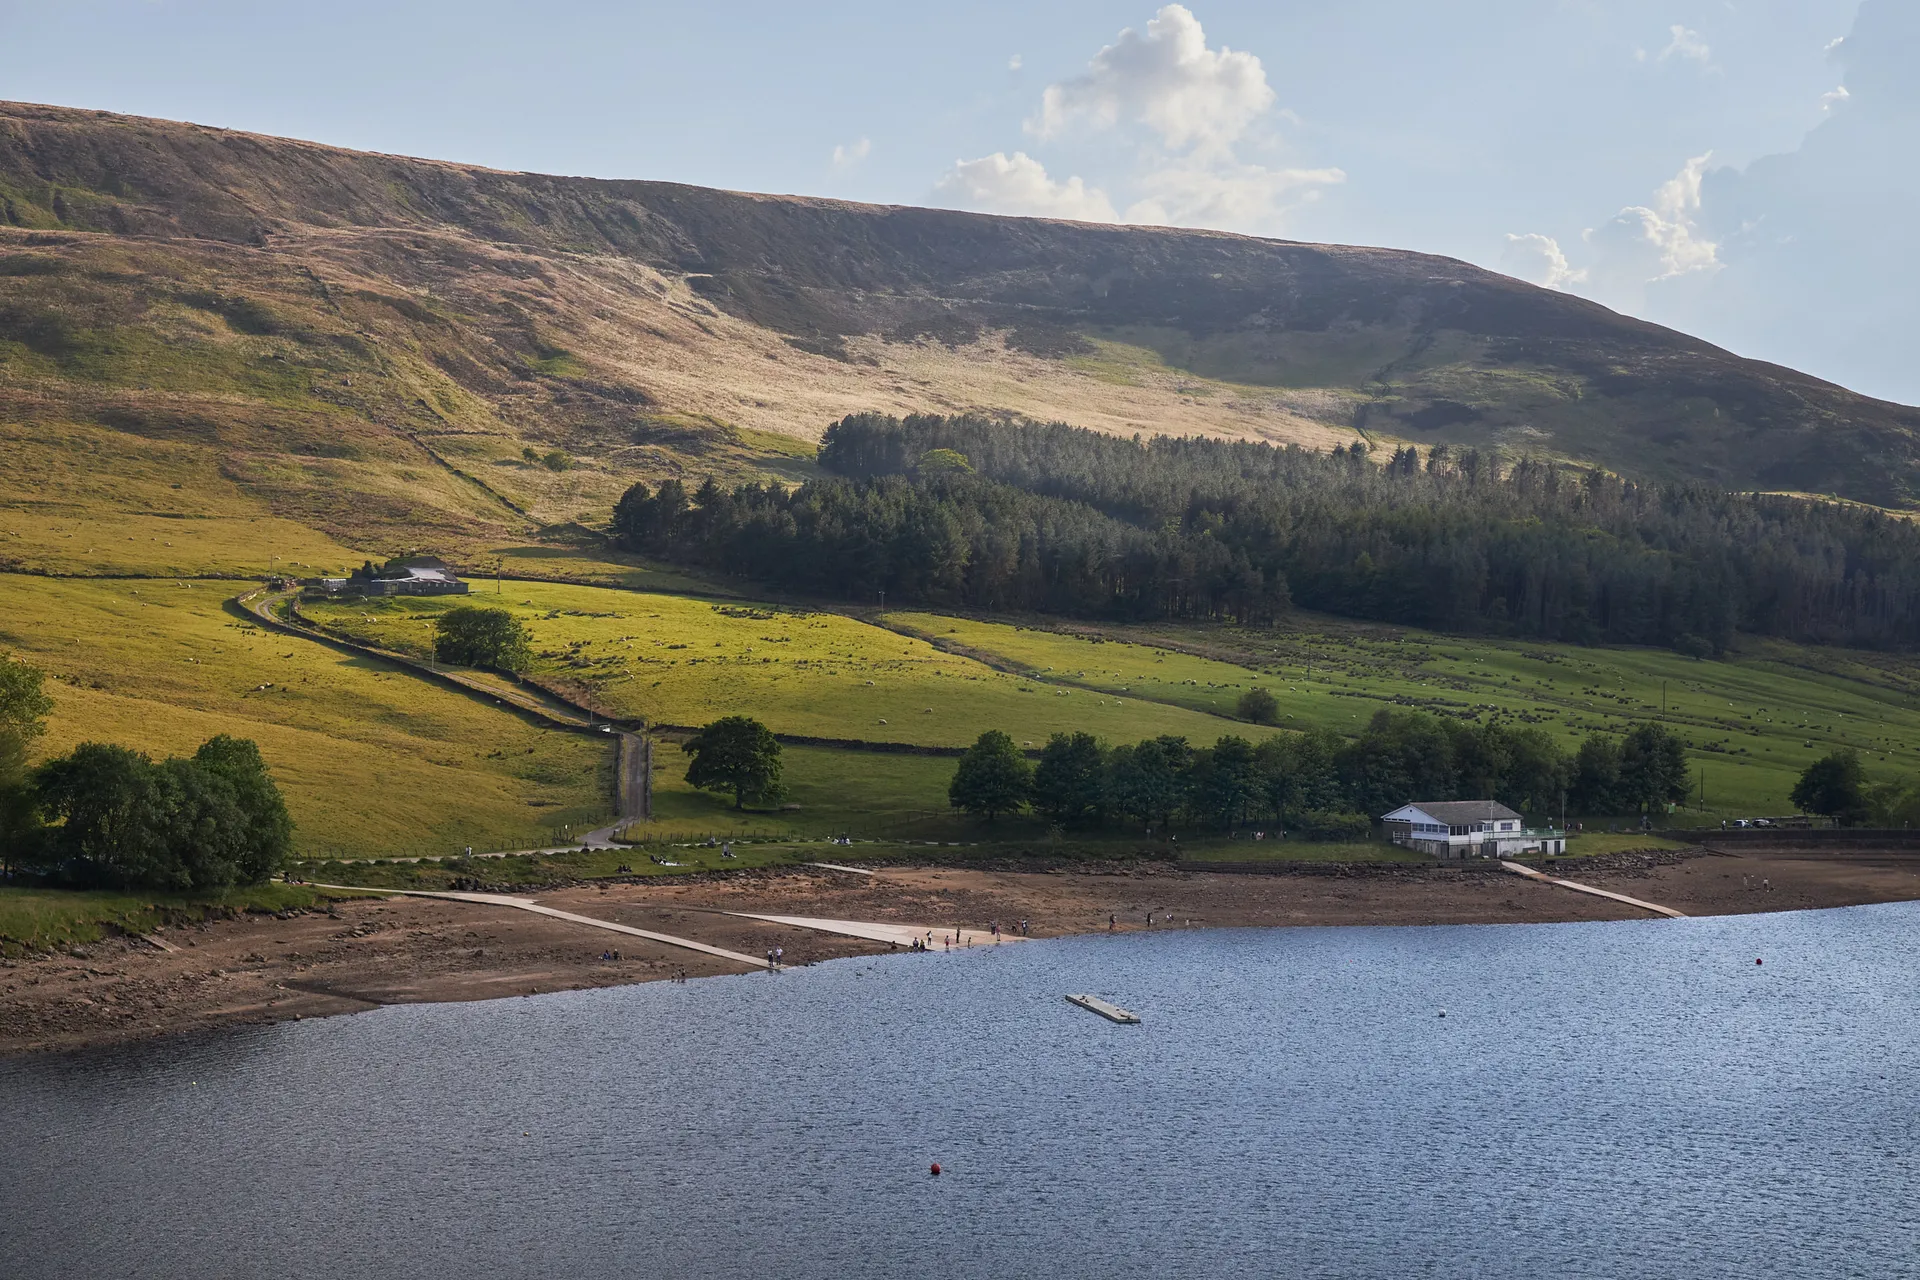
5. Dovestone Reservoir
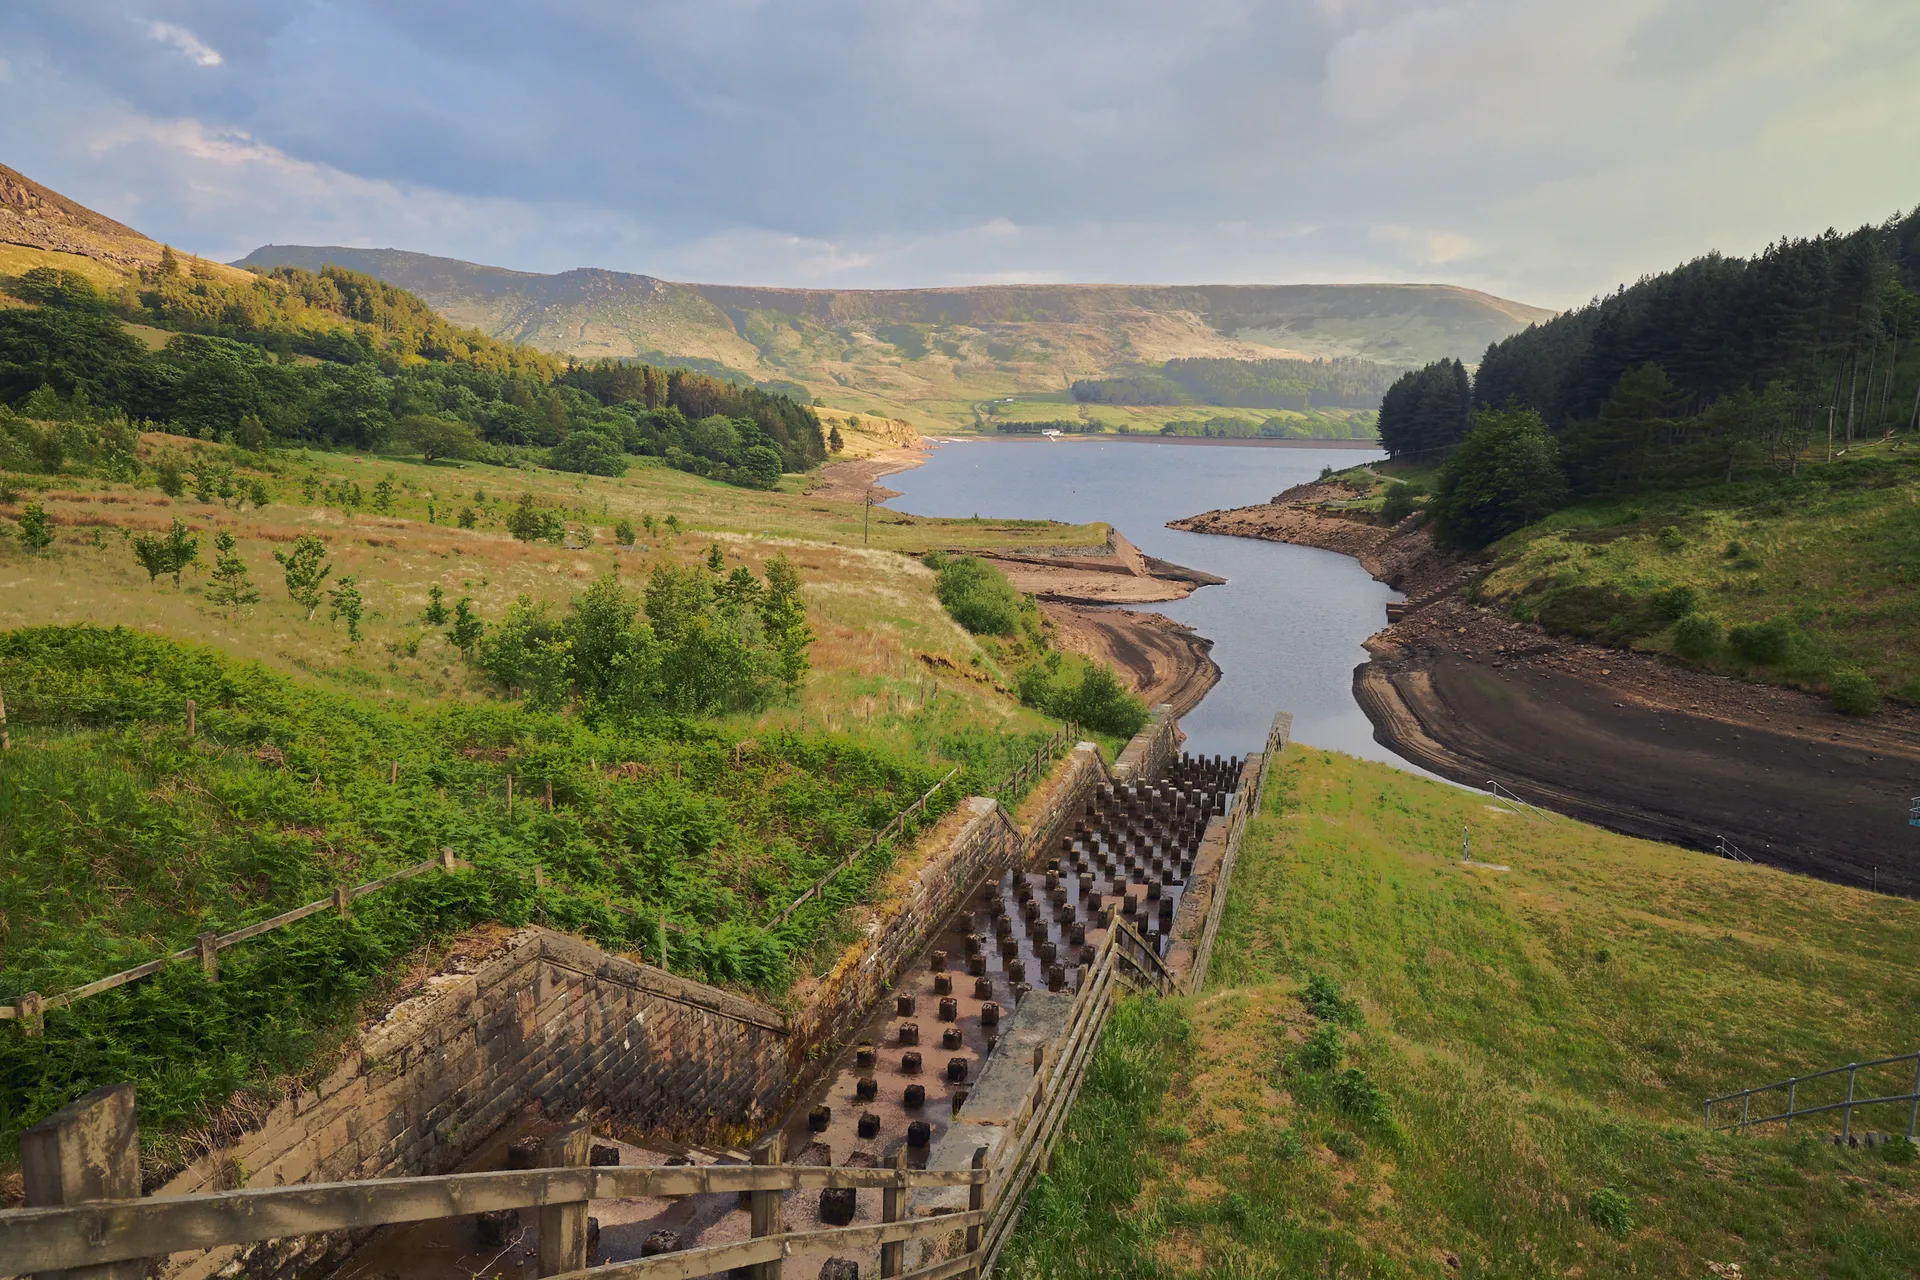
Dovestone Reservoir is the most accessible and relaxed location in this selection. Water, woodland and the surrounding hills all sit within the same landscape, which makes it suitable for anything from a family walk to a deliberate sunrise or sunset shoot.
The reservoir gives a photograph a strong foreground and, in calm conditions, reflections can add symmetry. A perfectly centred reflection can work, but I usually look for something that breaks the balance: reeds, stones, a curve in the shoreline or a patch of light on the hillside. These elements create depth and stop the image feeling like two equal halves.
In windy weather, when reflections disappear, a longer exposure can soften movement on the water and simplify the surface. I still want to retain some texture, so I do not always aim for the completely smooth effect often associated with strong neutral-density filters.
The surrounding hills can catch evening light after much of the reservoir has fallen into shade. A telephoto lens is useful for isolating those brief areas of colour, while a wider lens works better when the sky and water are both contributing to the scene. As at Mam Tor, changing focal length often creates more variety than moving repeatedly between similar viewpoints.
Dovestone is also a good reminder that landscape photography does not always need a dramatic expedition. Familiar places reward repeat visits because you begin to recognise where the light falls, how water levels change and which compositions work in different seasons.

What I Take With Me
I normally carry a wide-angle lens for enclosed spaces and foreground-led landscapes, plus a standard or telephoto lens for simplifying distant hills and woodland. A stable tripod is useful for sunrise, blue hour, water and bracketed exposures, but it should support the composition rather than dictate it.
Weather protection, suitable footwear, a lens cloth and extra layers are just as important. Conditions in the Peak District can change quickly, and keeping the camera dry and the front element clean often matters more than carrying another lens.
Final Thoughts
These locations are not a definitive list of the best places in the Peak District. They are places I enjoy returning to because each one teaches a different way of seeing: simplifying woodland, following lines across a ridge, controlling contrast inside a cave or waiting for light to move across water and hills.
Good landscape photographs rarely come from rushing through a checklist of viewpoints. They come from slowing down, watching the conditions and revisiting a place until the composition and light work together.
You can explore more of my landscape and architectural photography in my portfolio. If you need professional photography for a property, architectural or commercial project in Manchester, Cheshire or the wider North West, please get in touch.
Best way to photograph in fog
Fog is what hooked me to photography. I remember vividly over two decades ago at my school trip we got struck with fog. Everyone thought it was bad thing to happen as it obstruct views we suppose to be having and made difficult for drivers. I was surprised of how much fear it had conjured upon our teachers who were afraid of pupils to get lost in it. However for me it felt good, having this feeling of mystery and awe. I know it can be very dangerous to travel by car or bout in foggy day but each time I encounter those unique weather conditions I cannot stay home. I grab my camera and go out to shoot.

So what causes it? Fog is a visible aerosol consisting of tiny water droplets or ice crystals suspended in the air at or near the Earth’s surface. Fog can be considered a type of low-lying cloud, usually resembling stratus, and is heavily influenced by nearby bodies of water, topography, and wind conditions. In turn, fog has affected many human activities, such as shipping, travel, and warfare.
Fog acts like a giant diffuser spreading colors and often creating an eerie glow around bright light sources. Therefore some cameras might be having trouble to focus and manual mode can be good way to get sharp images.


Few tips I to photograph in fog:
- Always shoot in RAW. It can be detrimental in post processing having possibility to adjust few settings like exposure or white balance
- Use manual lens focusing. It can be very helpful in situations when camera struggles to do it automatically
- Having tripod with you it’s always nice especially that fog often appears during the night
- It’s good idea to increase exposure compensation +1 EV
- Bringing speed light with radio triggers might be good idea however with color gels for extra creativity. I have not tried it yet myself but its definitely something I will do in future
- Shoot at least 3 exposures (HDR) for extra options in post production.
- Avoid polarizing filters. They don’t work well in fog
- Bring fiber cloth to wipe condensation from your lens to avoid blurry images
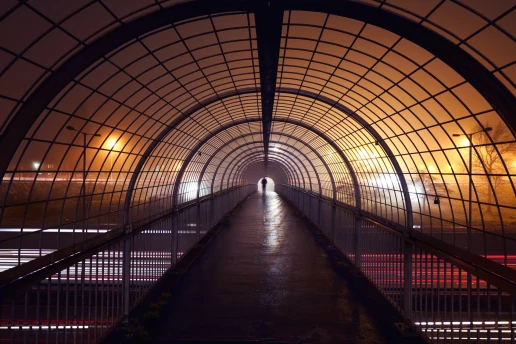
Here are some of my favorite images taken during foggy days. Mostly Manchester.


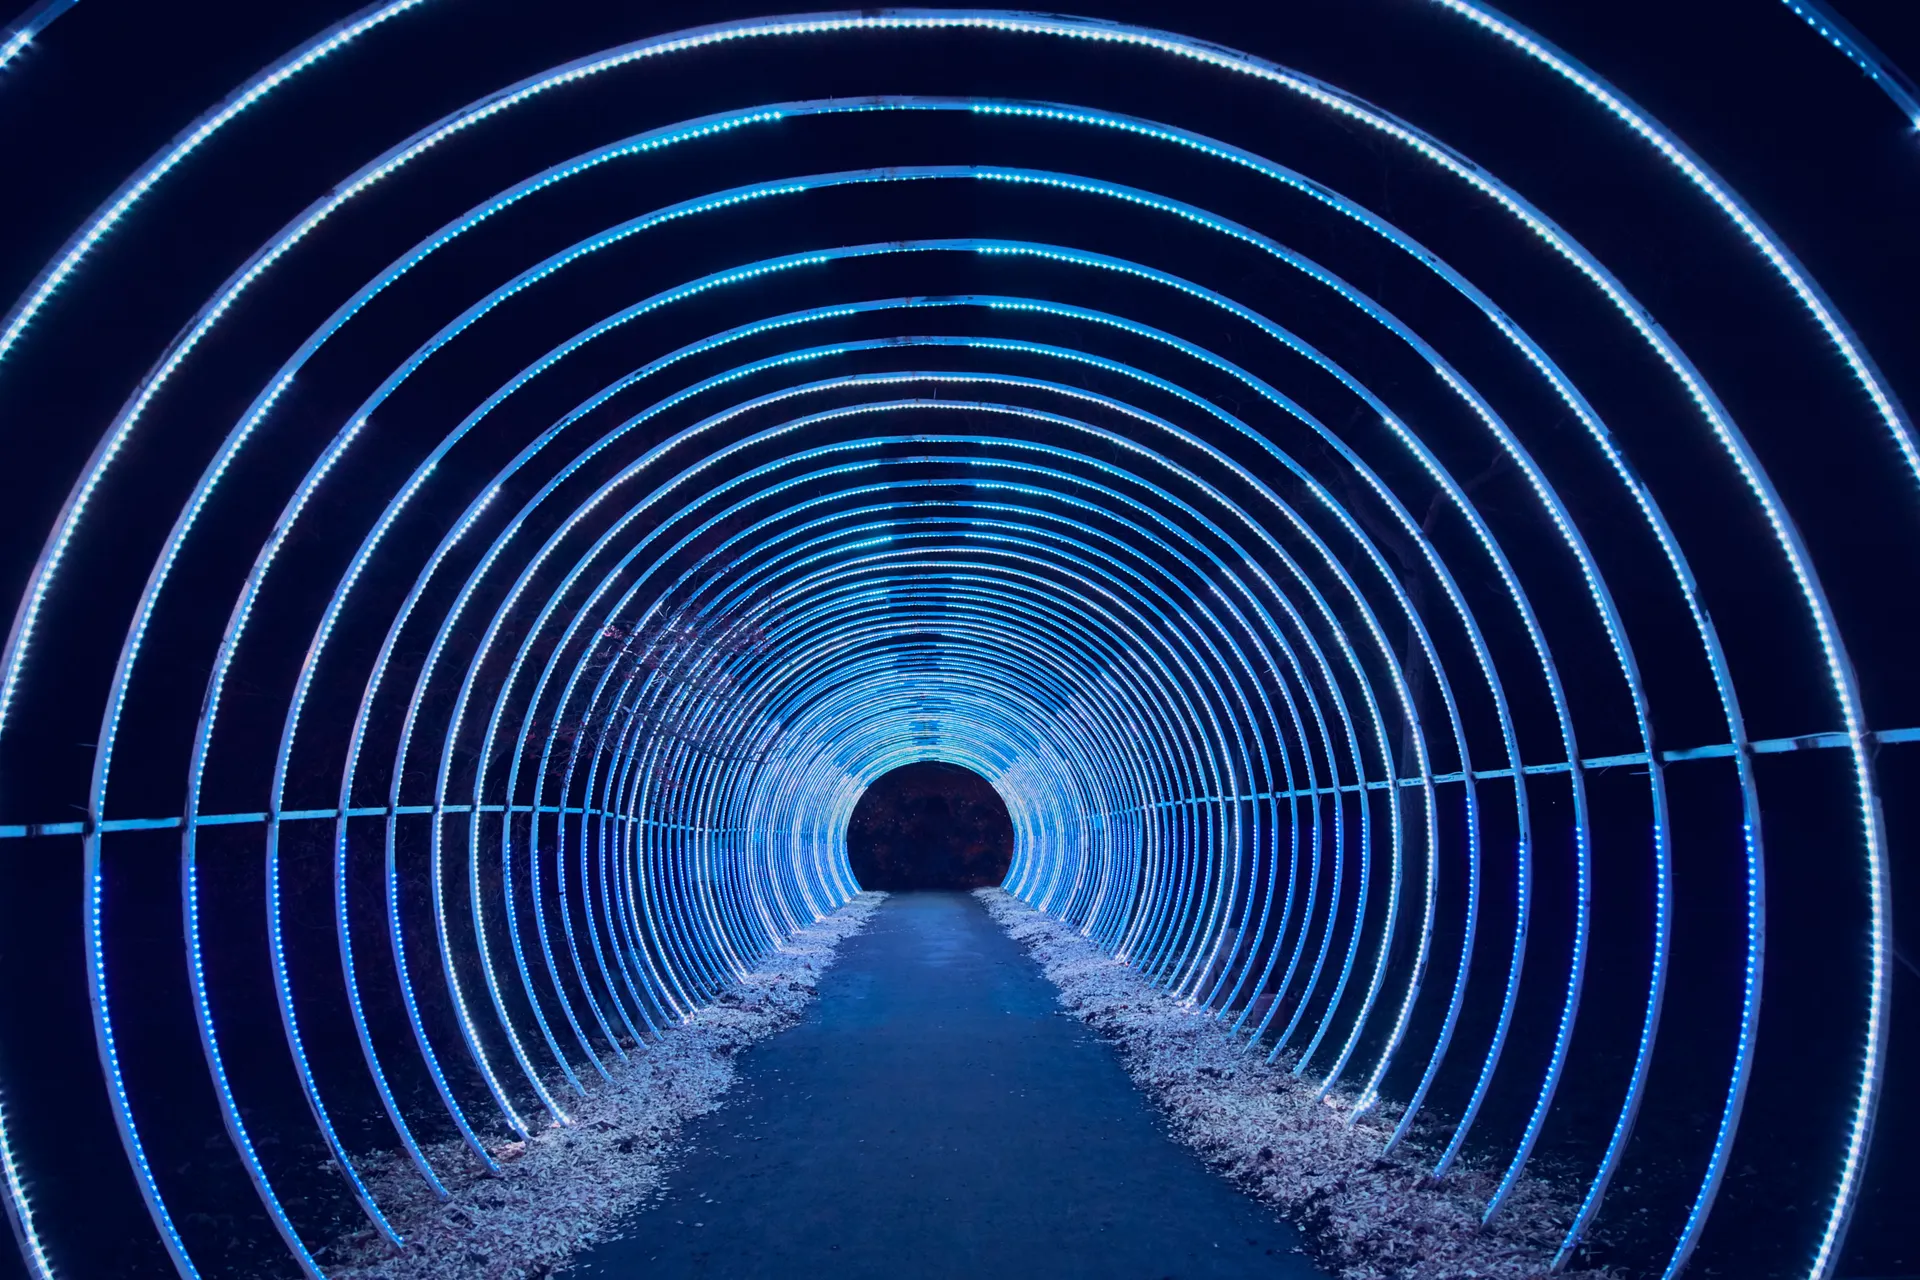
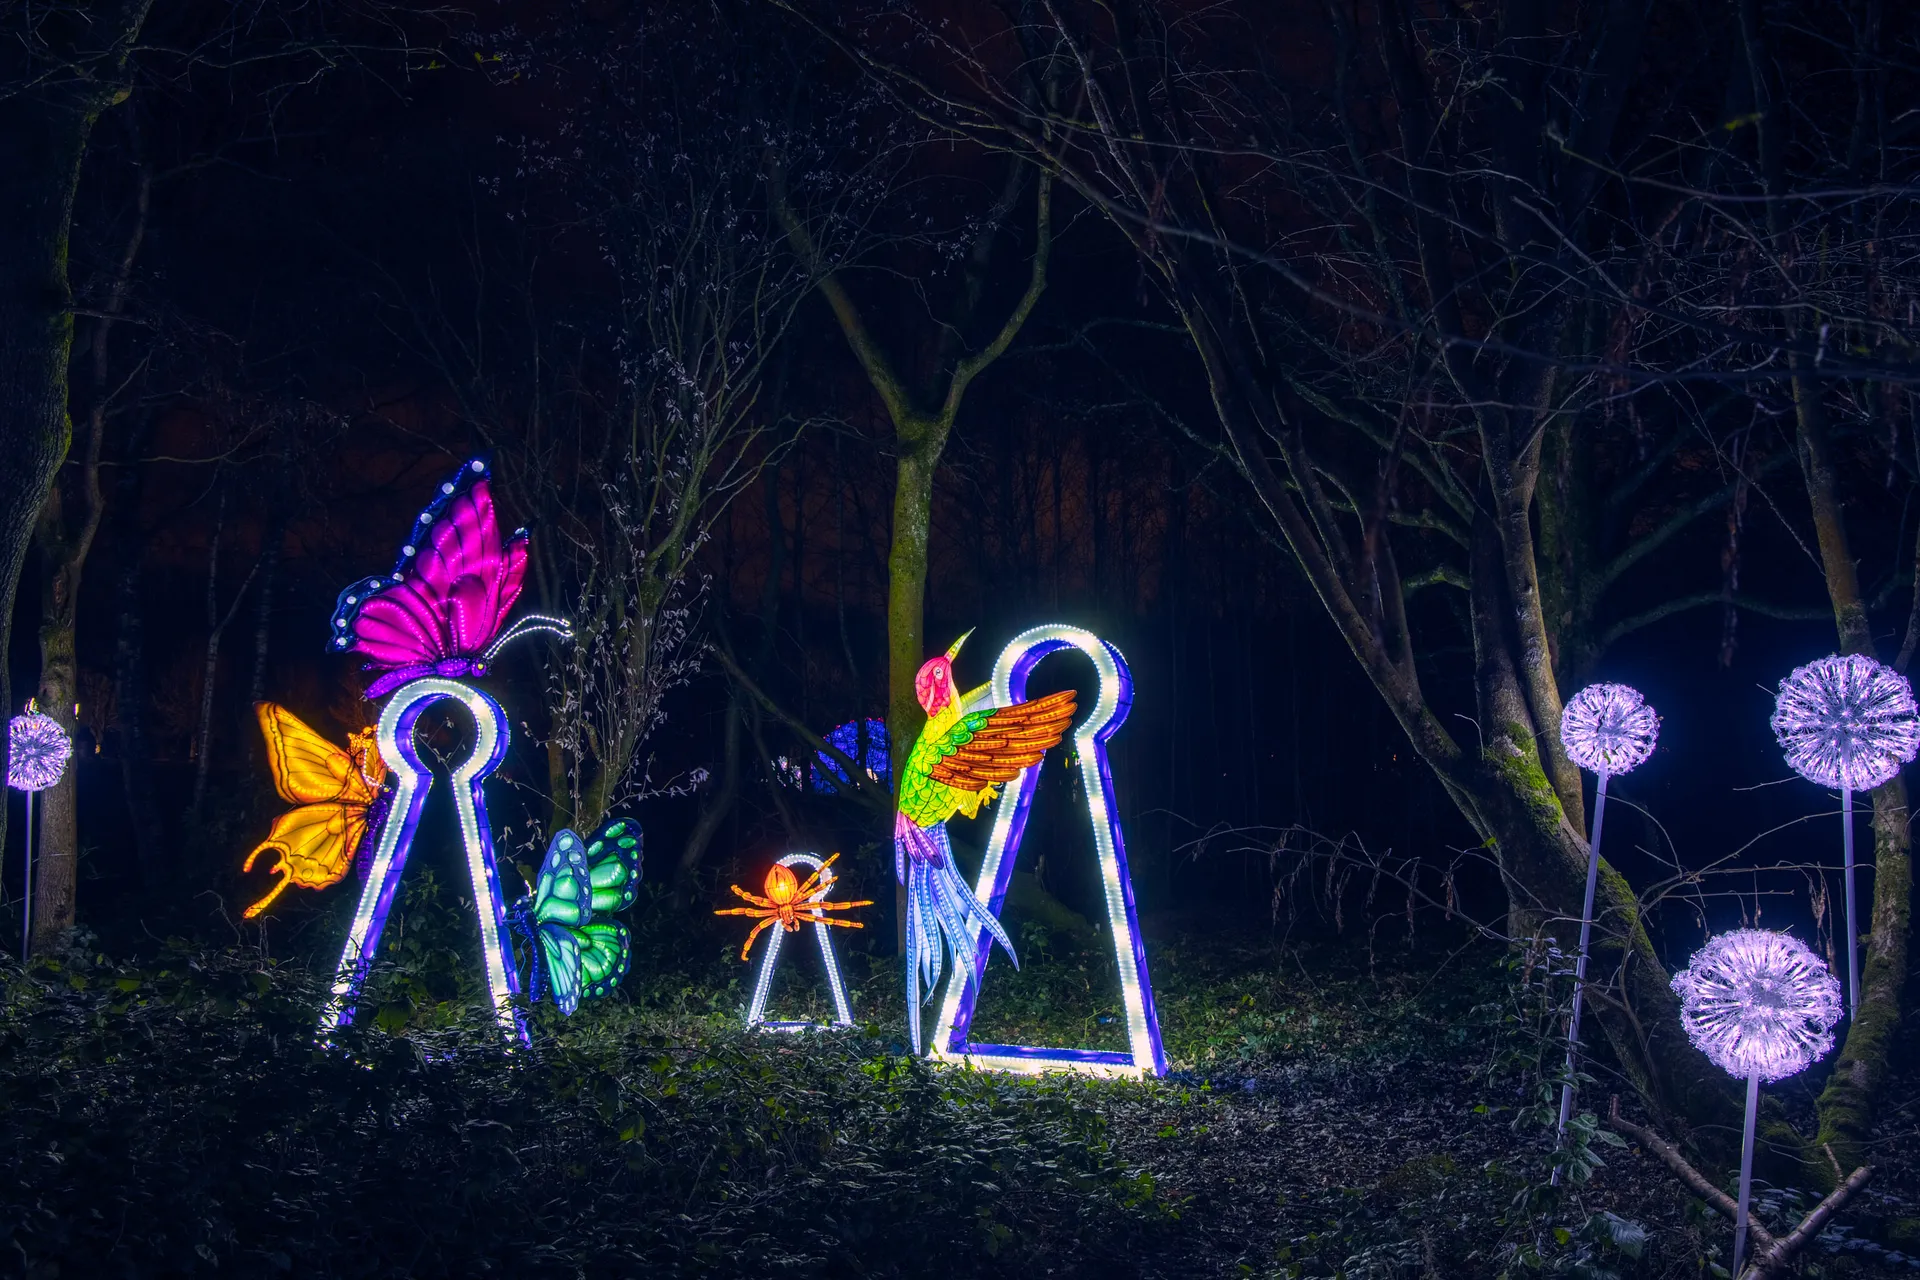
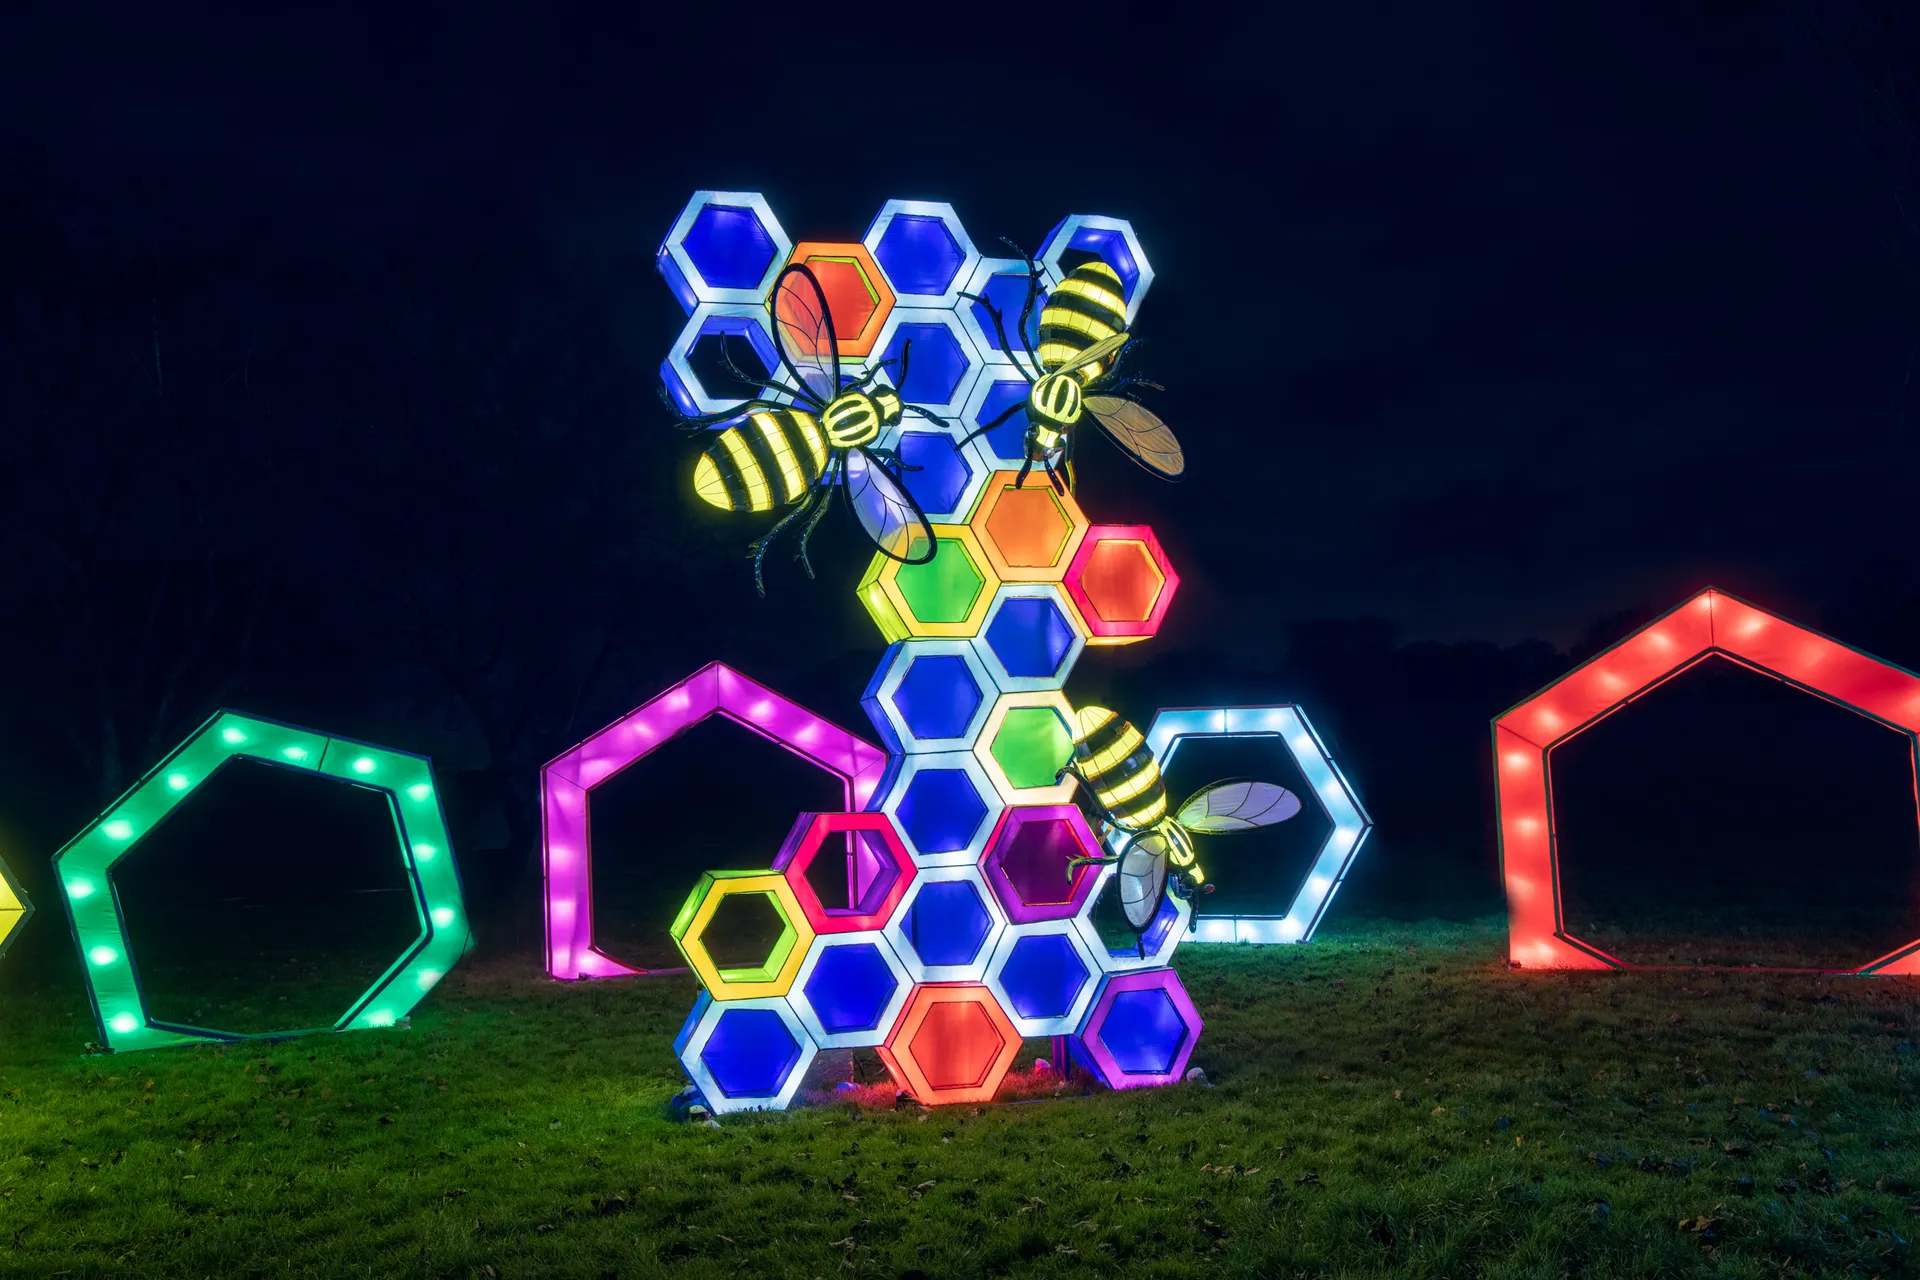
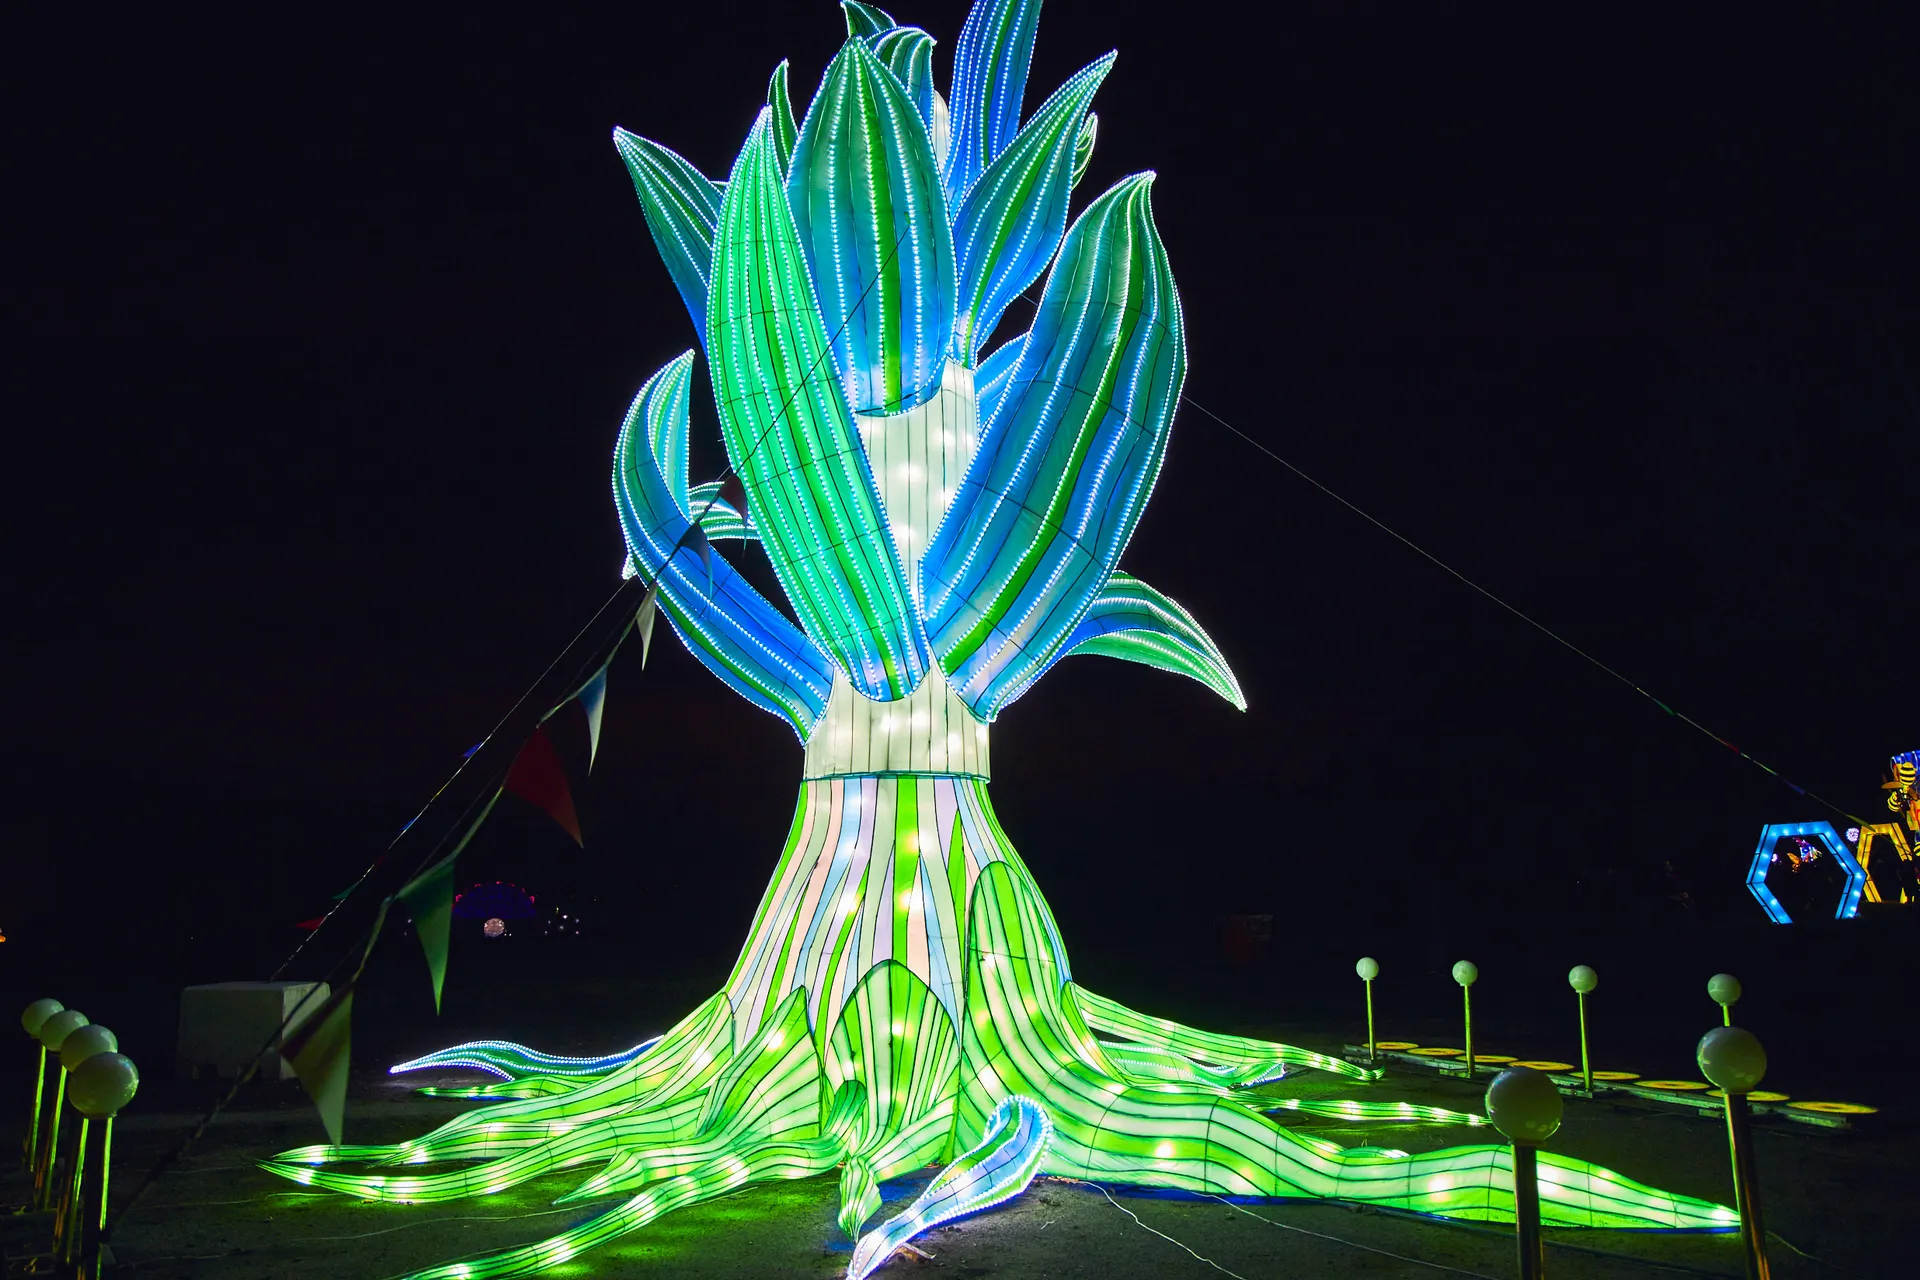
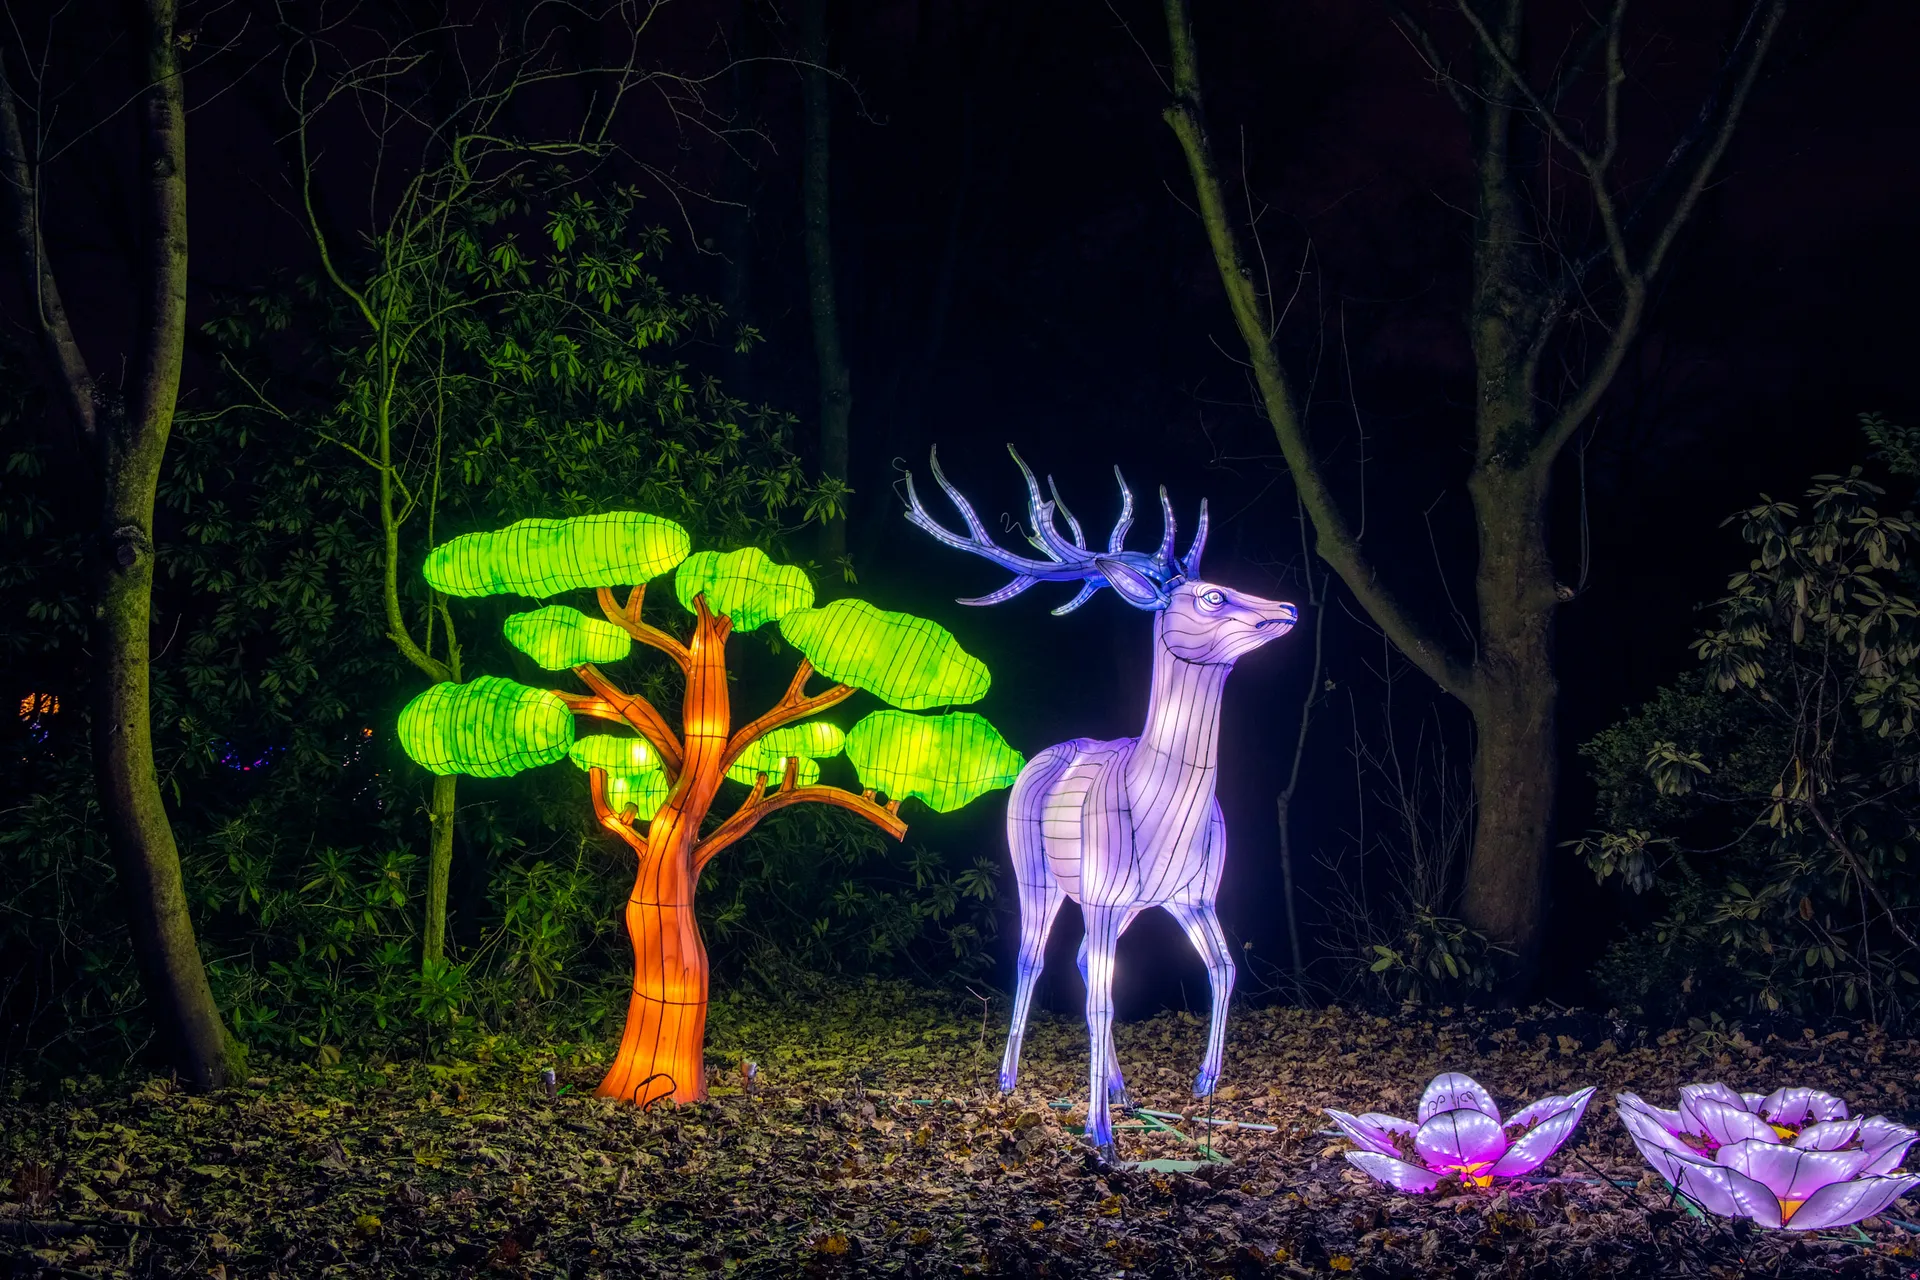
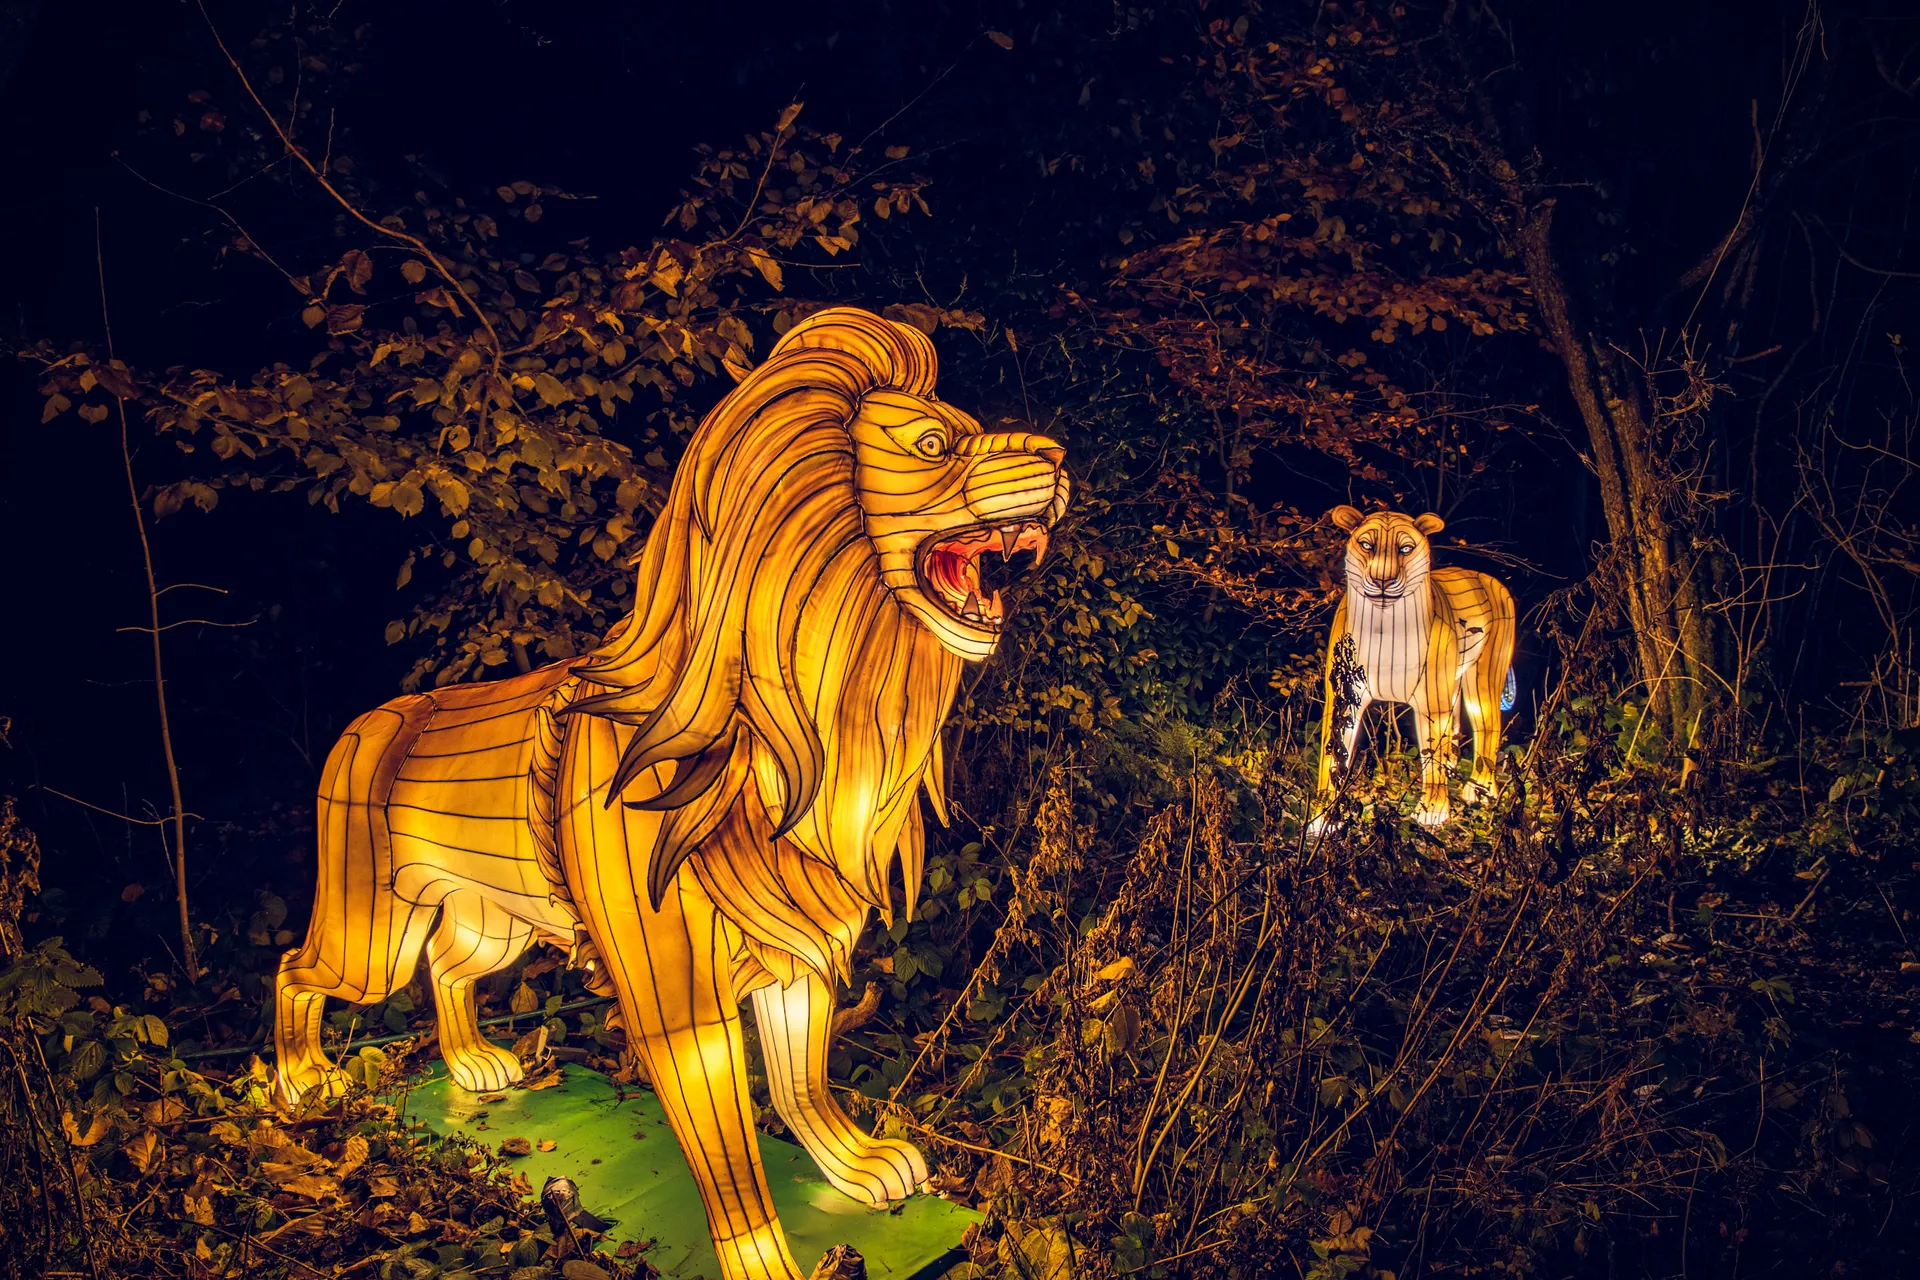
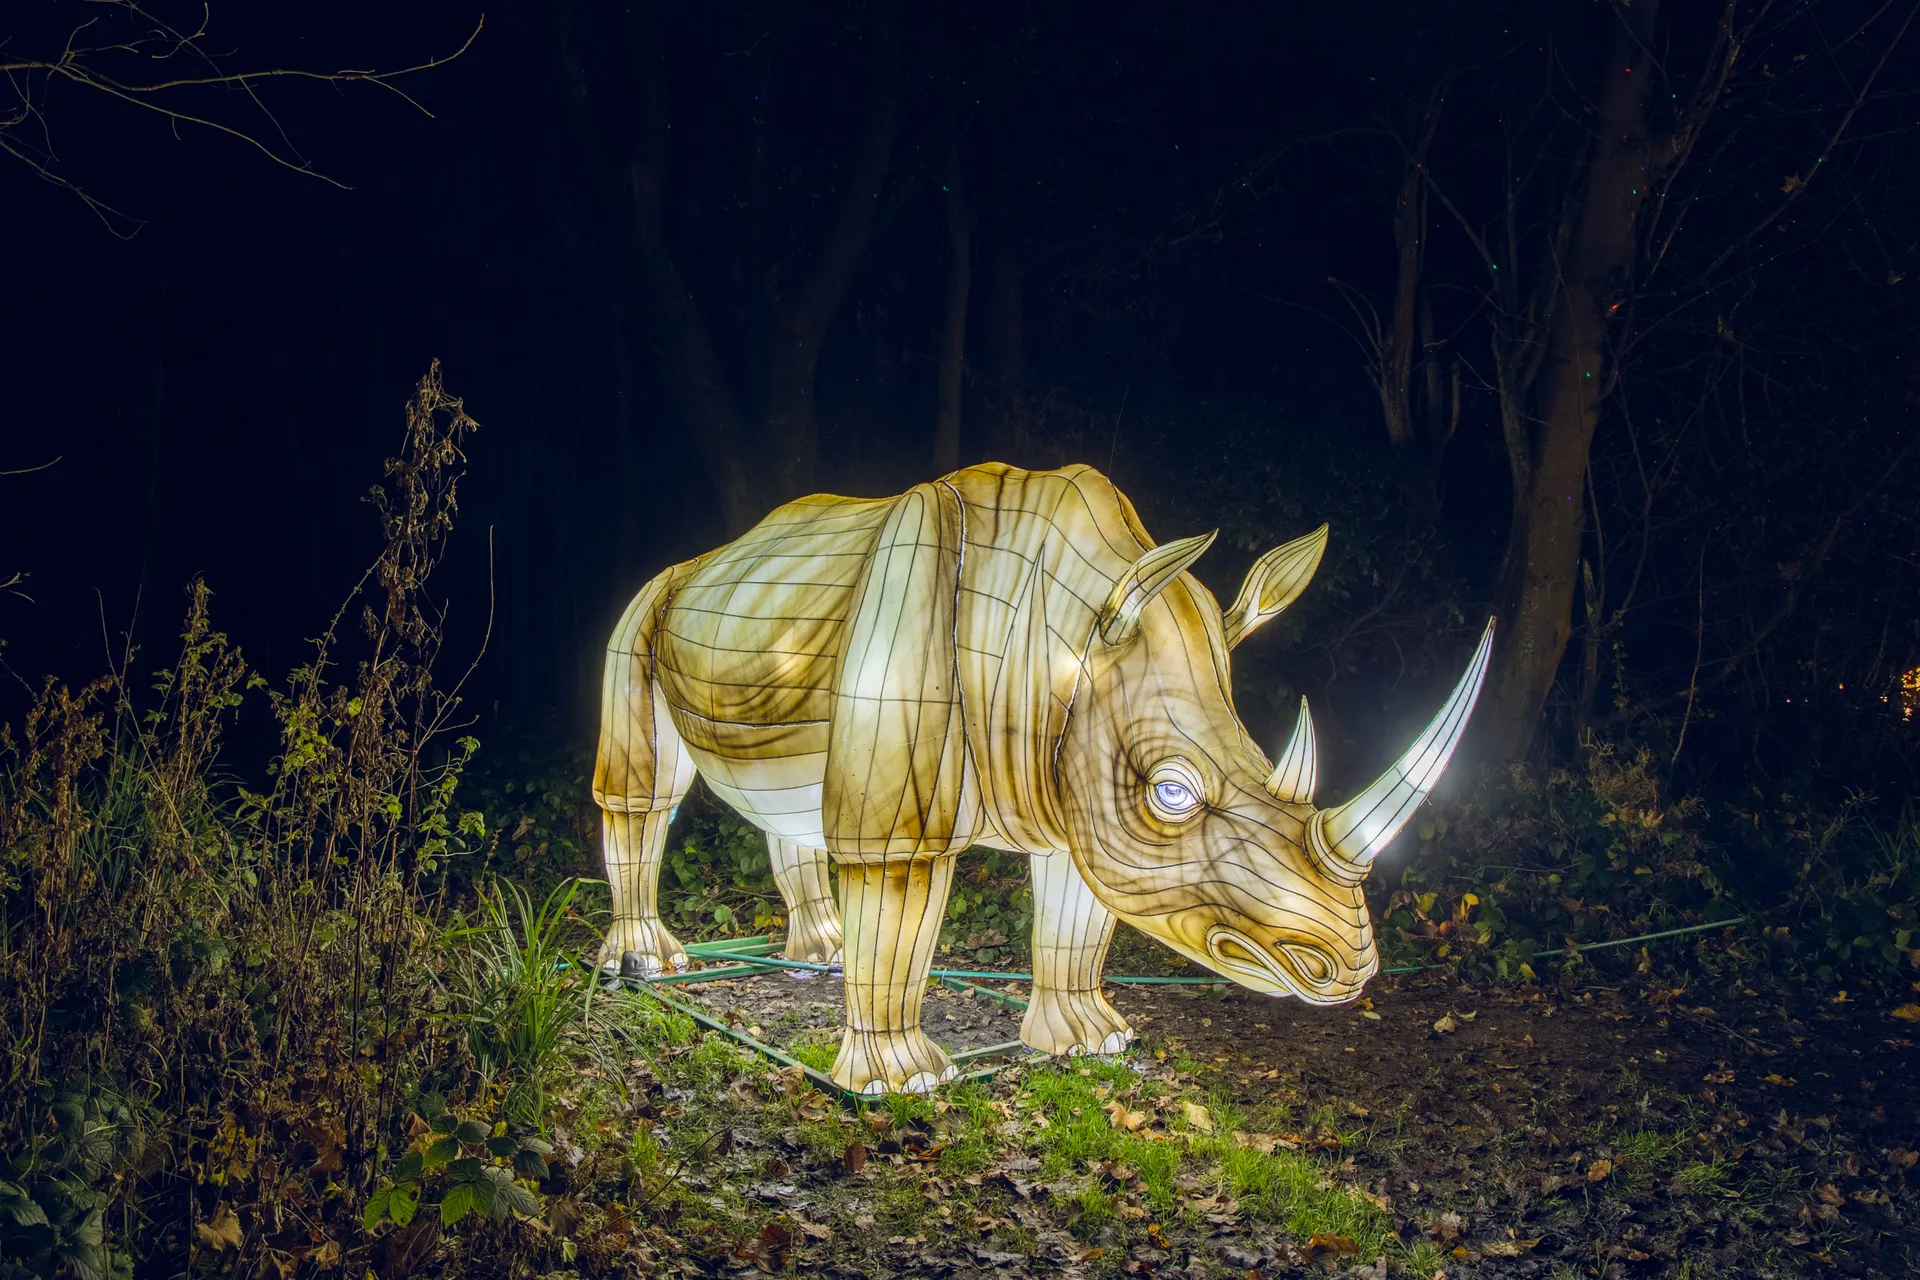
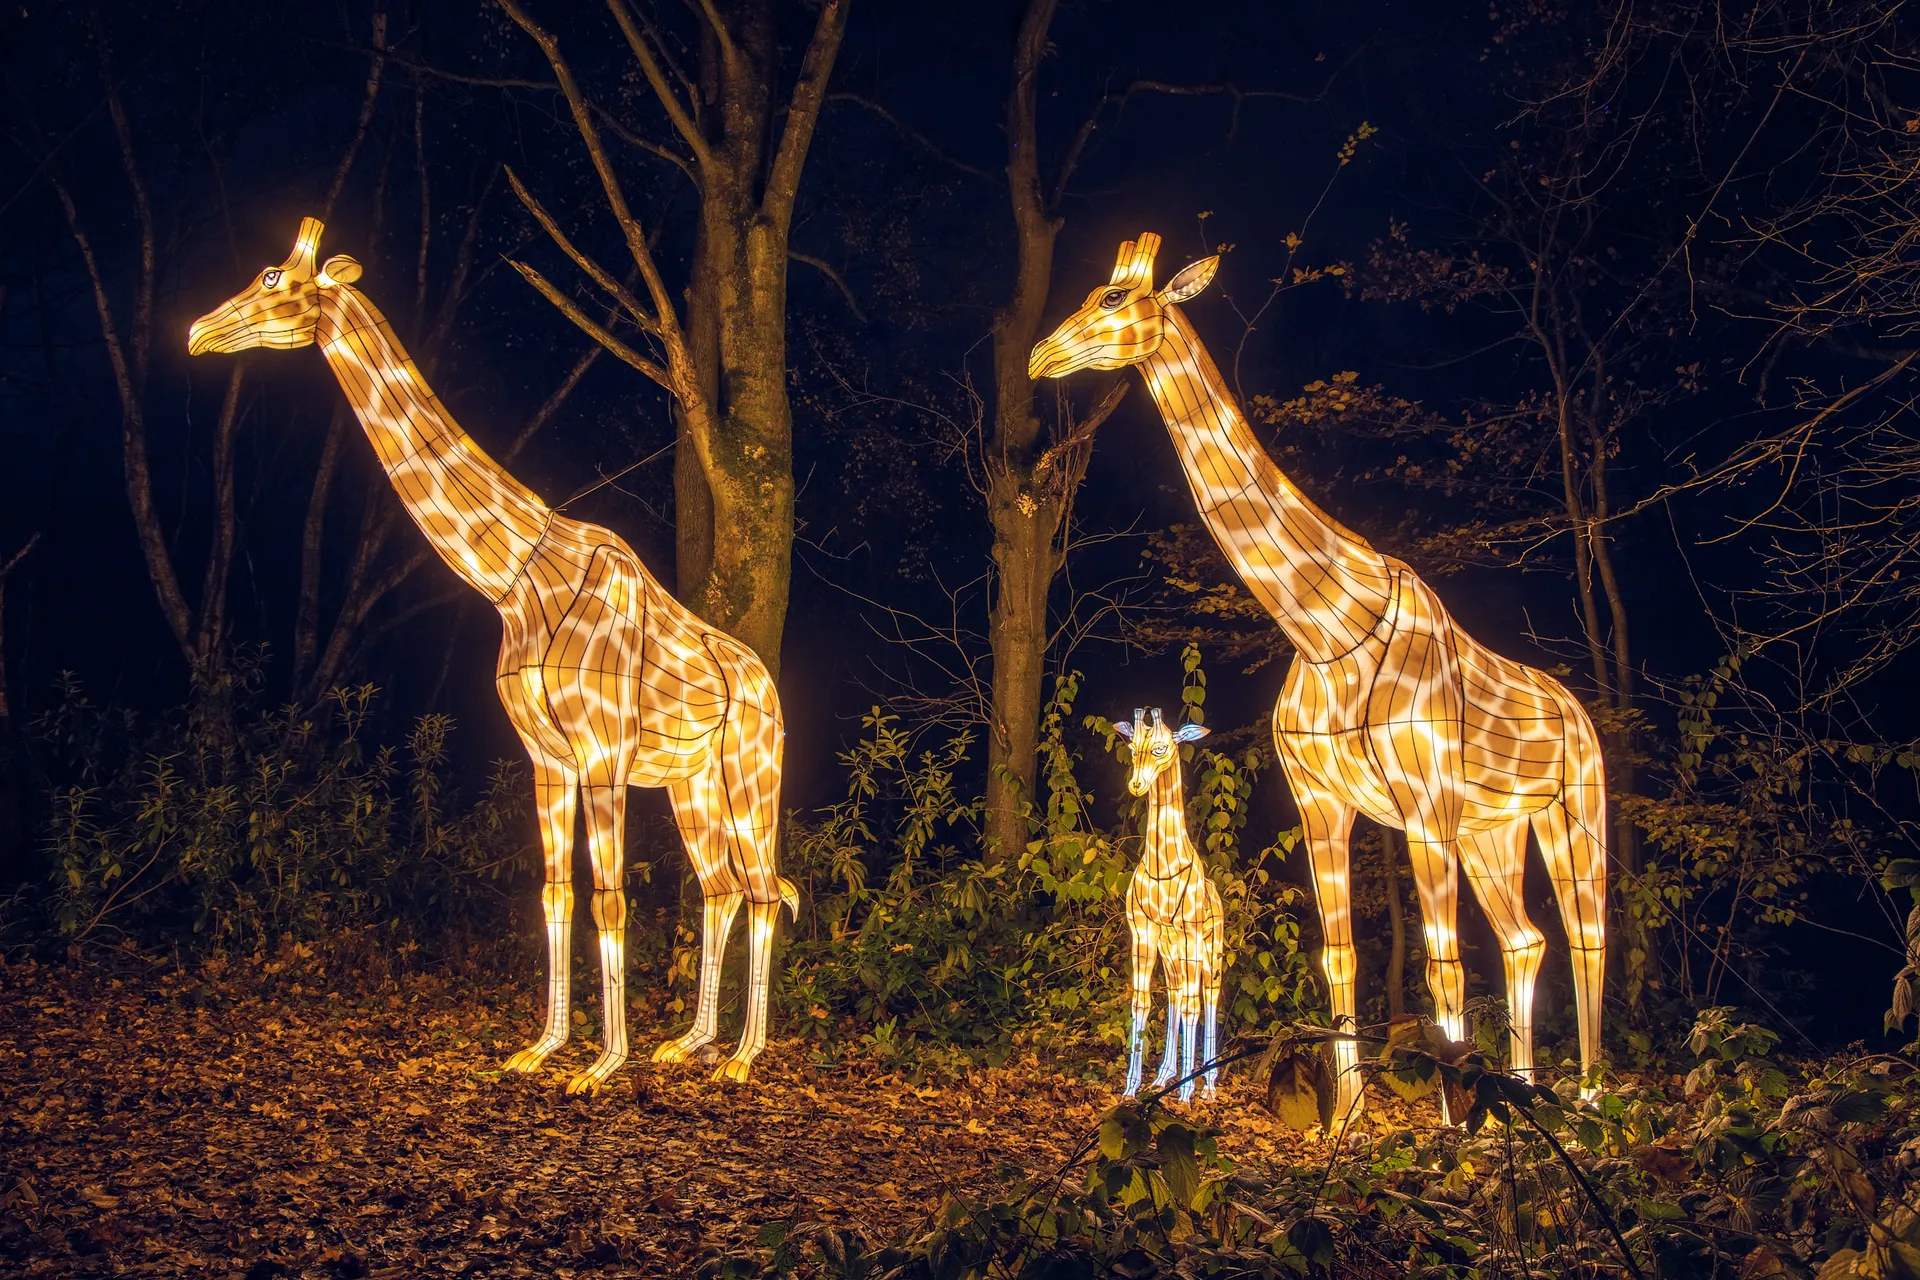
Lightopia Manchester
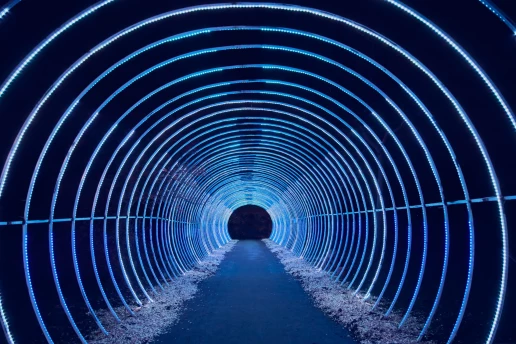
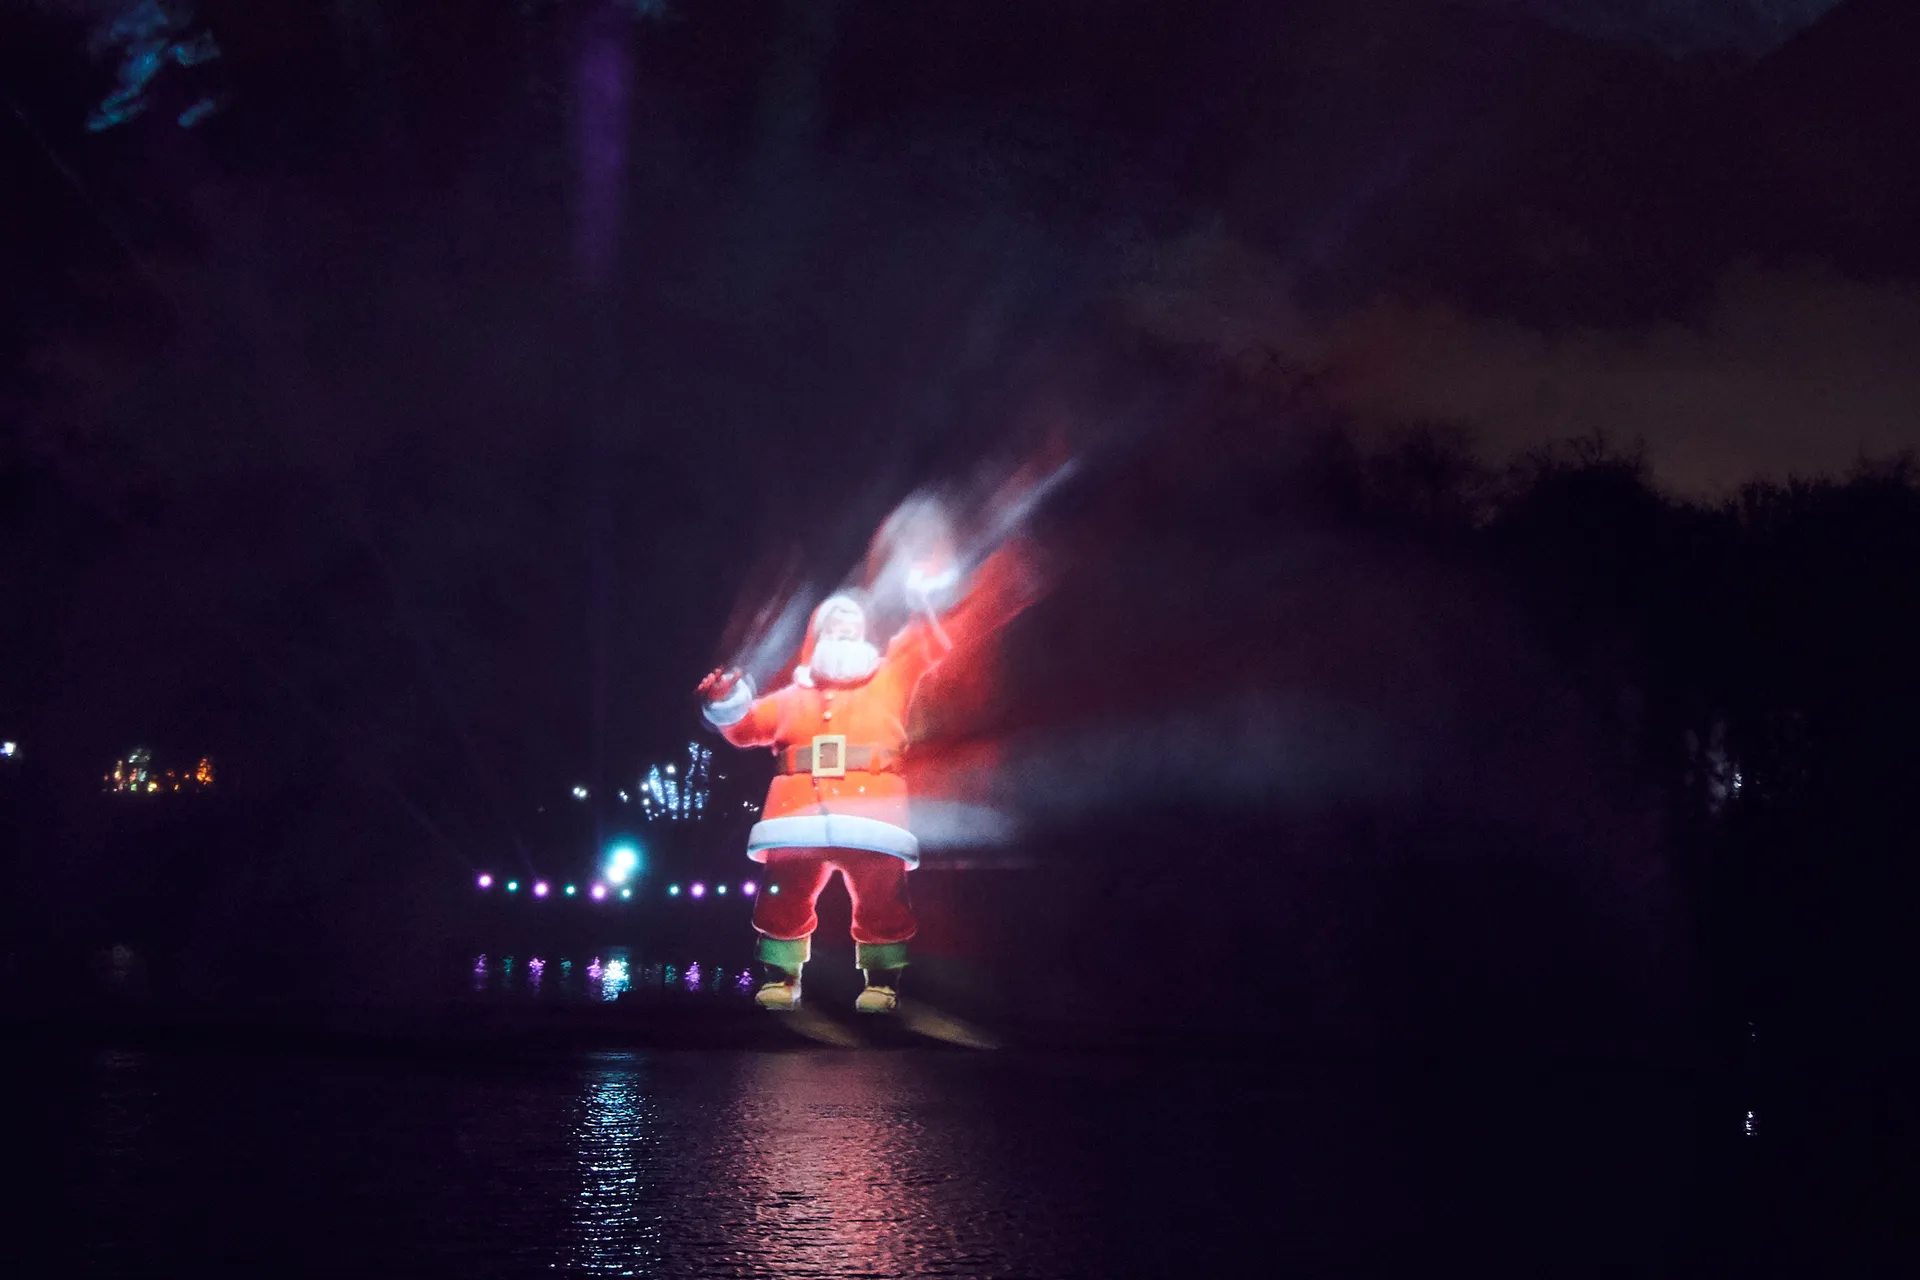
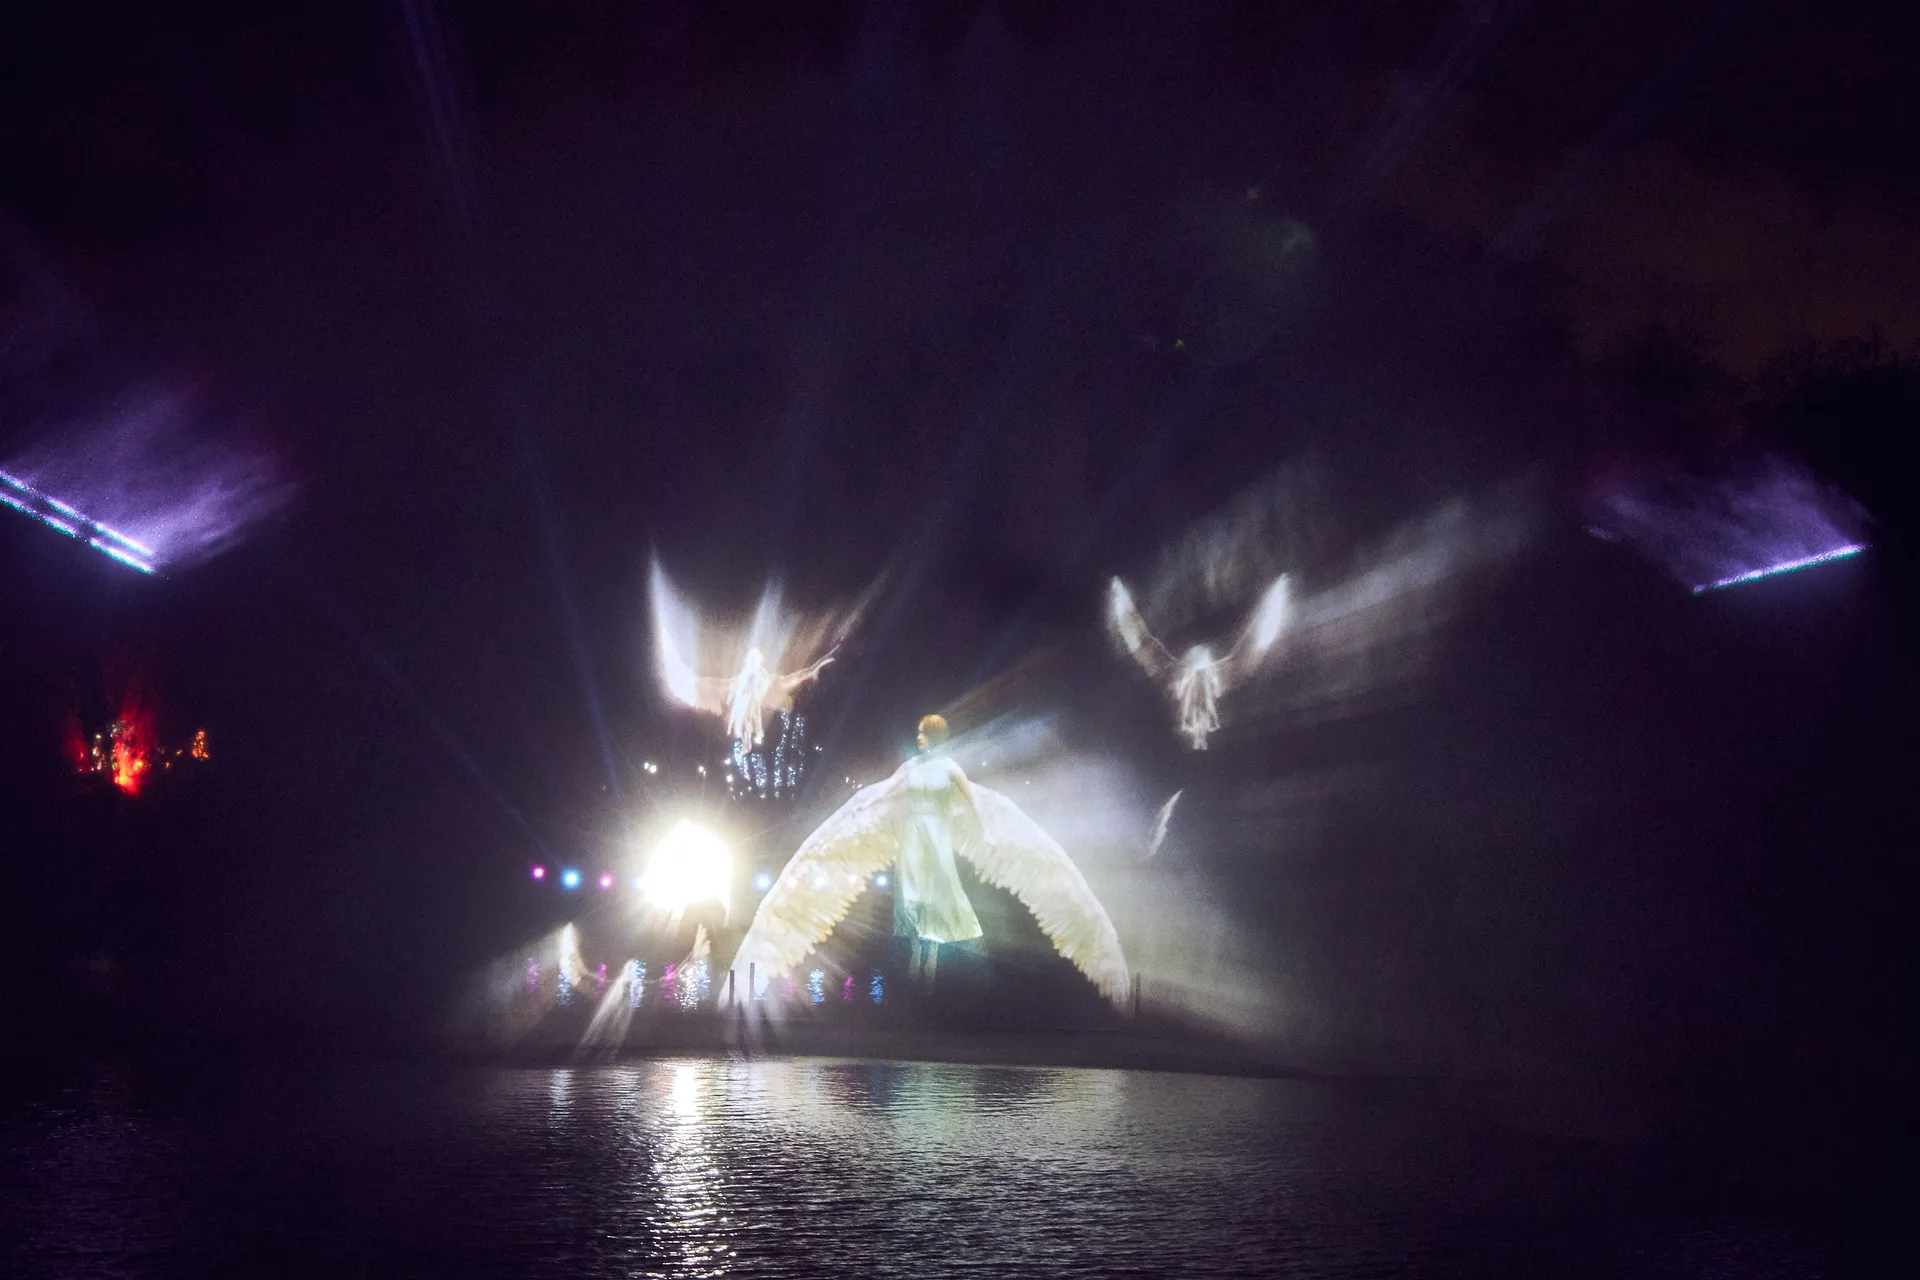
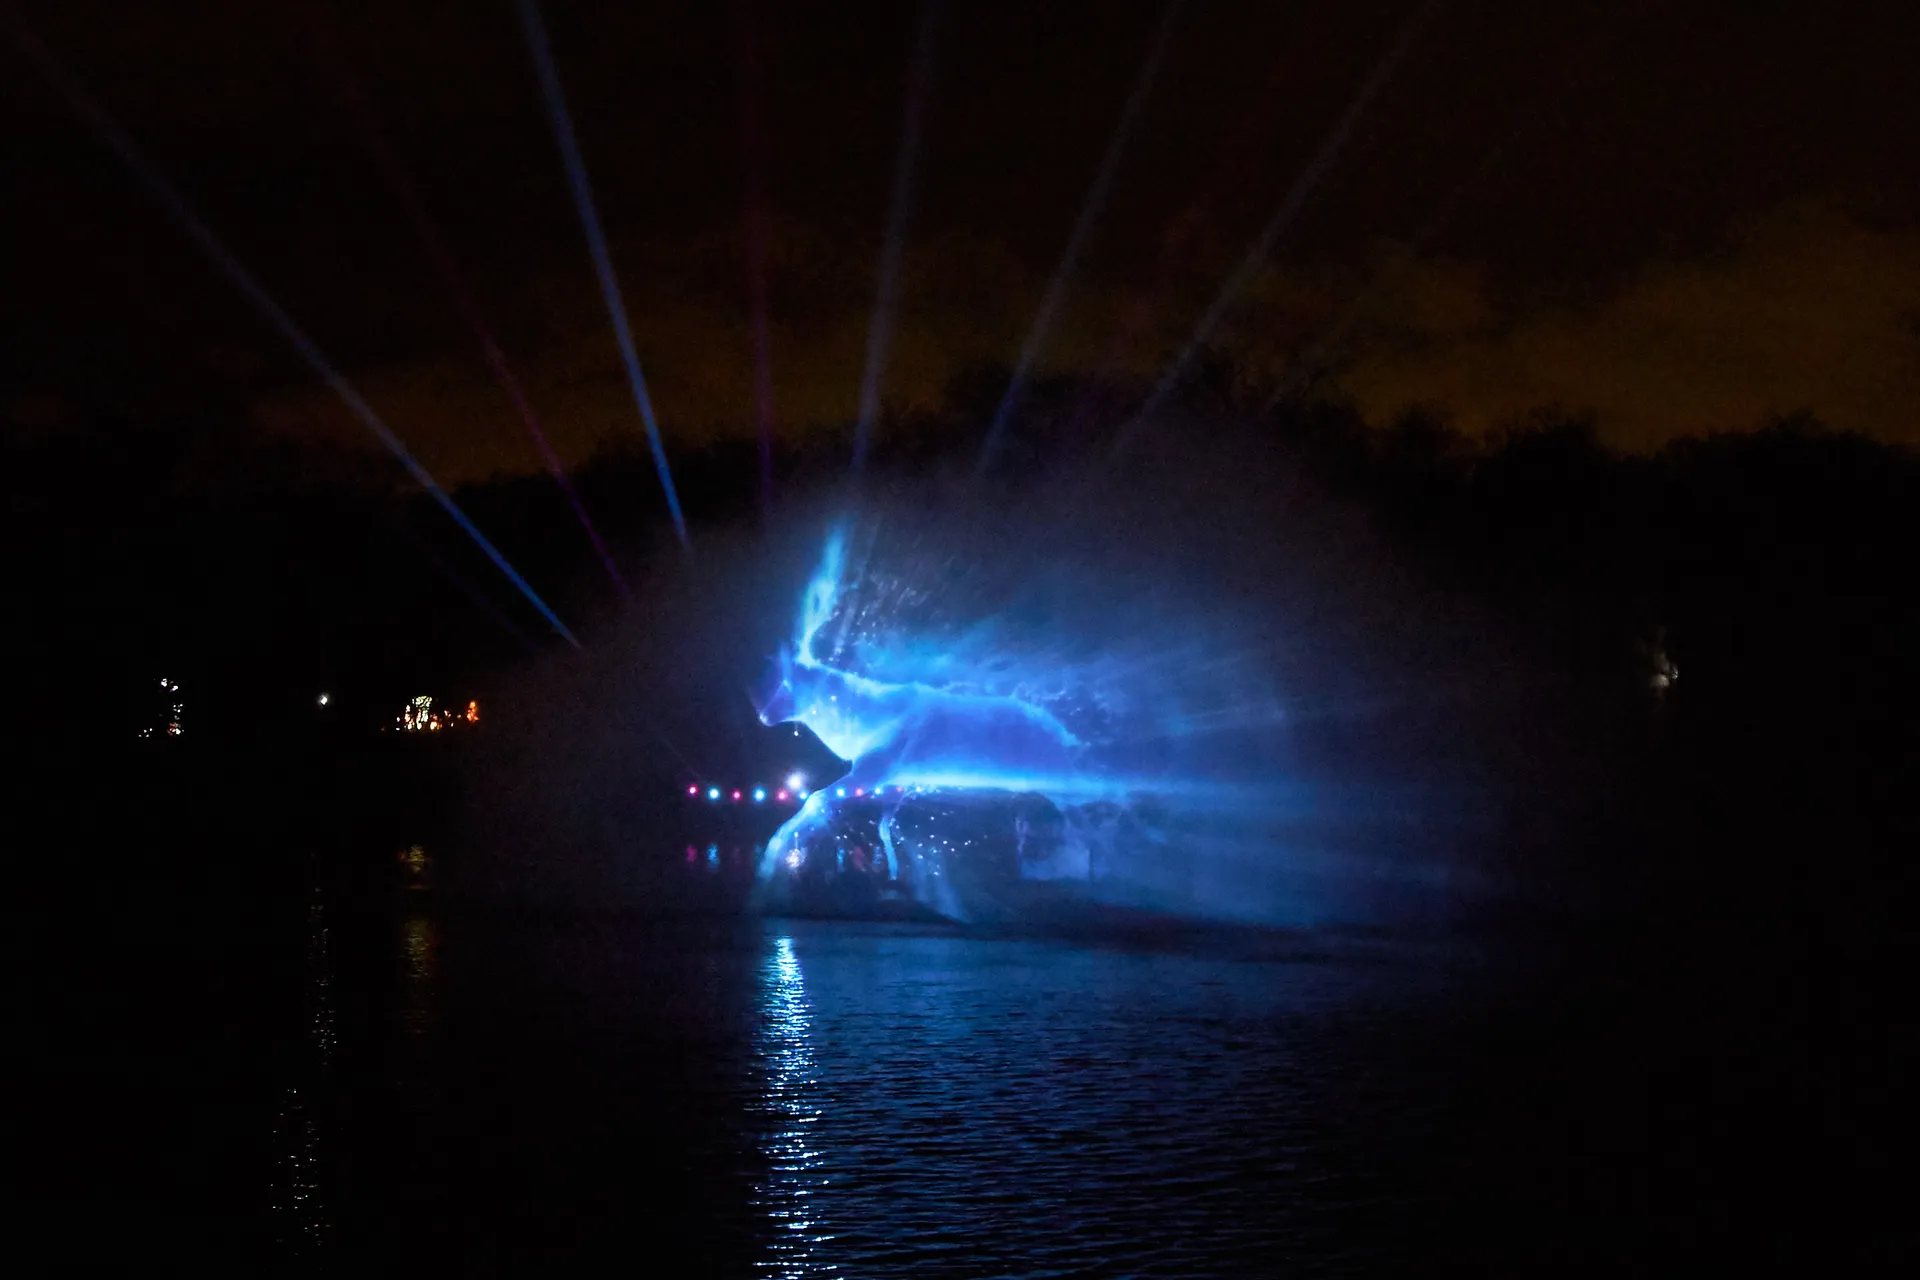
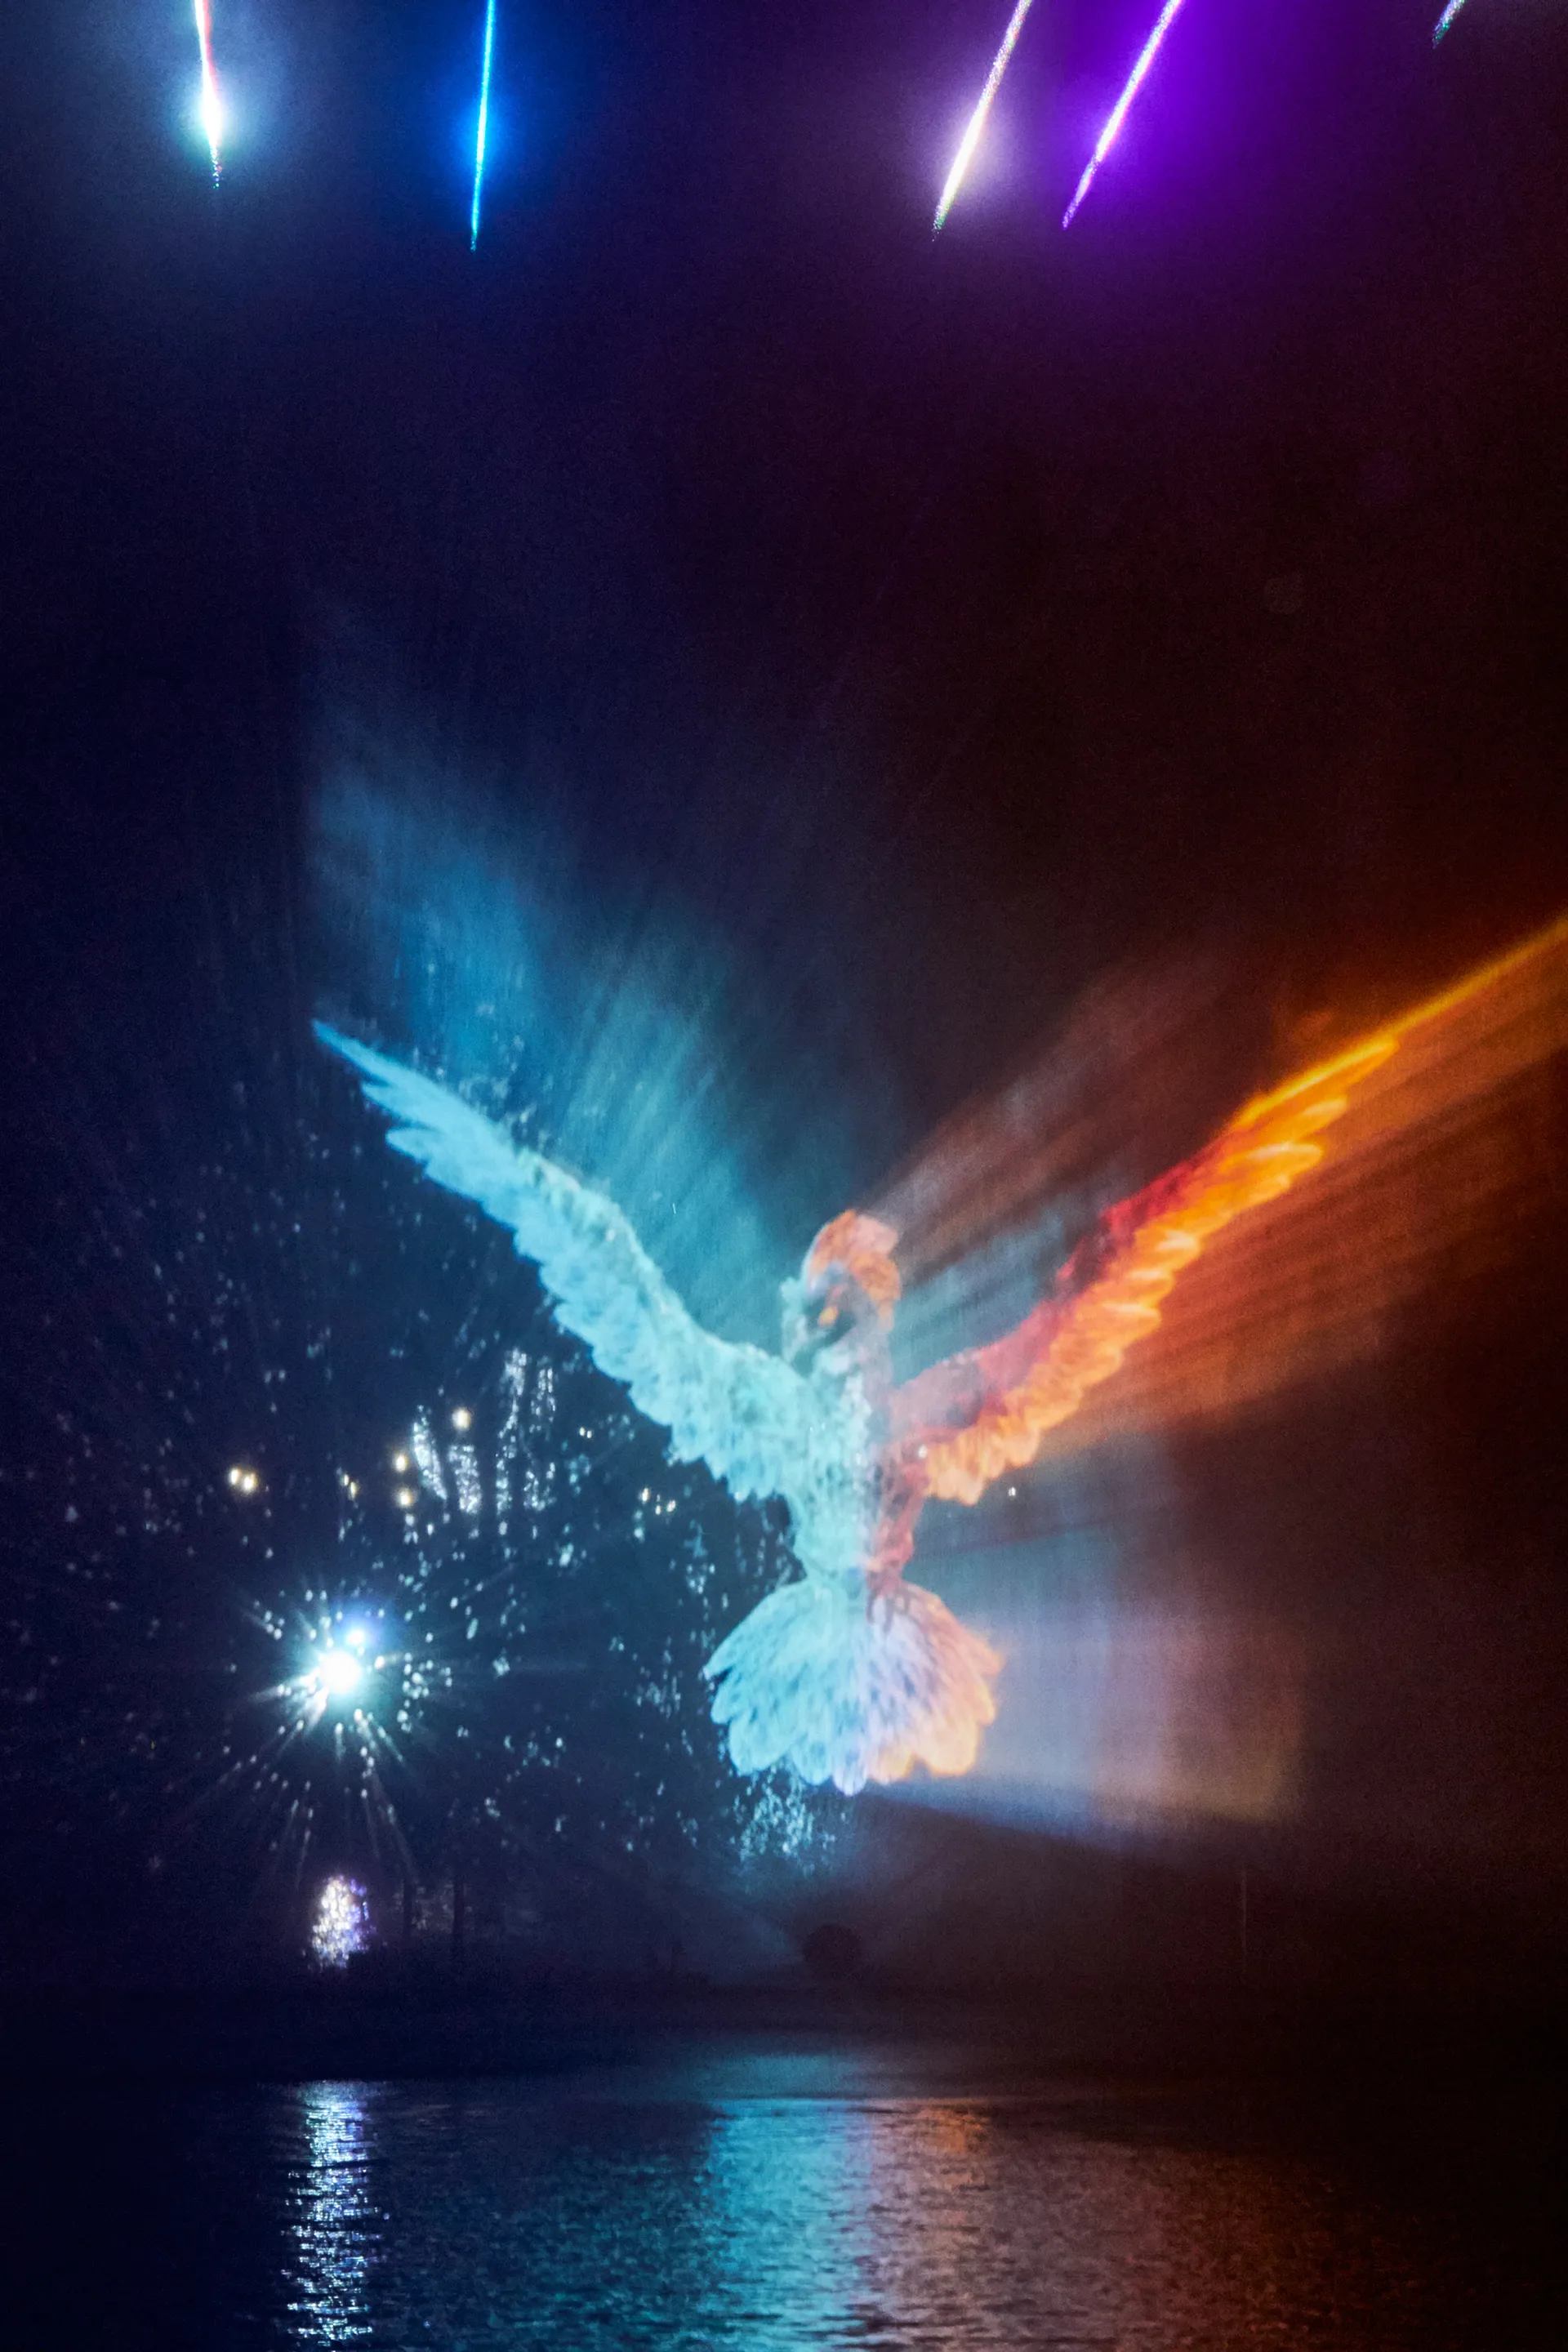
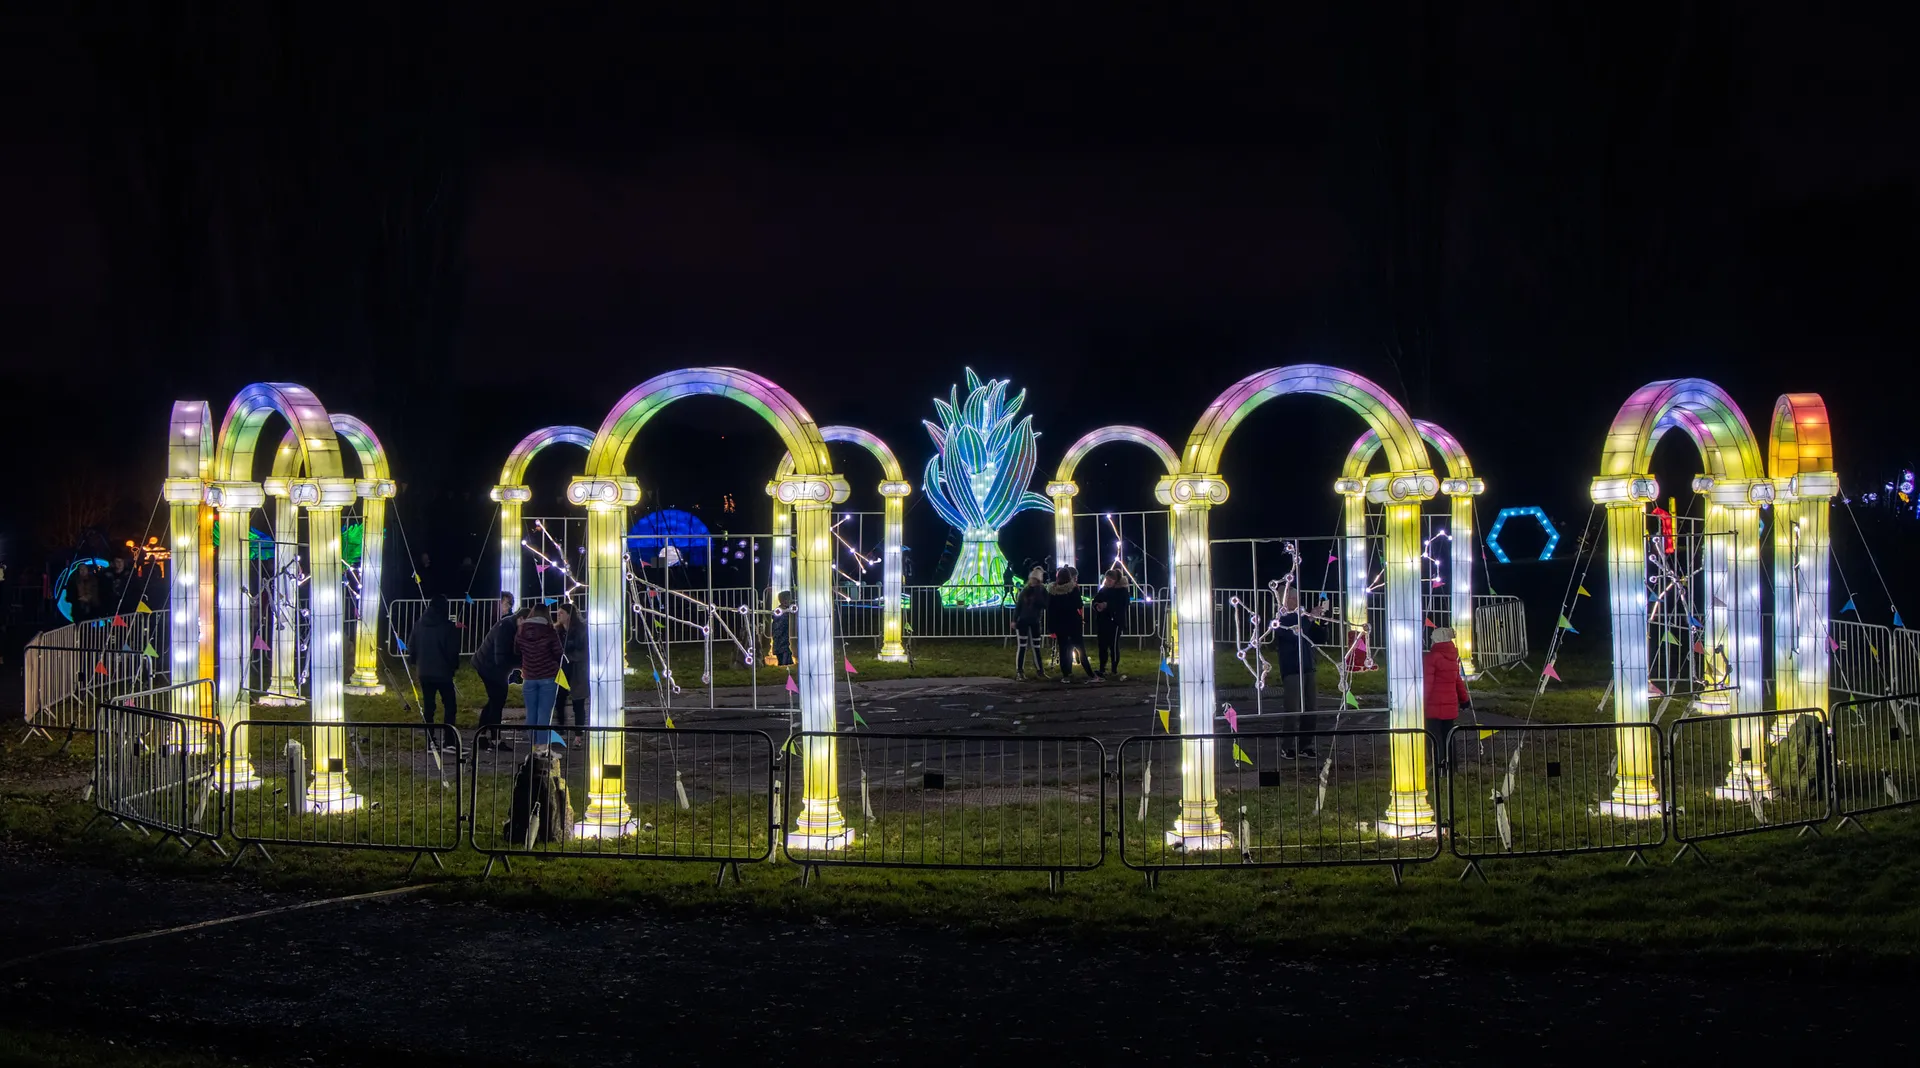
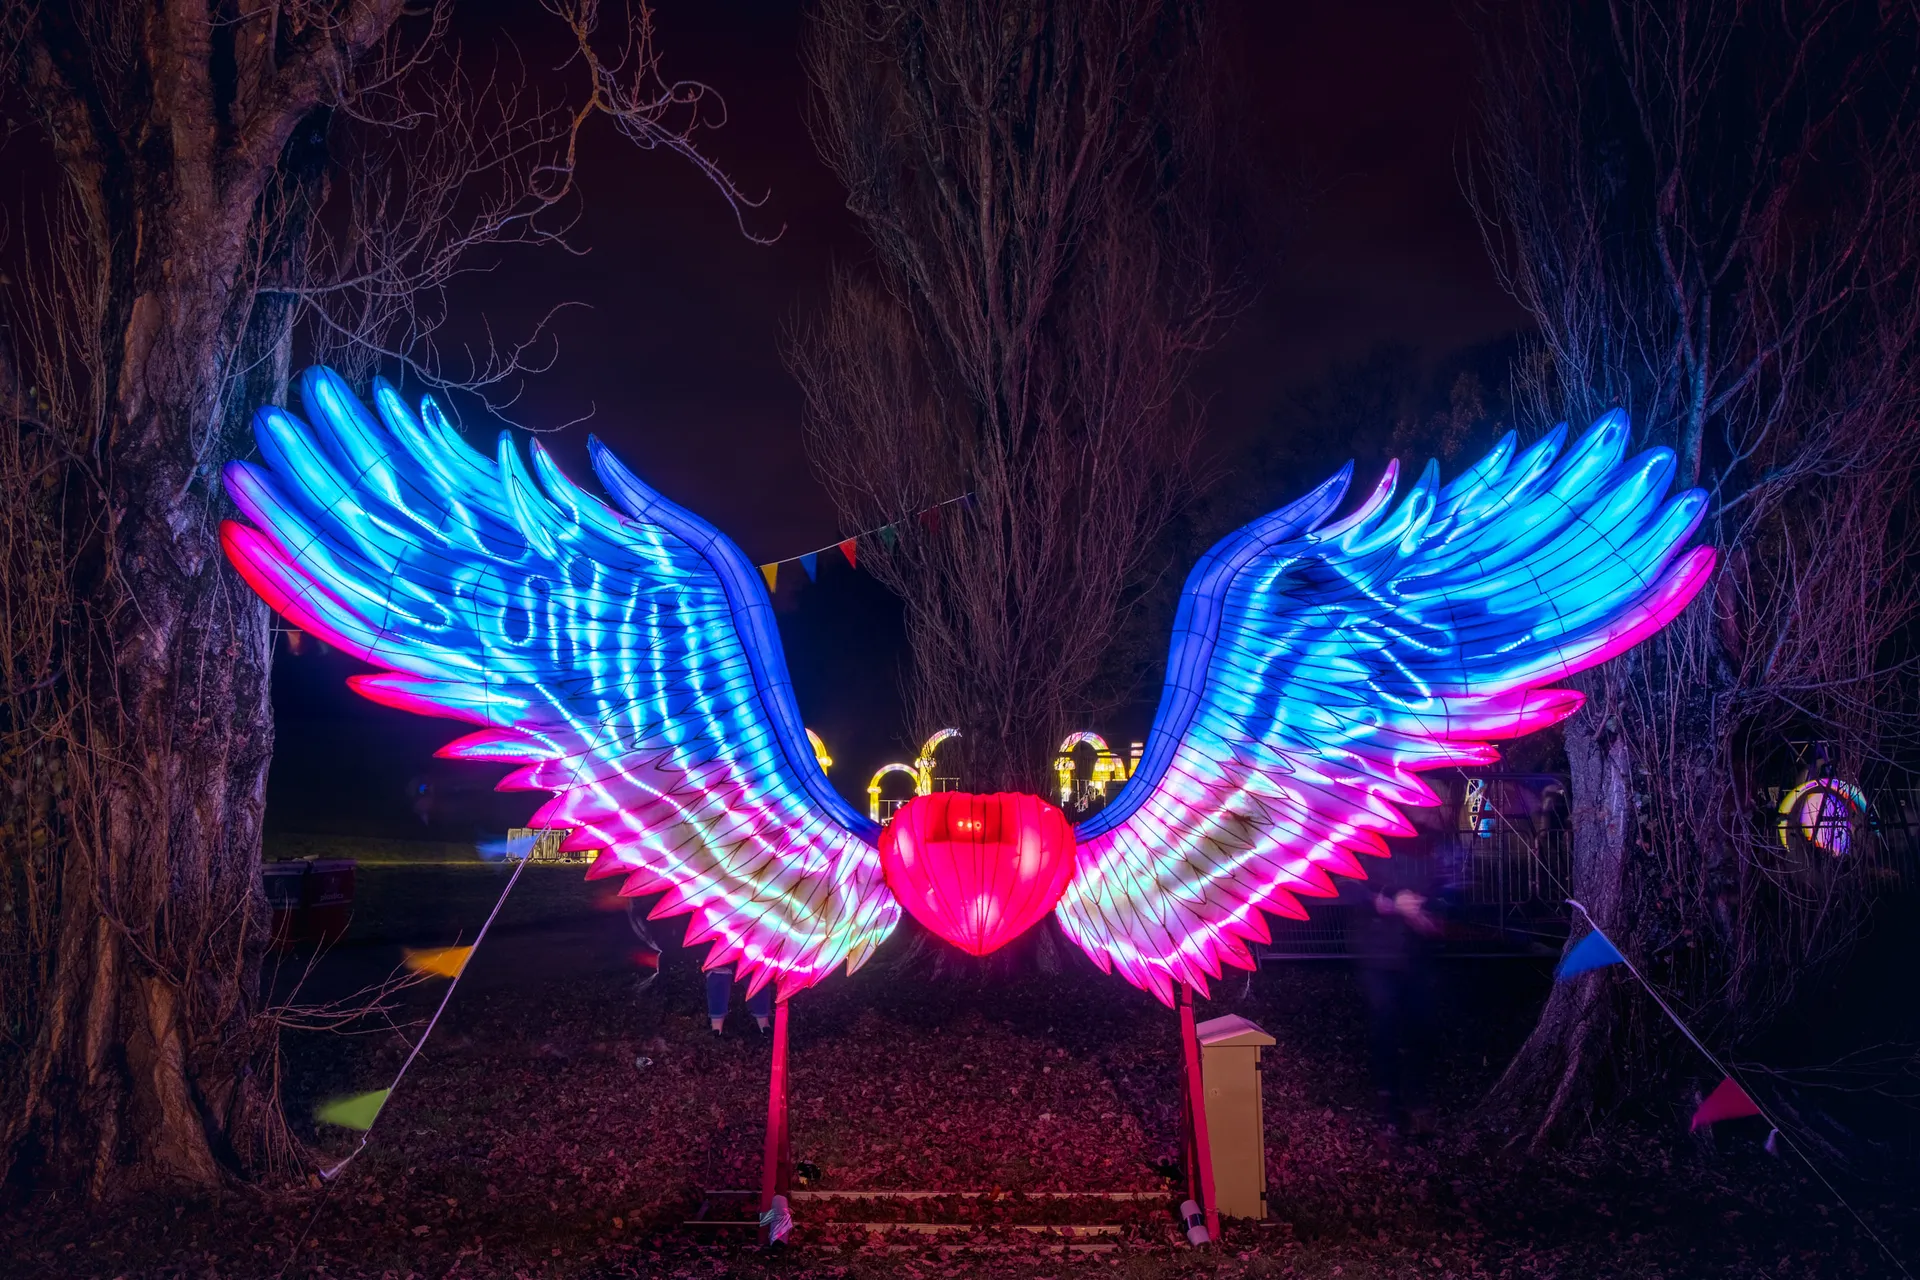
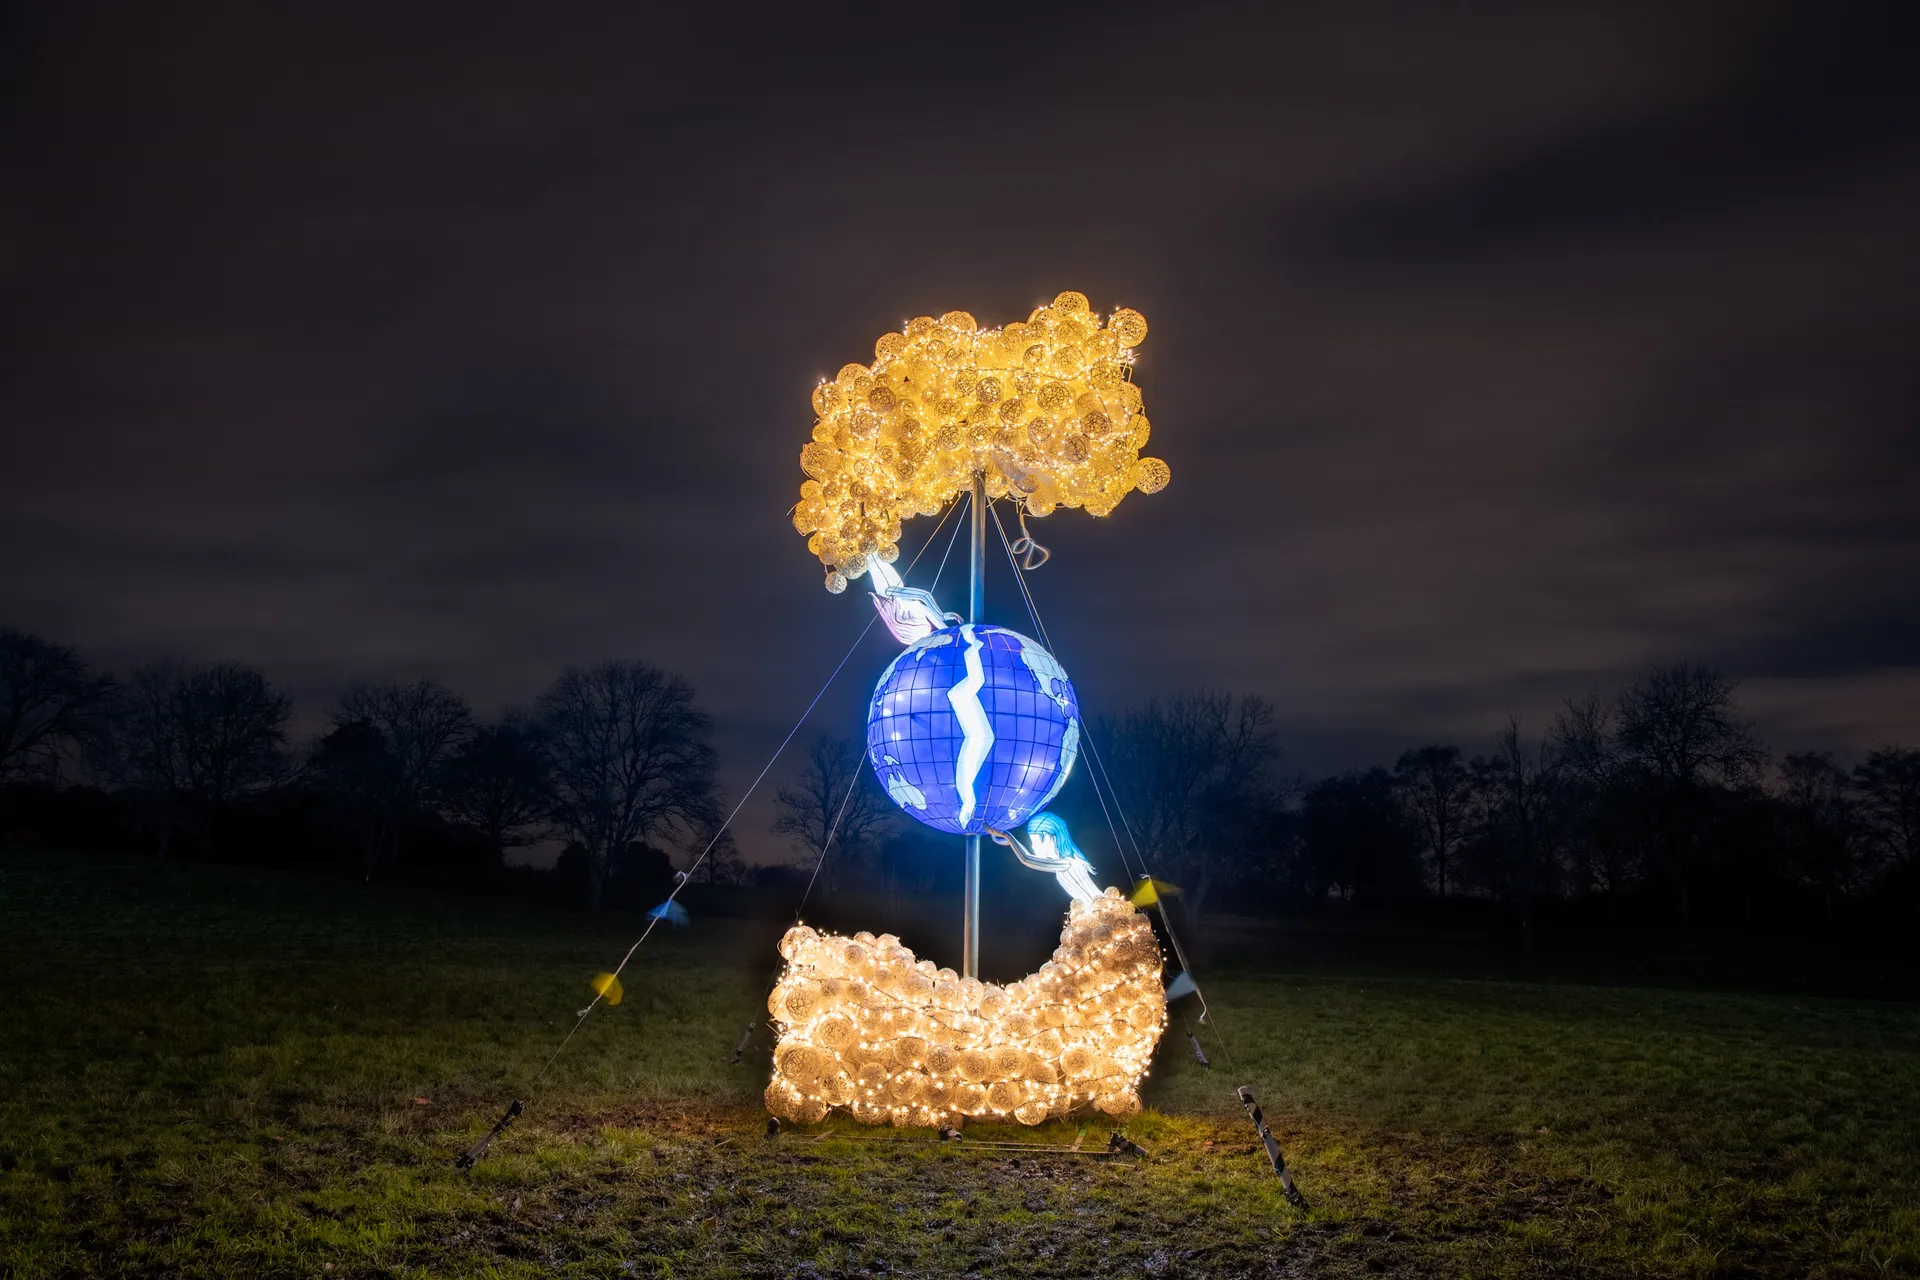
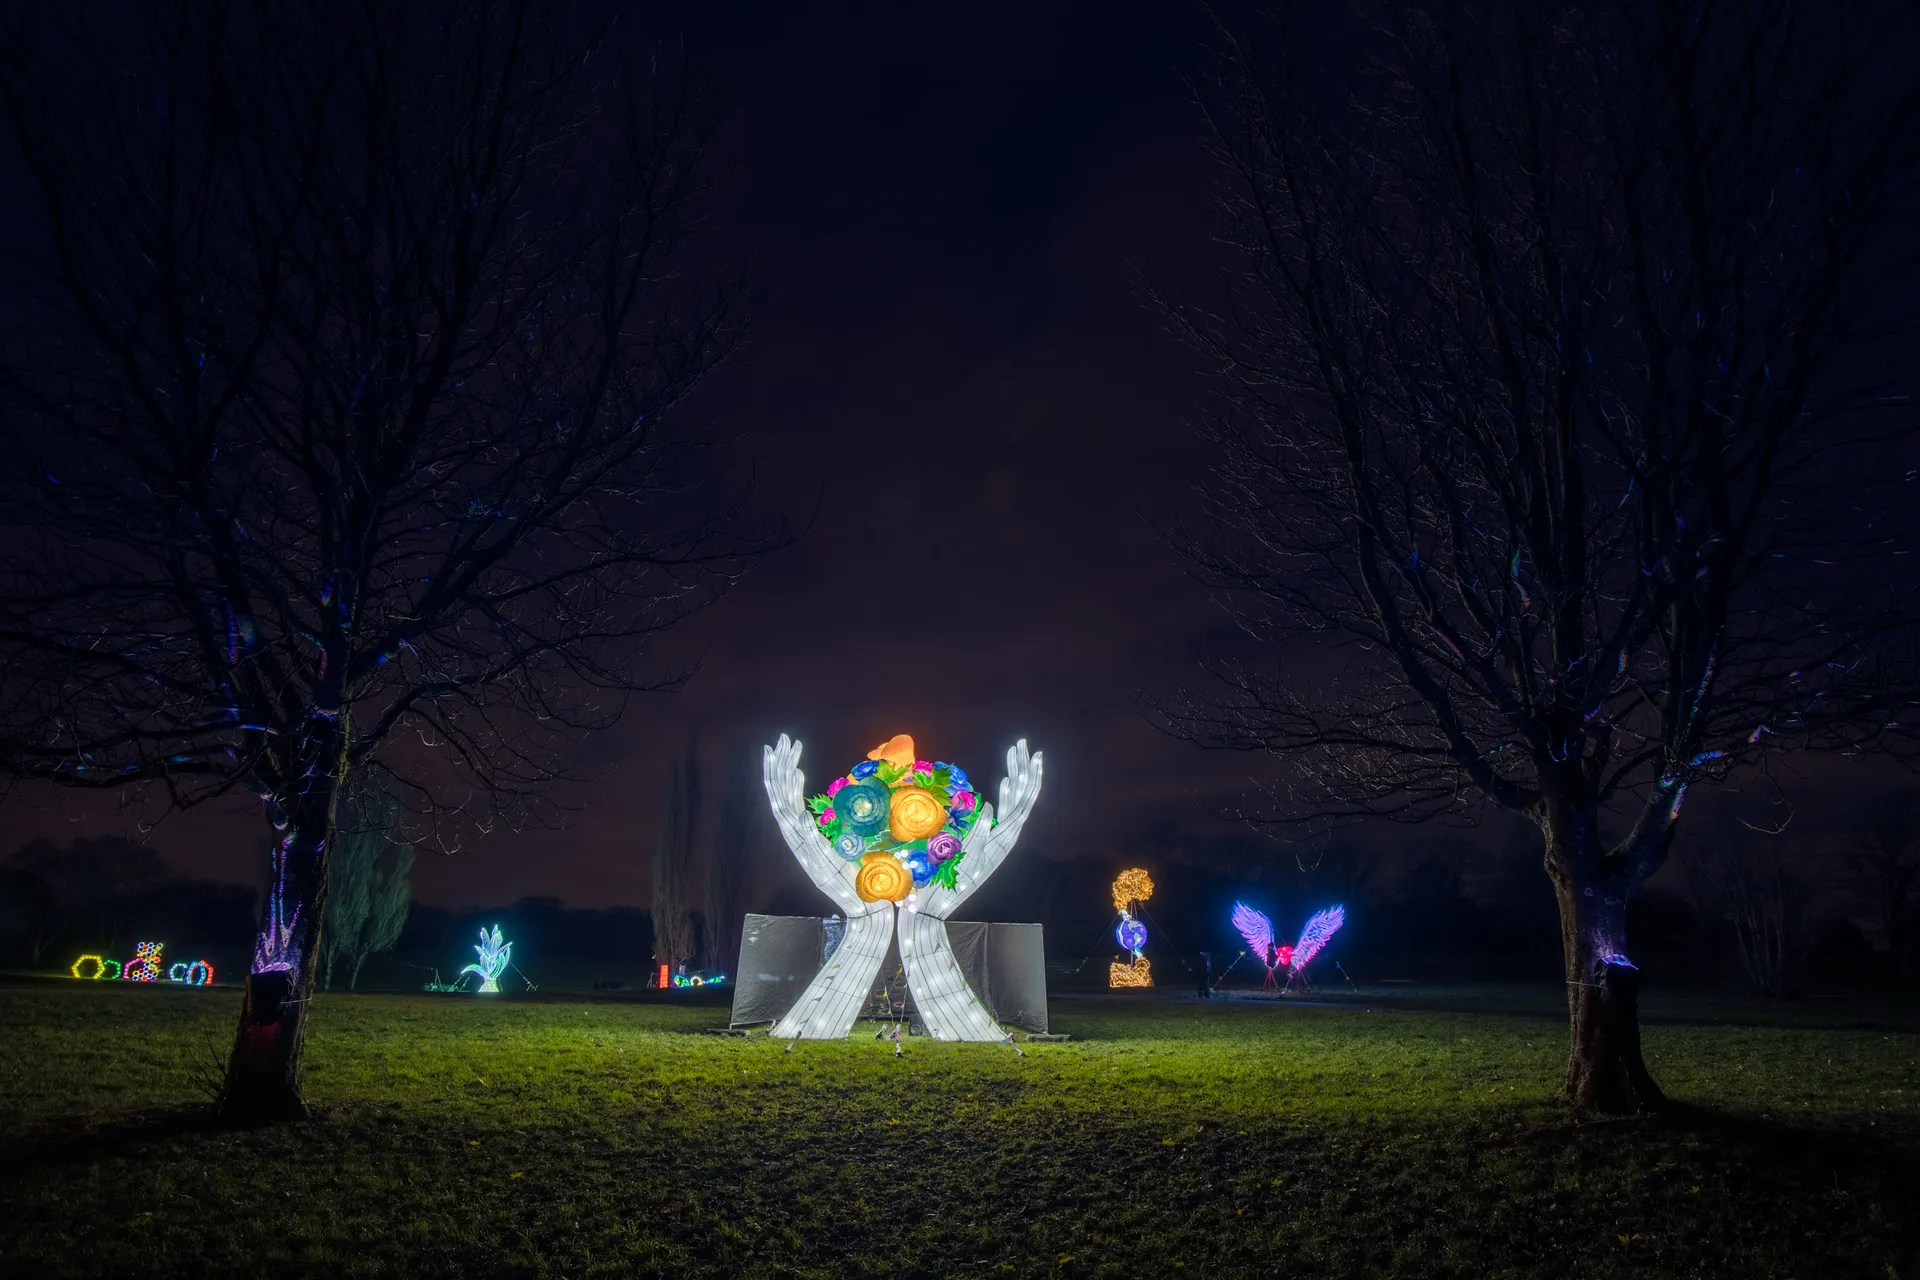
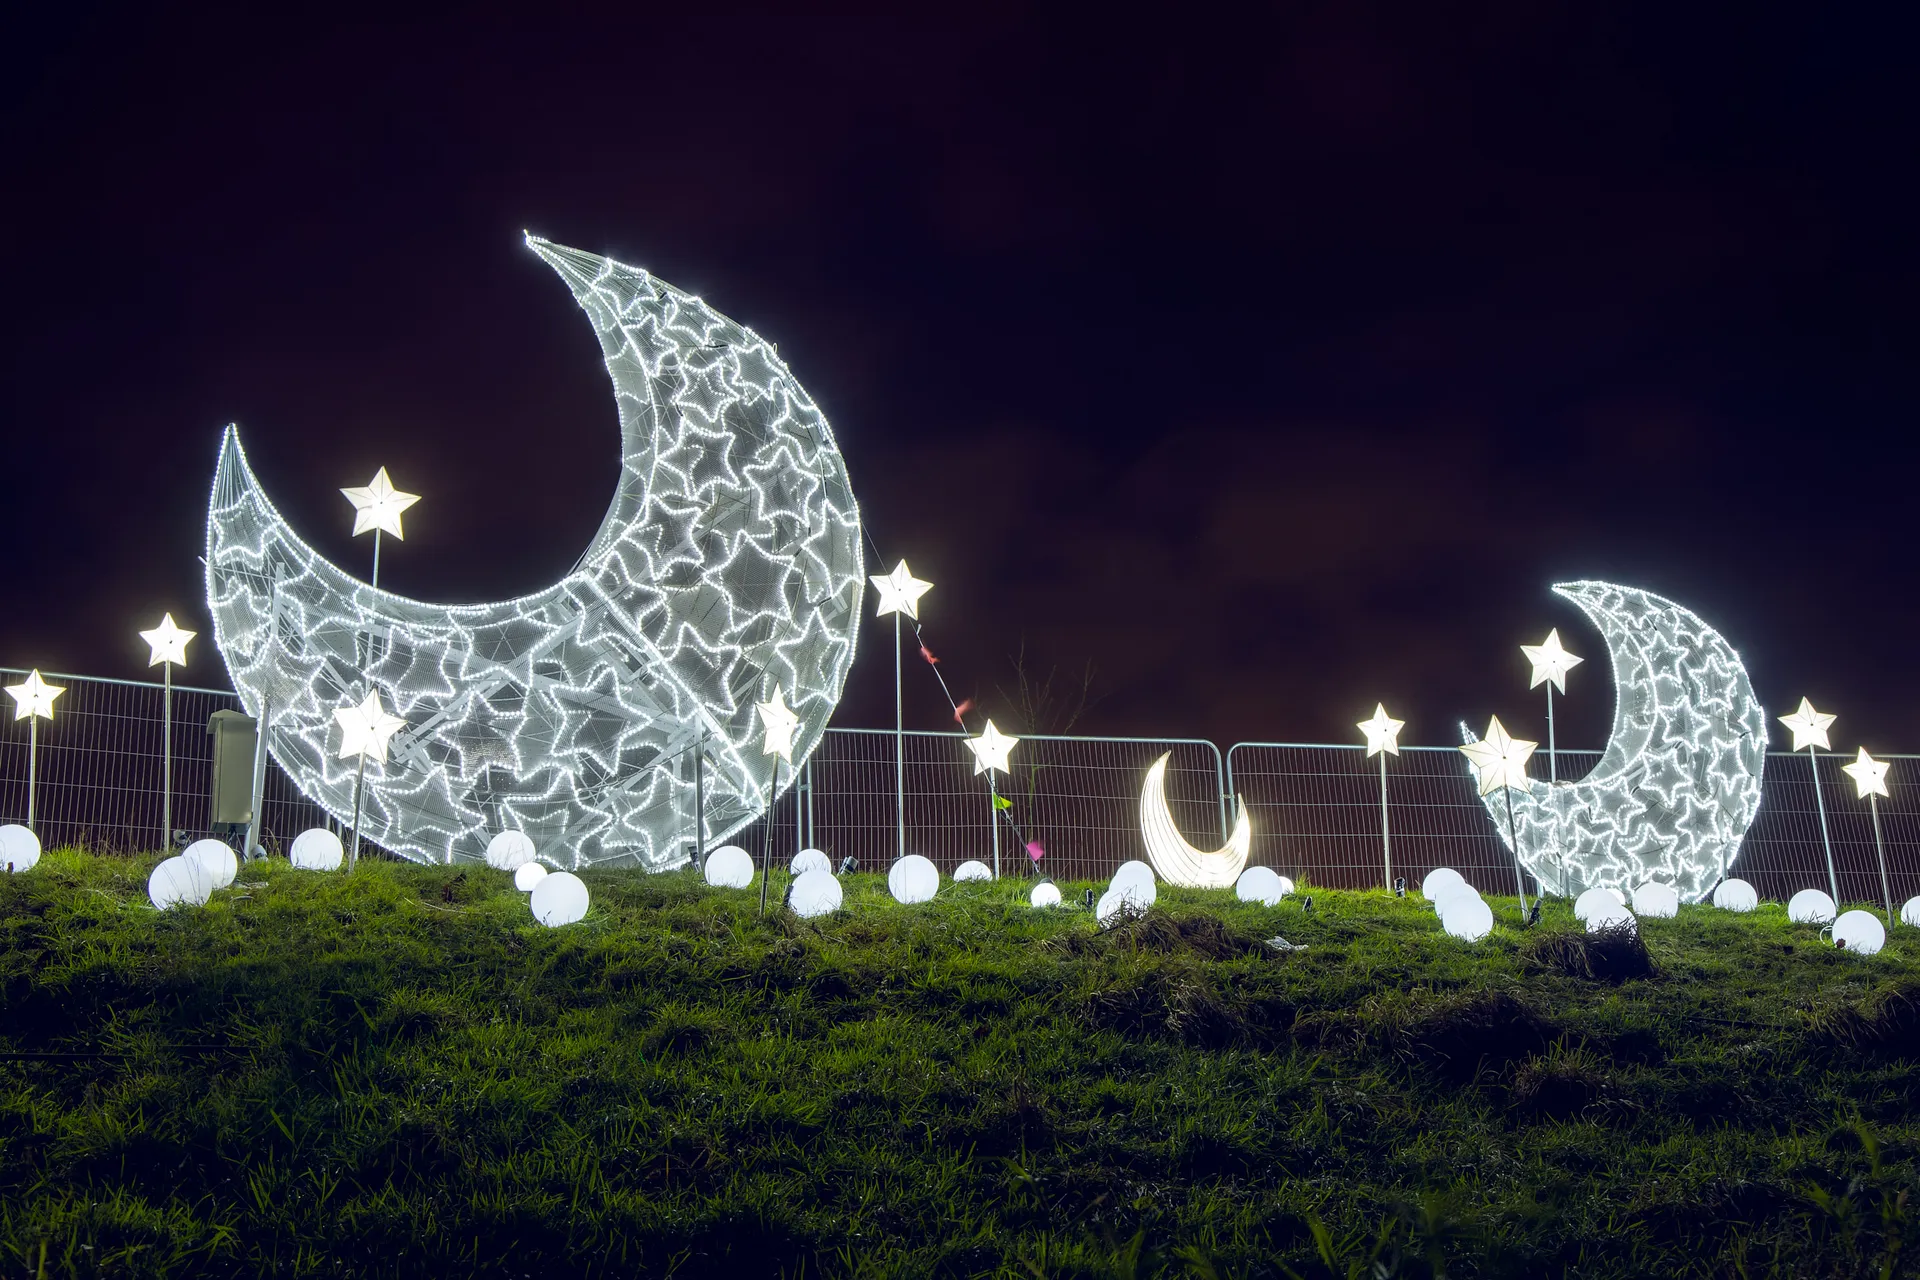
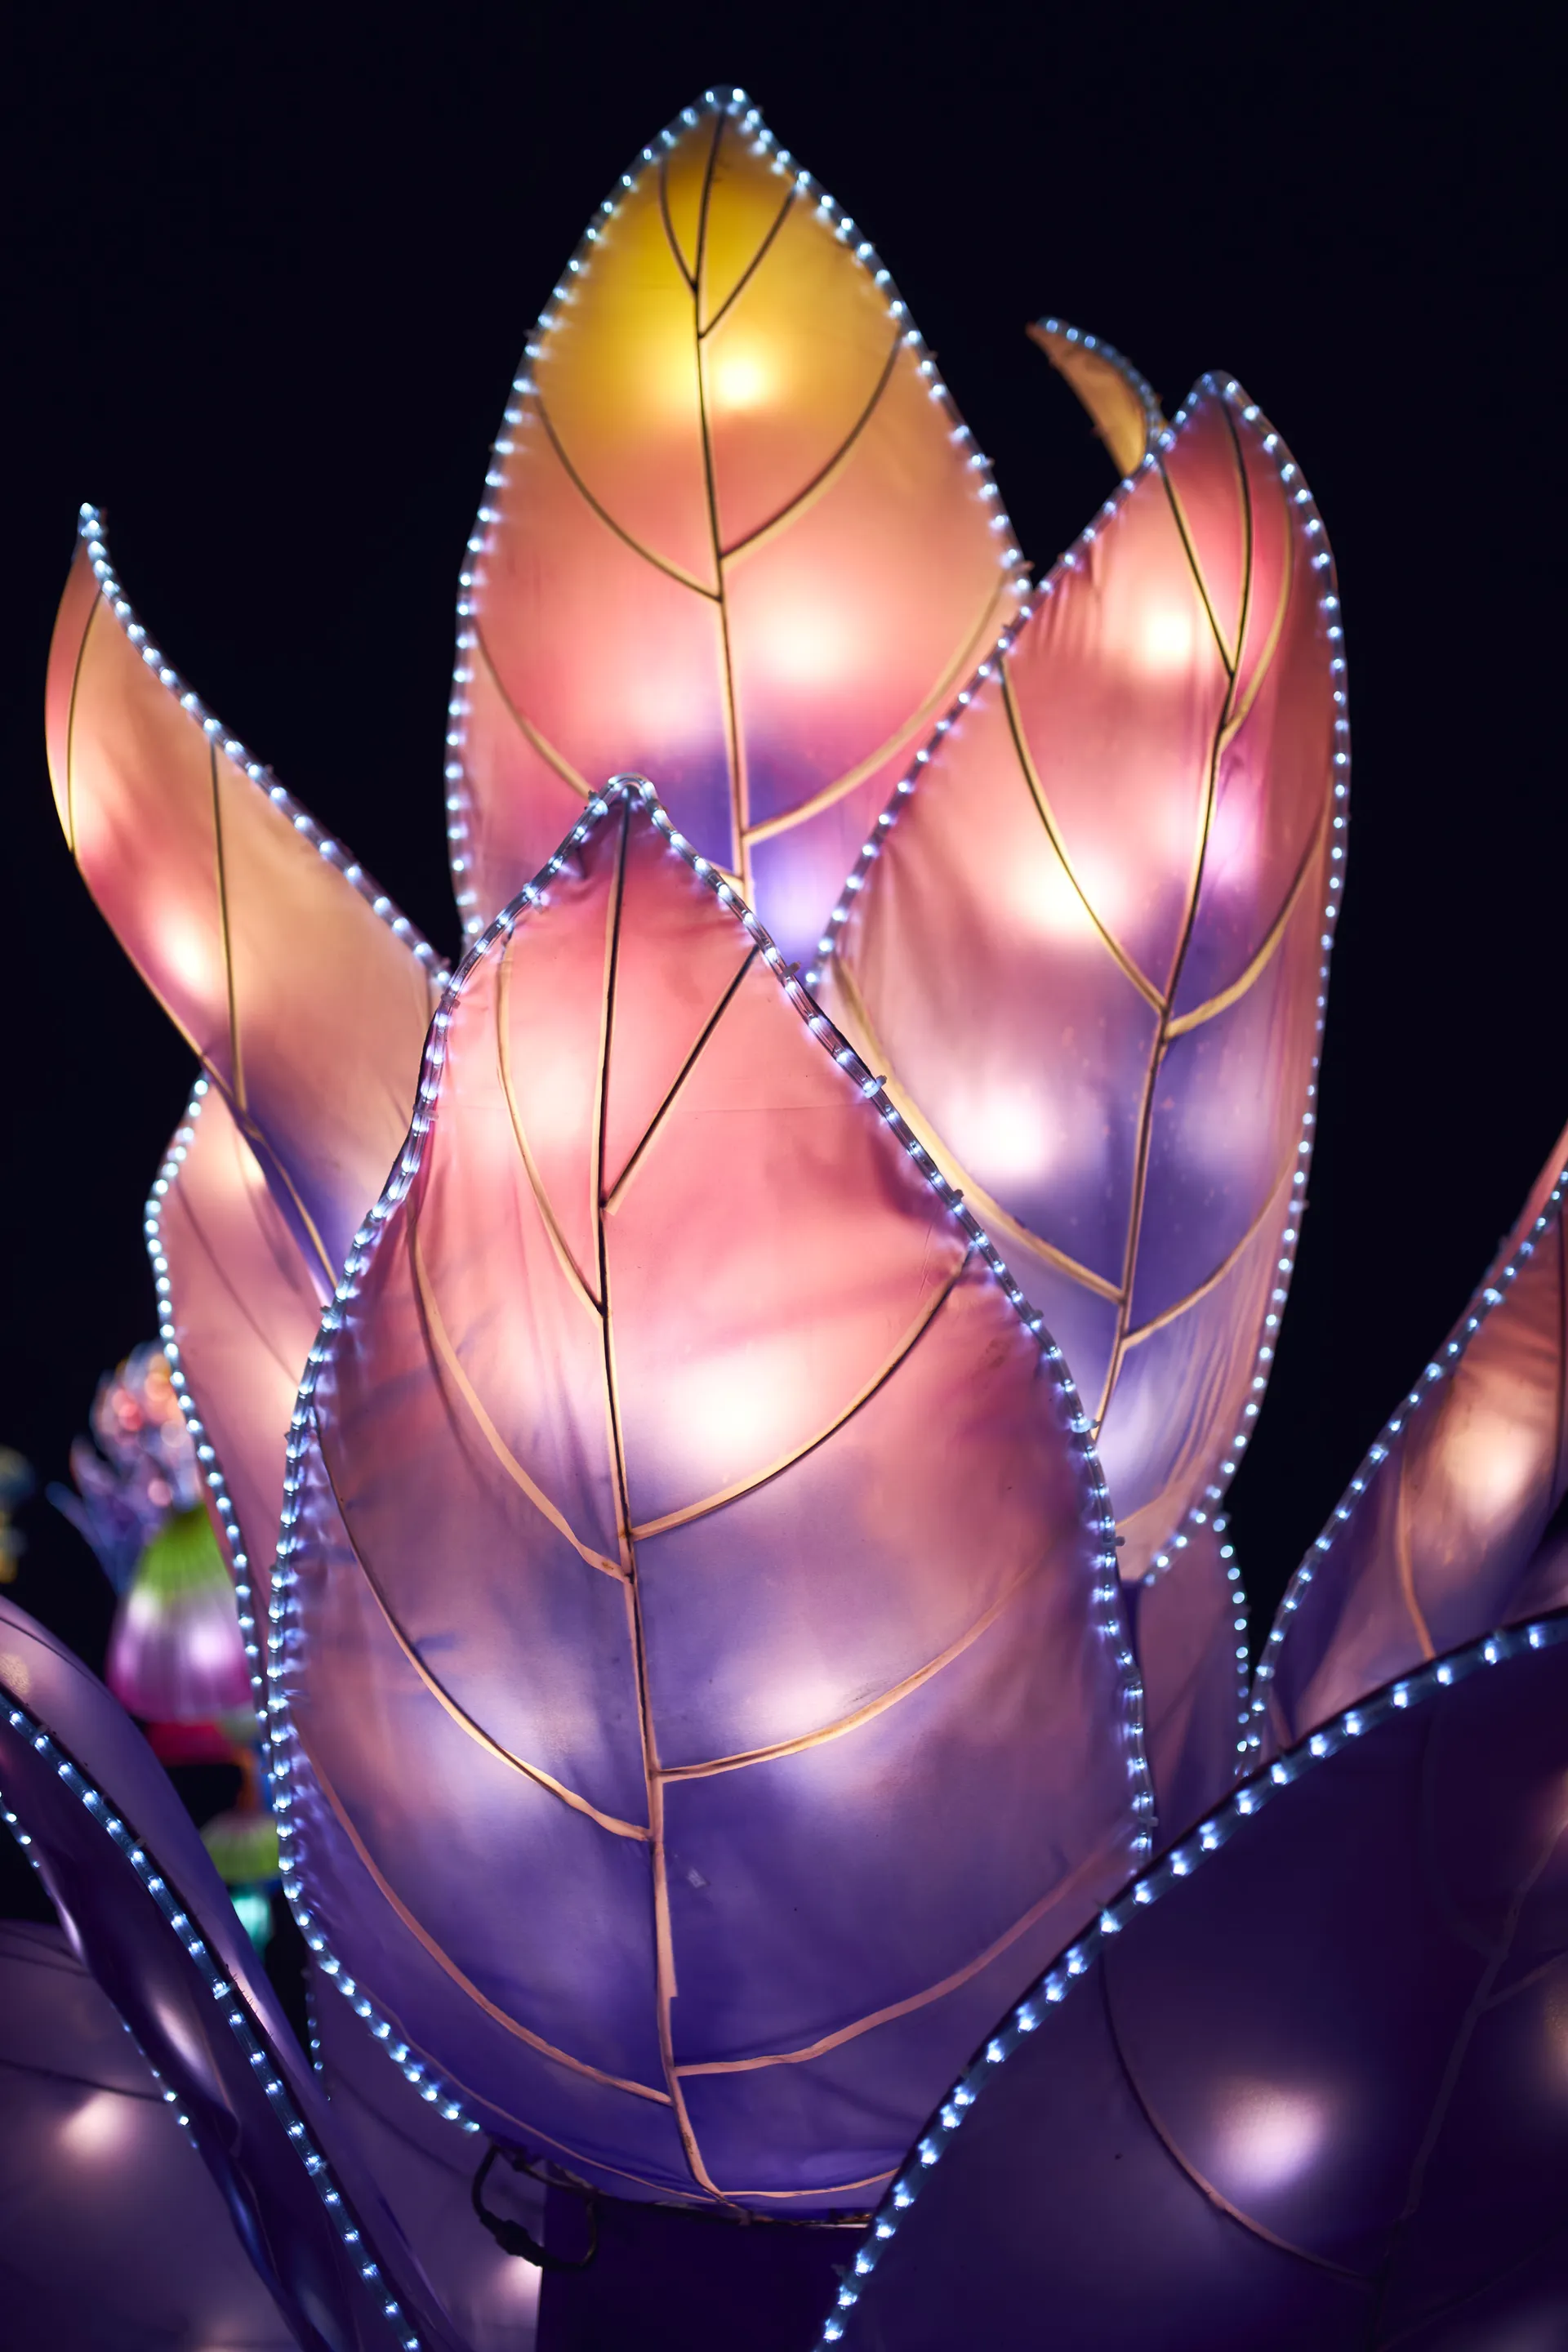
When I found out about lantern festival happening in Manchester in my favourite Heaton Park I knew I want to be part of it. Those who follow my work are probably aware I really like night photography, combining artificial lights into natural especially during blue hour. Therefore I was very exited then Lighopia accepted me as their official photographer for their Manchester launch event.
Unfortunately due to timing I was unable to capture all these amazing lanterns during the dusk when light is most appealing for this type of photography however I’ll already arranged to come back and re-shoot some of installations whilst more convenient time of a day.
See below few of my favourite images from launch event but look out for another post with another set from my second visit.





Best of Manchester (update)
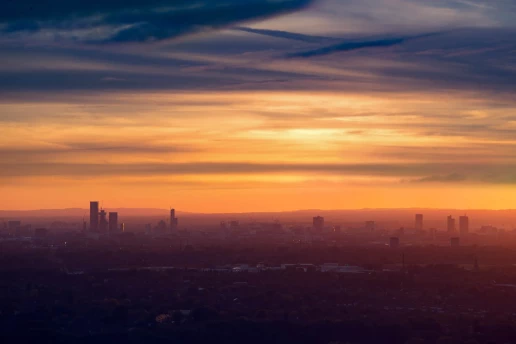
Hello, Just a quick update with recently captured photos of ever growing city landscapes.


Torside and Woodhead reservoir walk
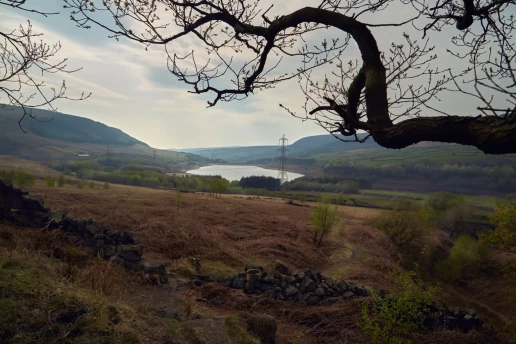
It’s one of locations I meant to explore for some time but when I look online for inspiration most of photos where obstructed by ugly power lines so that always been putting me off. However after day of exploring I found few compositions.


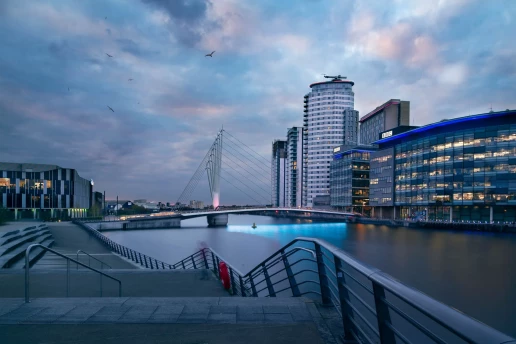
Media City UK last minute trip
It was very spontaneous last minute trip. Unfortunately weather turn out to be quite disappointing since I was counting on more colour on the sky. However I manage to get 1 main image + 2 extra along the way.


Buxton
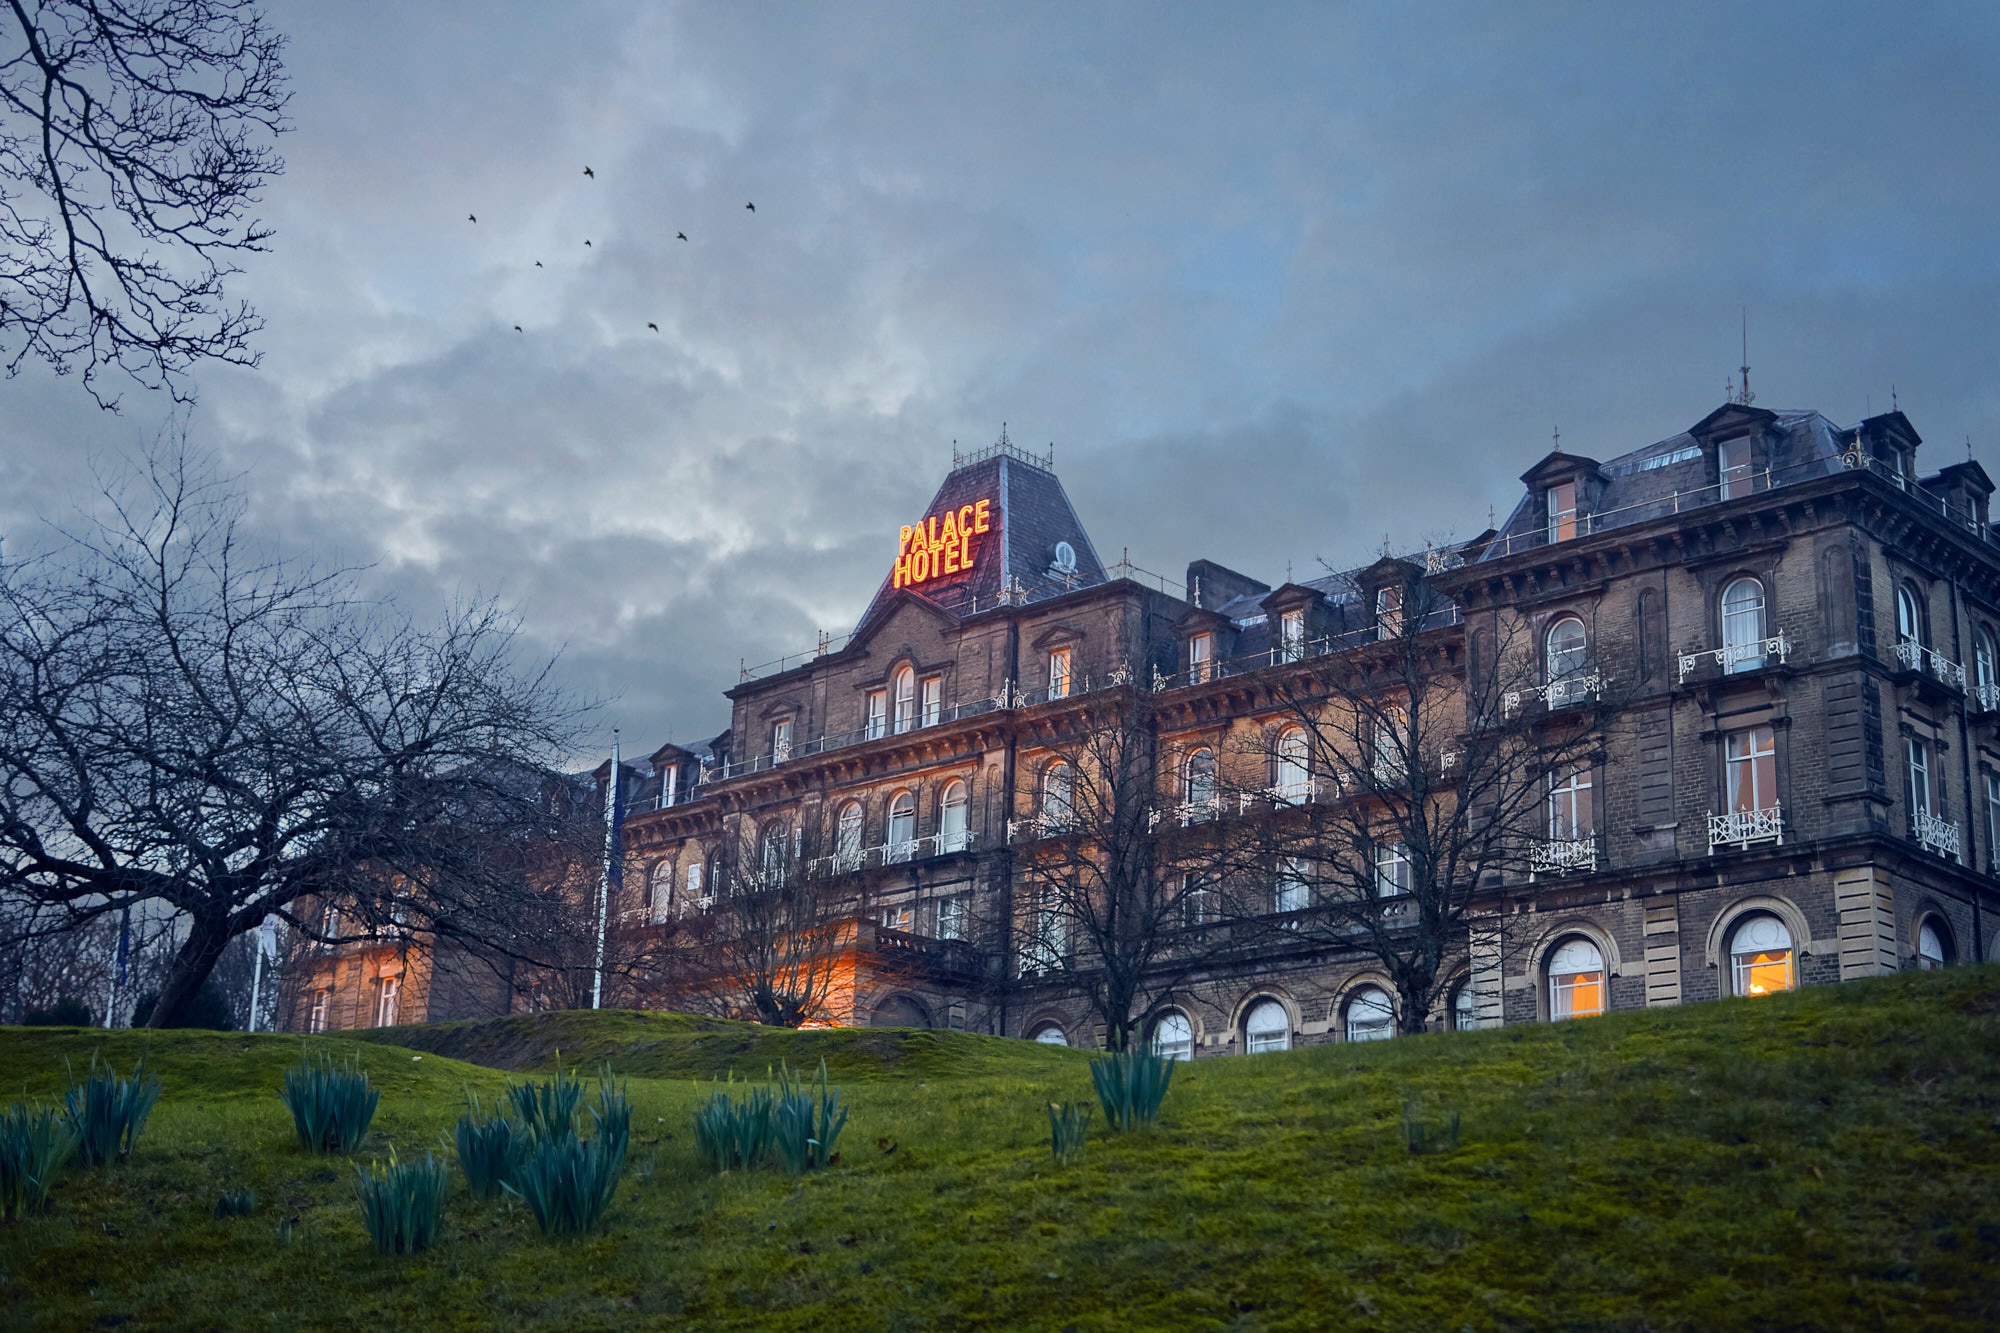
Buxton it’s little spa town and it’s often described as gateway to Peak District National Park. I spend last weekend there with family just to relax in surprisingly warm February weather with temperatures reaching over 17c. It was not photography focused journey therefore I only manage to take one photo worth sharing of the hotel we stayed in.
Corporation street Victoria view
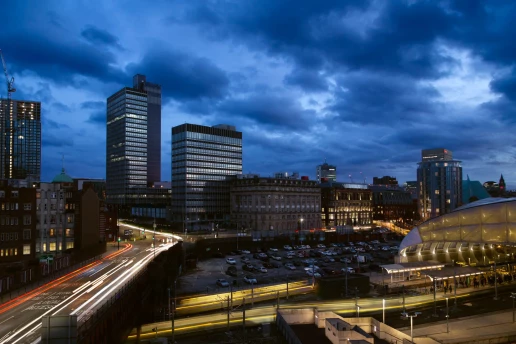
This week I had visit another great location in Manchester city center for night and long exposure photography. This time was M.A.N arena car park what offers nice view on Victoria station and corporation street. Idea was to capture light streaks from ring road along with trains coming in and out from the station. I’ve show up early blue hour to get my base image keeping camera on tripod and shooting all the way until late blue hour to get rest of components.
Area on left side of the frame is currently under heavy development with several buildings been added to ever growing Manchester skyline. Once work is complete spot will offer excellent composition with all new N.O.M.A scrapers and bridge in the foreground.

This time I also brought second camera that I placed on other side to capture north bound of the station. It’s not a great image but I decide to share it anyway.

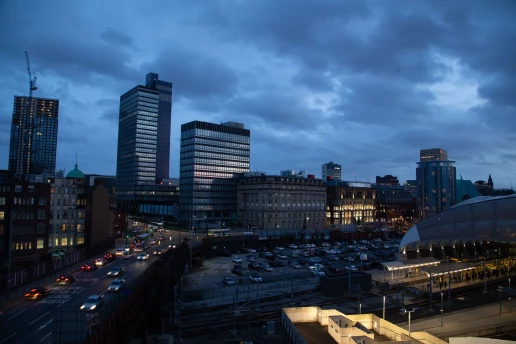
Also before and after of main photo can be seen below:
Manchester photo gallery update
I had been quite inactive as of late in terms of personal project. Newly created family take a lot of my free time. However I have little update to my Manchester photo gallery. Hope you enjoy it.


